AX10 Palletizing Solution
Fig. 5-35: Set Nodes in the Else node
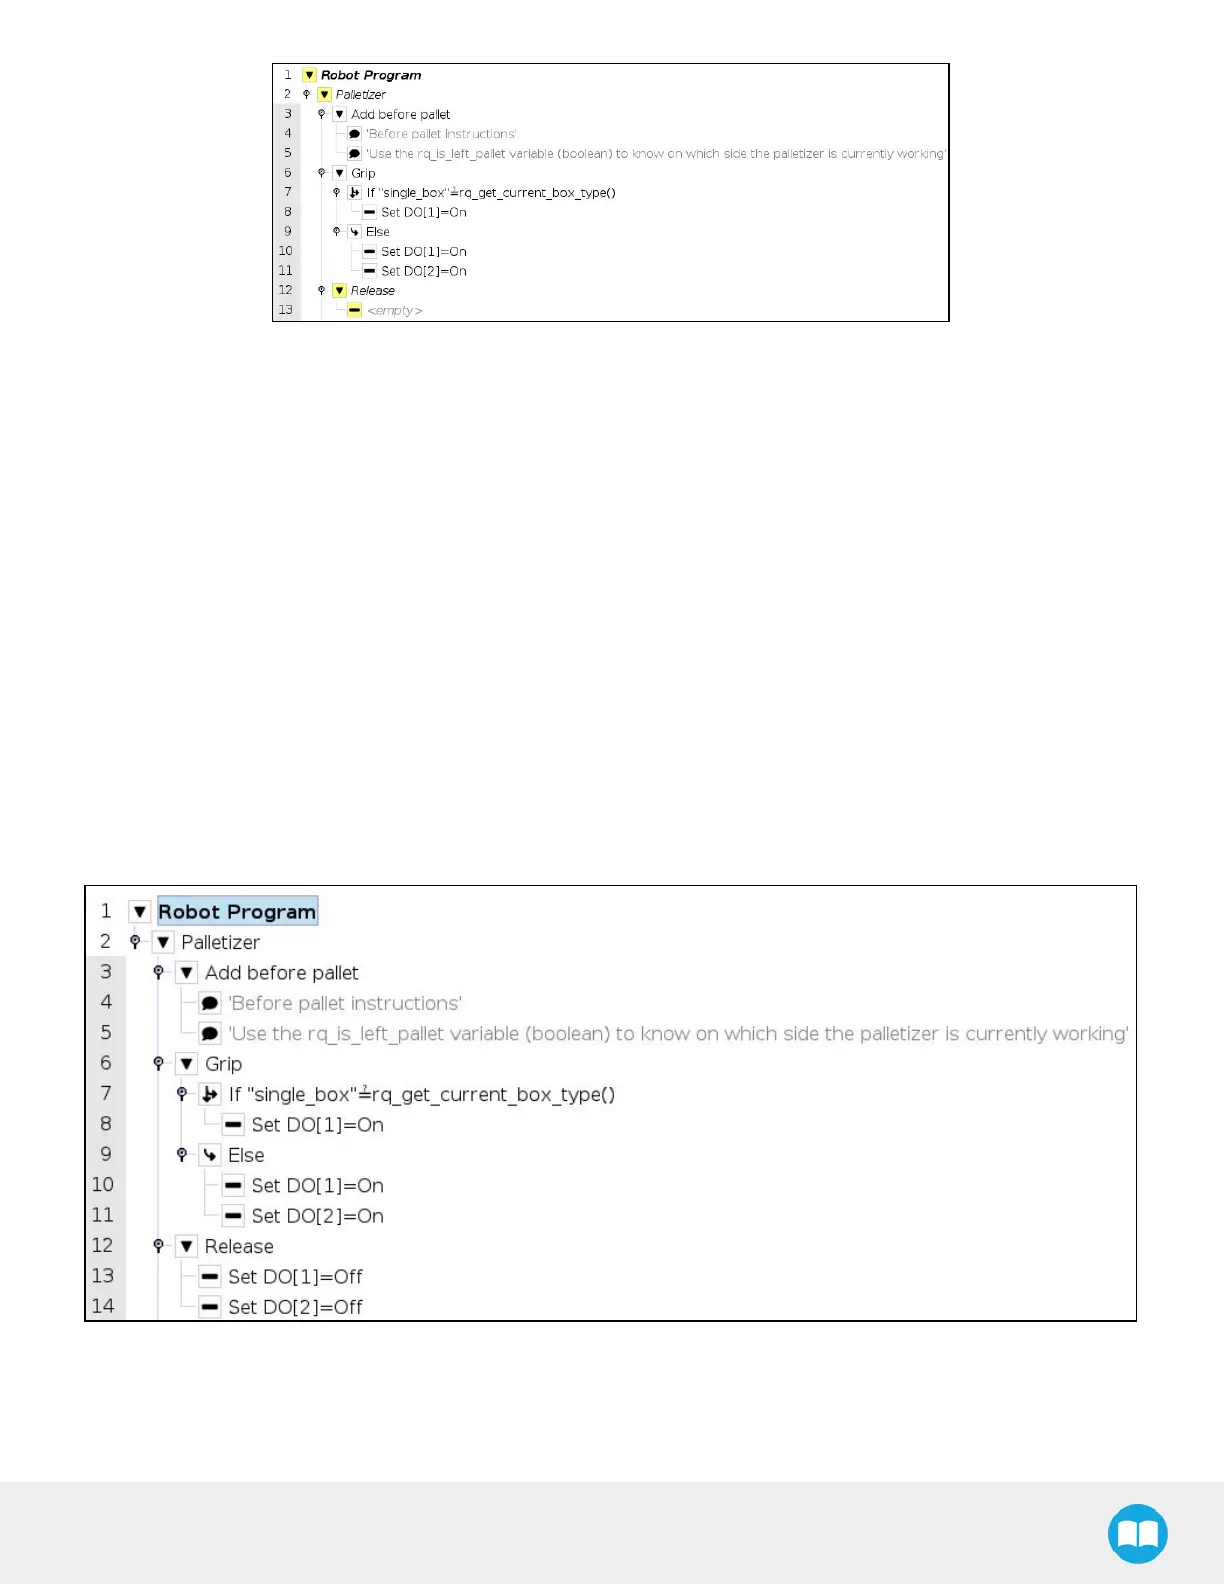
20. In the program tree, select the <empty> node in the Release node.
21. Go to Program > Basic and insert two Set nodes.
22. In the first Set node, tick the Set Digital Output radio button
23. Expand the dropdown menu.
24. Select a digital output to which one of the grippers is assigned.
25. Expand the adjacent dropdown menu.
26. Select Low.
27. Repeat steps 23 to 26 with the other Set node, but select the digital output to which the other gripper is assigned.
In doing so, the system will release the vacuum action in both grippers, even if only one gripper was activated.
The result in the program tree should resemble this:
Fig. 5-36: Set Nodes in the Release node