AX10 Palletizing Solution
Linear Axis Controller Installation
1. Remove the four (4) screw caps on the linear axis controller.
2. Partially unscrew (approximately 3 mm) each screw at the back of the linear axis controller.
3. Align the four screws with the mounting slots of the controller bracket at the back of the column.
4. Lower the linear axis controller slowly and carefully.
5. Tighten the screws to secure the controller to the controller bracket. The torque required is 15 Nm.
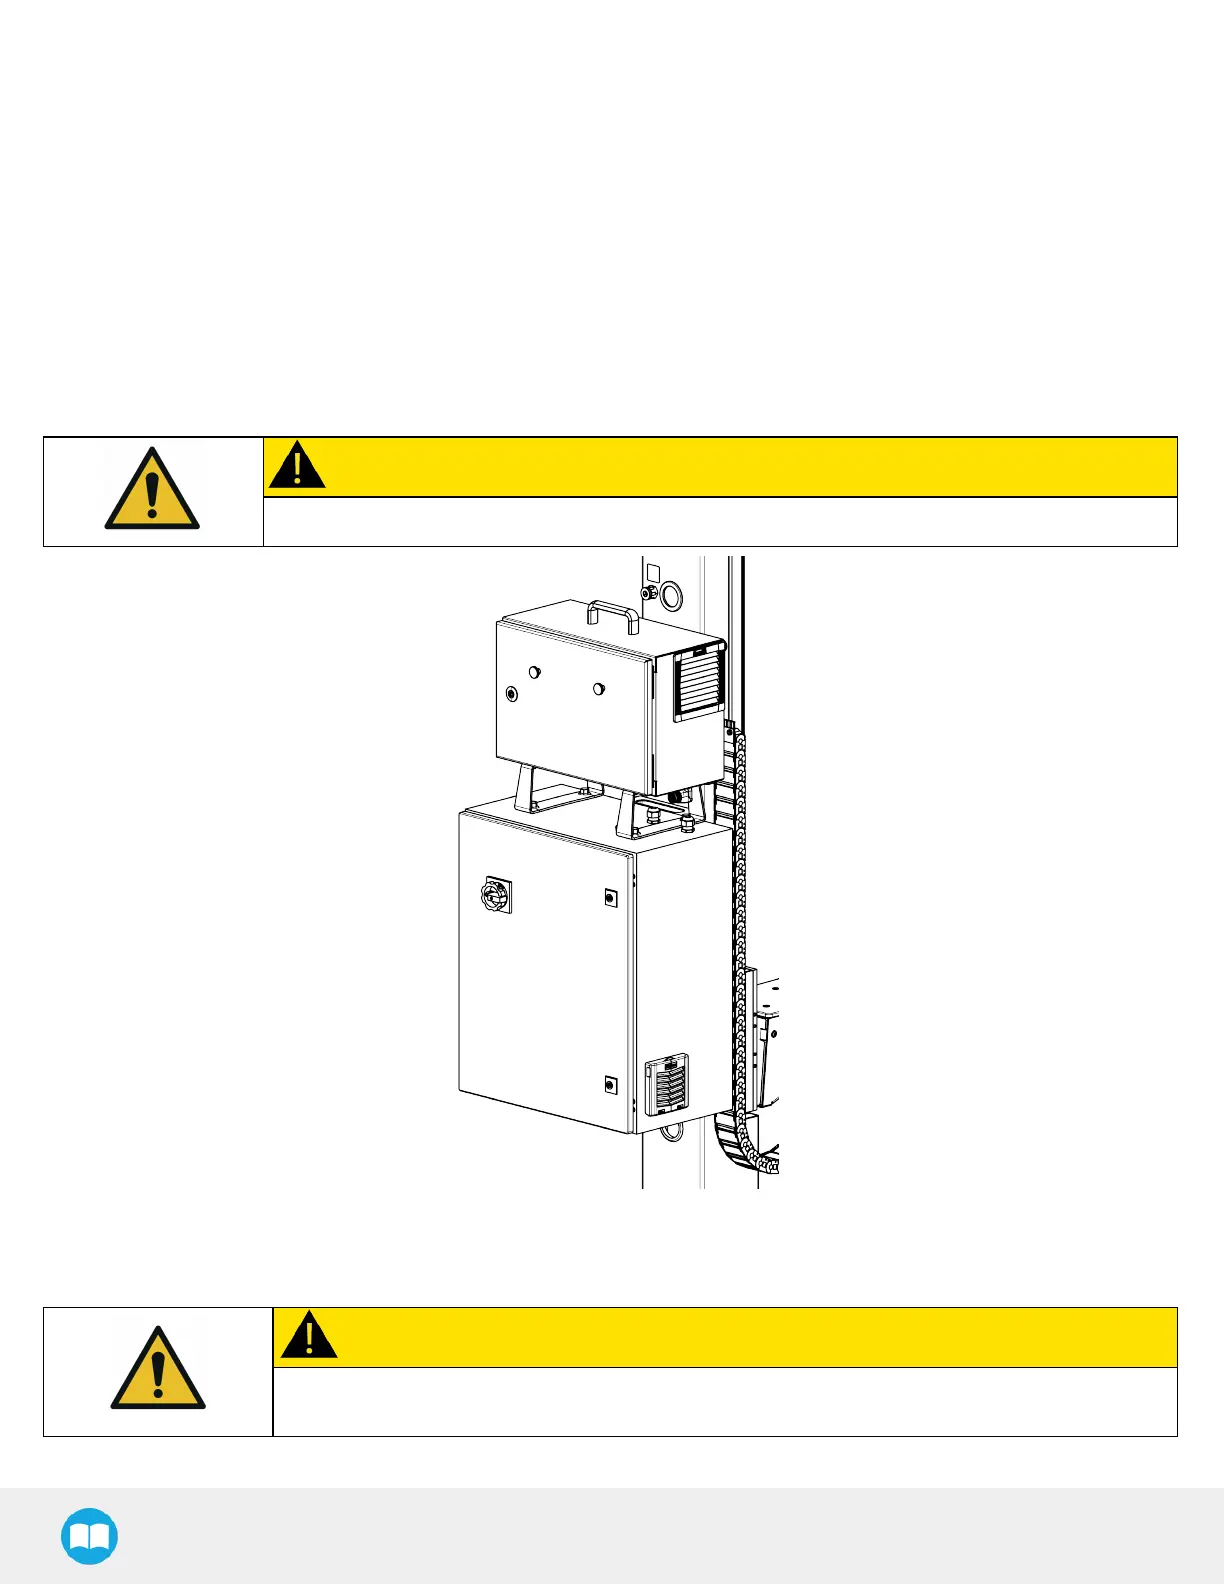
Universal Robots Control Box Installation
1. Place the UR control box on top of the linear axis controller and secure it with four (4) M12 screws.
CAUTION
Do NOT connect the UR control box's power cable to the UR control box.
Power Connection
CAUTION
The Solution should only be connected to a power source once all connections have been made
and completed.
1. Connect the power cable of the linear axis controller to the UR control box.
40