Robotiq Screwdriving Solution - Instruction Manual
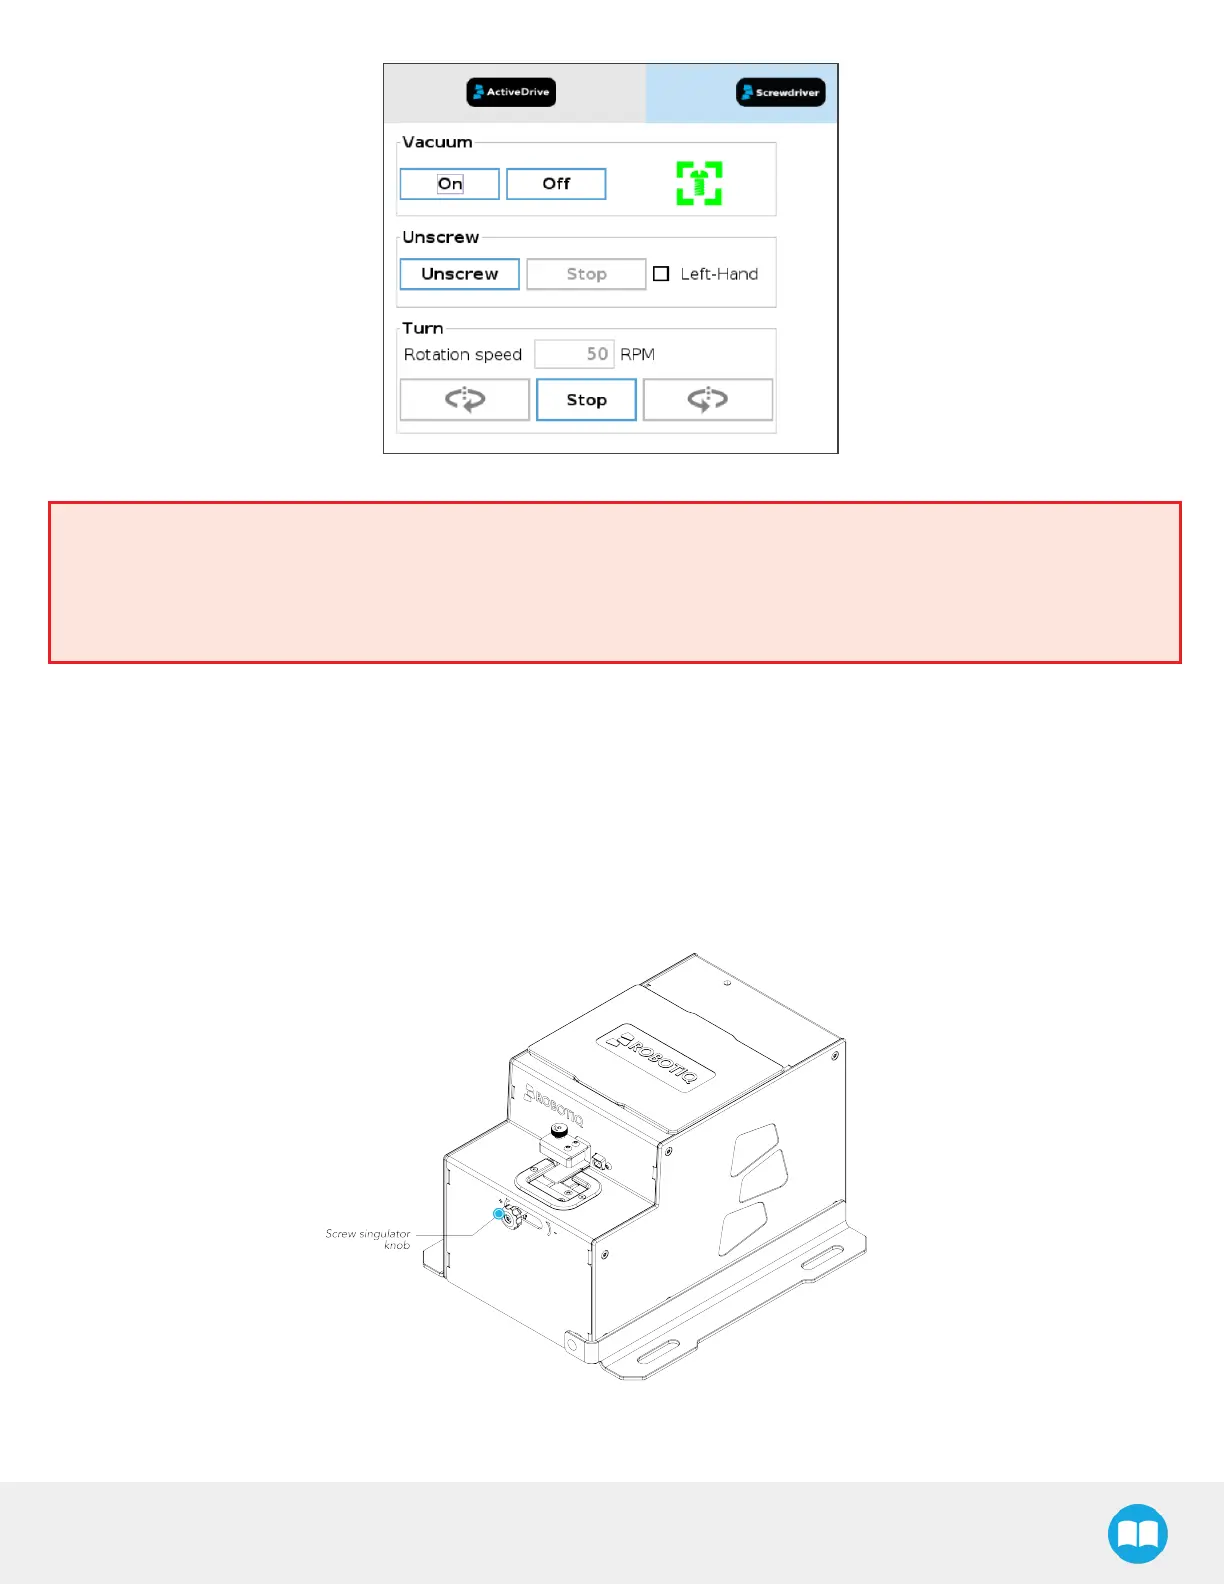
Fig. 4-5: Screwdriver Toolbar Showing a Screw Has Been Detected.
Warning
The screw icon going from gray to green should be noticeable when looking at the Screwdriver Toolbar.
If you keep lowering the vacuum sleeve after the screw hasbeen detected, this may lead to the screwdriving bit
disengaging from the screw’s drive.
5. Slightly tighten the coupler locking nut by hand to secure the adjustment.
4.7. Screw Feeder Adjustment
4.7.1. Screw Singulator Knob
The screw singulator knob can be found at the front of the Screw Feeder, more specifically at the center of the front panel, aligned
with the screw singulator assembly.
Fig. 4-6: Location of the Screw Singulator Knob at the Front of the Screw Feeder.
44