Robotiq Screwdriving Solution - Instruction Manual
6.Screwdriver Calibration
Caution
In order for the calibration to be reliable in your production environment, use the Screwdriver in the same environmental
conditionsin which the calibration wasperformed.
6.1.Material Required
l
Torque tester (not included)
l
1/4-inch rundown adapter (not included, length of 15 mm minimum for insertion in the Robotiq Screwdriver’s bit holder)
6.2.Calibration Procedure
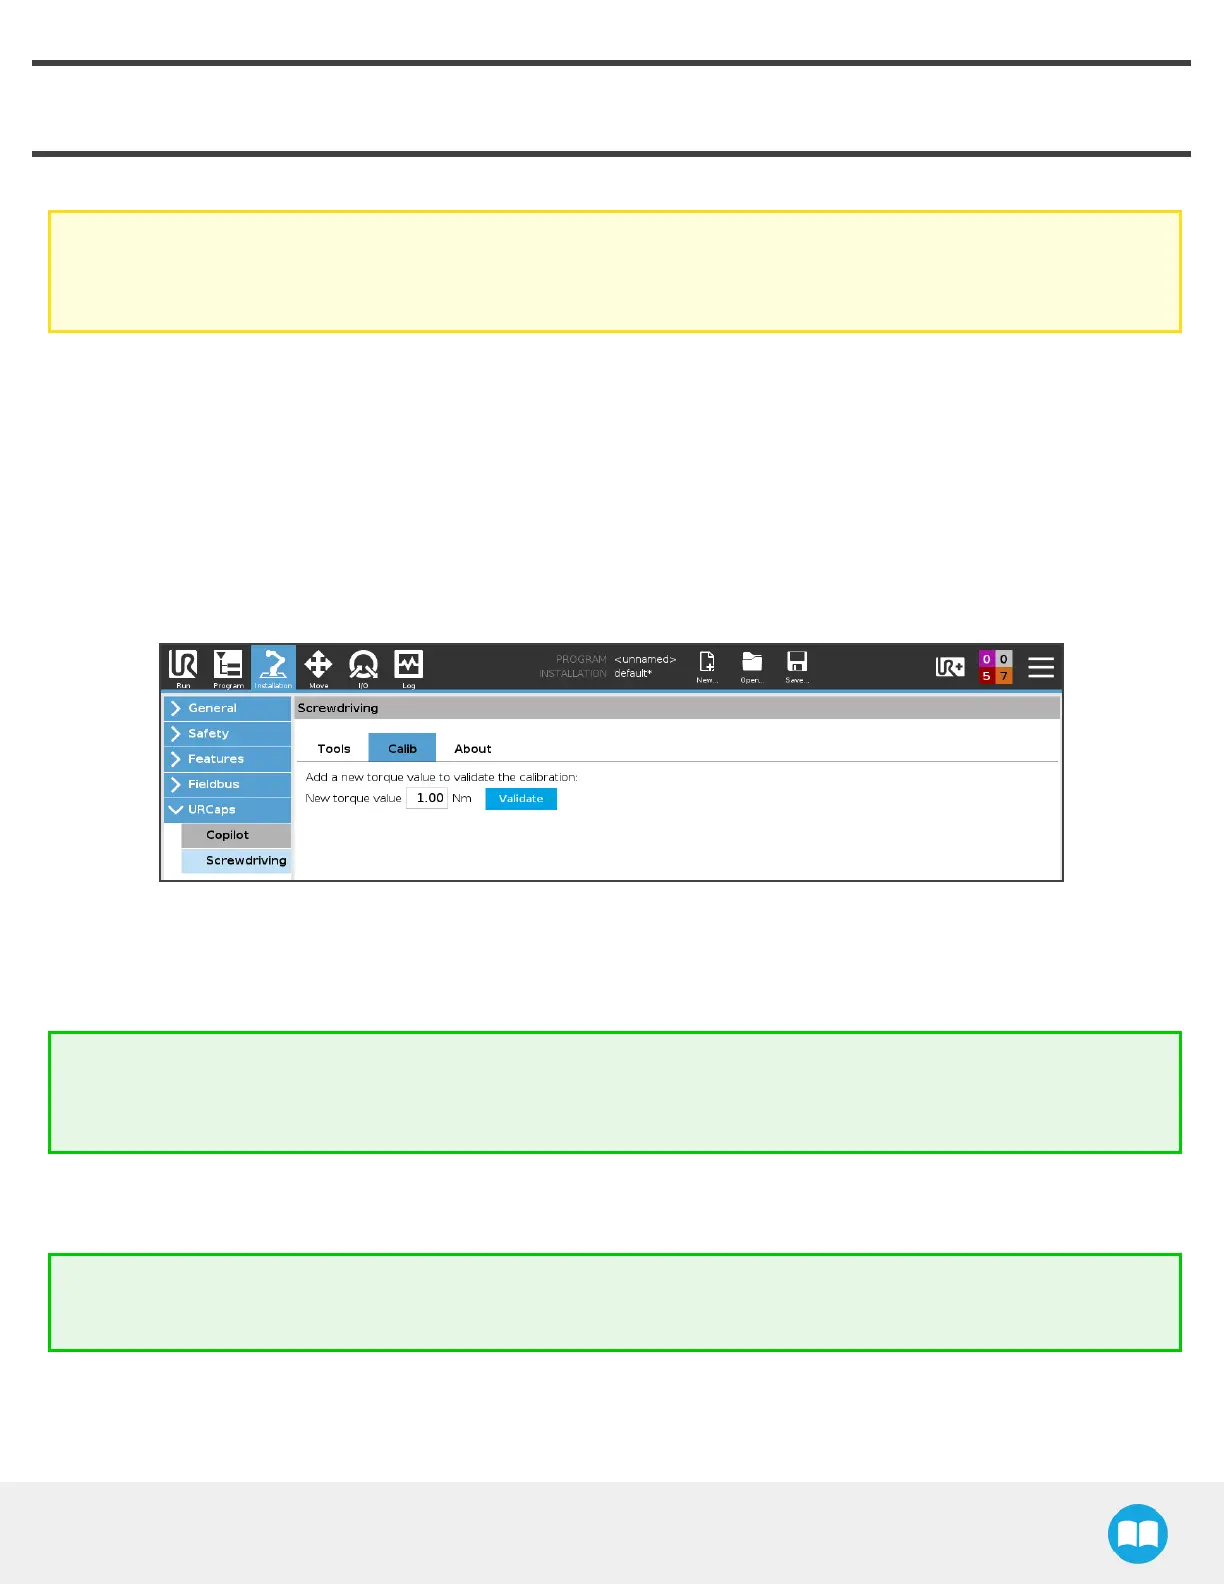
1. In the PolyScope interface, go to Installation > Screwdriving > Calib tab.
2. Enter the torque value you need to reach in the framework of your application.
3. Tap the Validate button to carry on with the torque testing procedure.
4. If one or several torque valuesare listed lower in the interface, you can directly tap the Validate button next to each.
Tip
Unscrewing the rundown adapter completely prior to the insertion in the Screwdriver’s bit holder will ensure the adapter
is not constrained at an angle.
5. Remove the Screwdriver’s coupler locking nut and coupler adjuster to reveal the bit holder.
6. Unscrew the bit holder knob for an easier insertion. Use the provided 1/2-inch wrenchesif needed.
Tip
Use Robotiq’s Mode feature in the ActiveDrive Toolbar to limit robot motion to 3 degreesof freedom.
64