REPLACEMENT PROCEDURES
Replace Batteries
Batteries create explosive gases
when charging. DO NOT expose these gases to
sparks or open ame during maintenance. Always
perform battery service in a well-ventilated area or
outside. Serious injury can occur from exploding
batteries.
When installing batteries, always
install the positive cable rst followed by the
negative cable. Reversed polarity can damage the
electrical system.
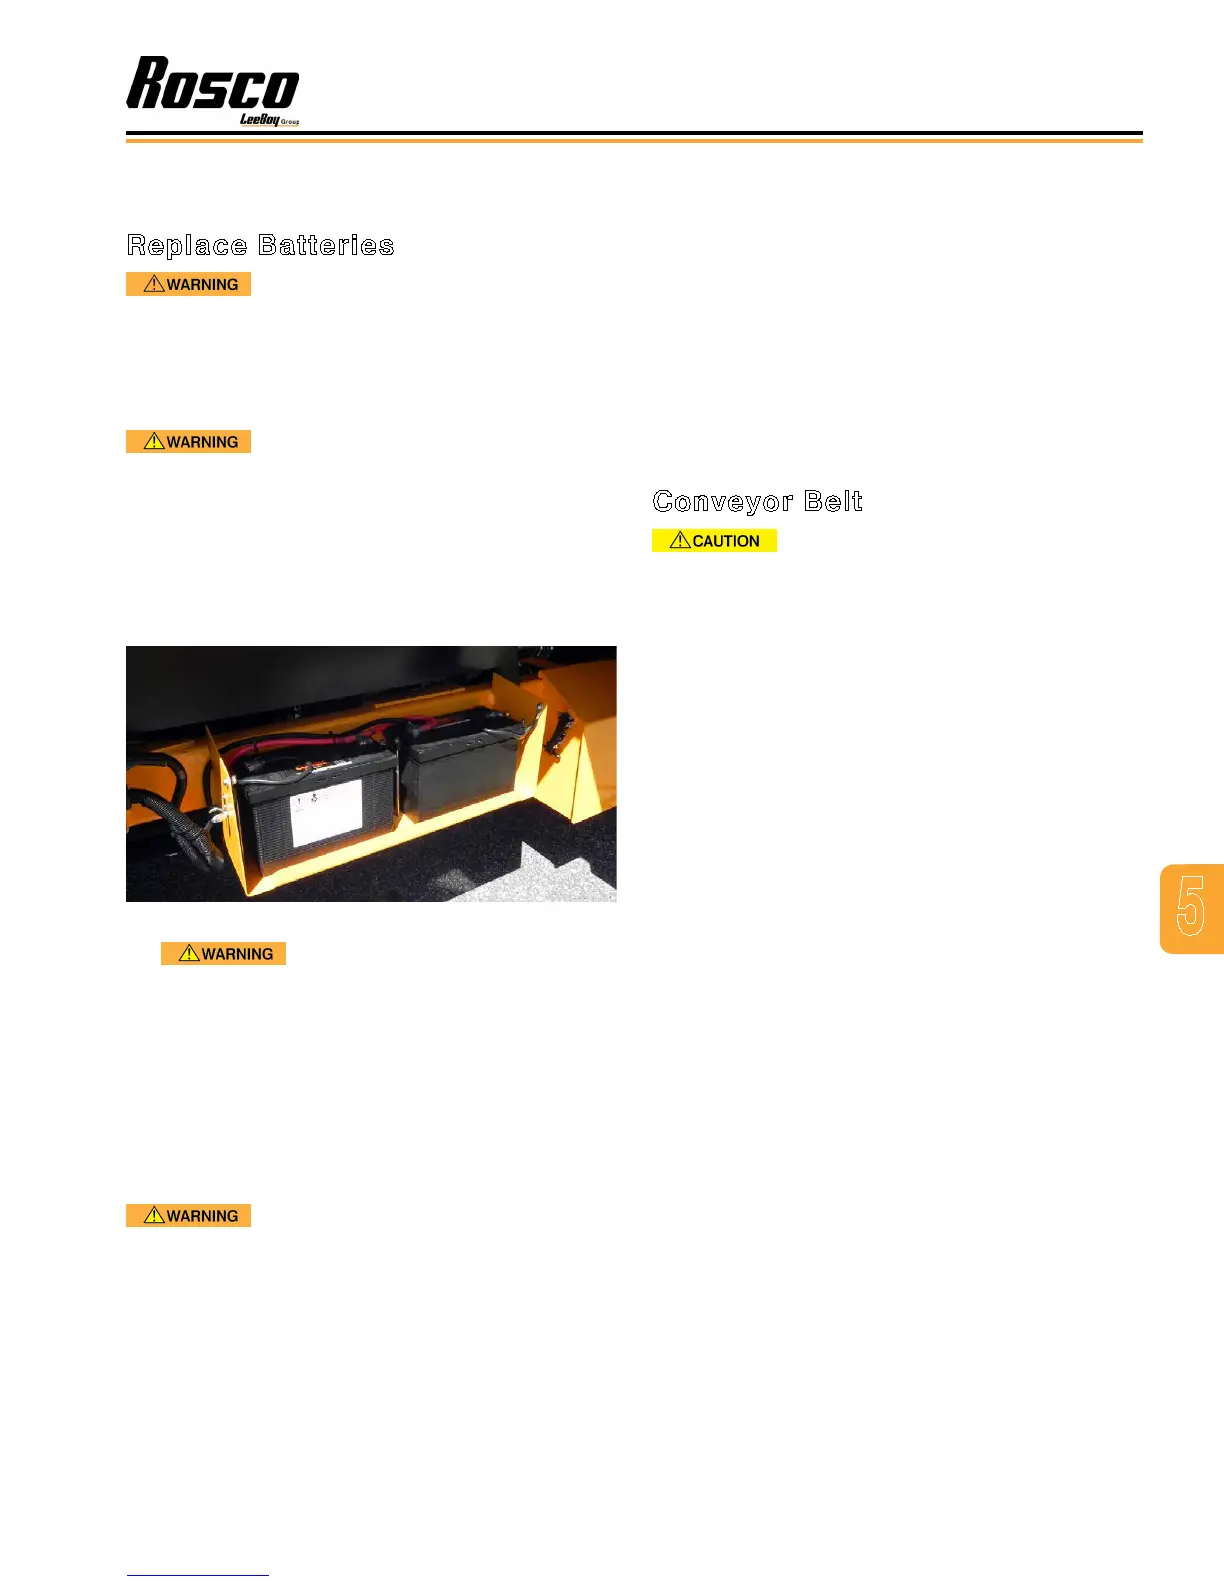
1. Remove the black ground (-) cable from the
negative (-) battery terminal, followed by the red (+)
cable from the positive (+) battery terminal. (Figure
5-32)
Figure 5-32. 12-Volt Battery System
If the negative cable is grounded
during removal, sparks will not occur. If the positive
cable is grounded during removal, sparks will occur
and could ignite explosive gases.
2. Remove the hold down bar.
3. Inspect the batteries for cracks, wear and damage
that could result in leaks.
4. Carefully remove the batteries from the battery
plate, noting battery position during removal.
DO NOT dry batteries using
compressed air. Allow the batteries and surrounding
area to dry. Battery acid can cause severe injury if
blown into the face or other areas of the body. If injury
occurs, seek medical attention immediately. Flush
eyes and skin for 30 minutes with clean water.
5. Make sure the battery cells are sealed. Clean the
batteries, battery tray, cables, and brackets with
baking soda and warm water. Allow to air dry.
6. Place the batteries in proper position in the battery tray.
7. Install hold down bar. Tighten bar to retain battery,
but not so tight as to damage battery.
8. Install red (+) battery cable to the positive (+) battery
terminal.
9. Install the black (-) battery cable to the negative (-)
battery terminal.
10. Reattach the battery box cover and reconnect the
battery box locks.
Conveyor Belt
The conveyor belt weighs nearly
400 pounds. It will require more than one person to
replace the belt.
NOTE: When installing a belt, use the old belt to
pull the new belt onto the machine.
For conveyor belt replacement, refer to Page 5-8 and
proceed as follows:
1. Move the existing belt so that the belt joint is on the
top surface near the conveyor head pulley bearing.
2. Remove the belt lacing pin to disengage the belt.
3. Attach one end of the new belt to the top of the old
belt. Attach the belts together with the lacing pin.
4. Slowly thread the new belt around the pulleys back
to the tail pulley group while removing the old belt
from the conveyor.
5. Stop the machine when the end of the new belt is on
top of the pulley group.
6. Remove lacing pin and move old belt clear of the
area.
7. Secure the two ends of the new belt together with
lacing pin.
8. Check that the new belt is properly adjusted and
centered.
5
Maintenance
Rosco CSV Variable Width Chip Spreader 5-25