54
●Whether the prism center of Point B coincides with the Instrument Center is a significant step to inspect
the accuracy. So on Point B the tripod or compatible tribrach should be used. It will decrease the
difference.
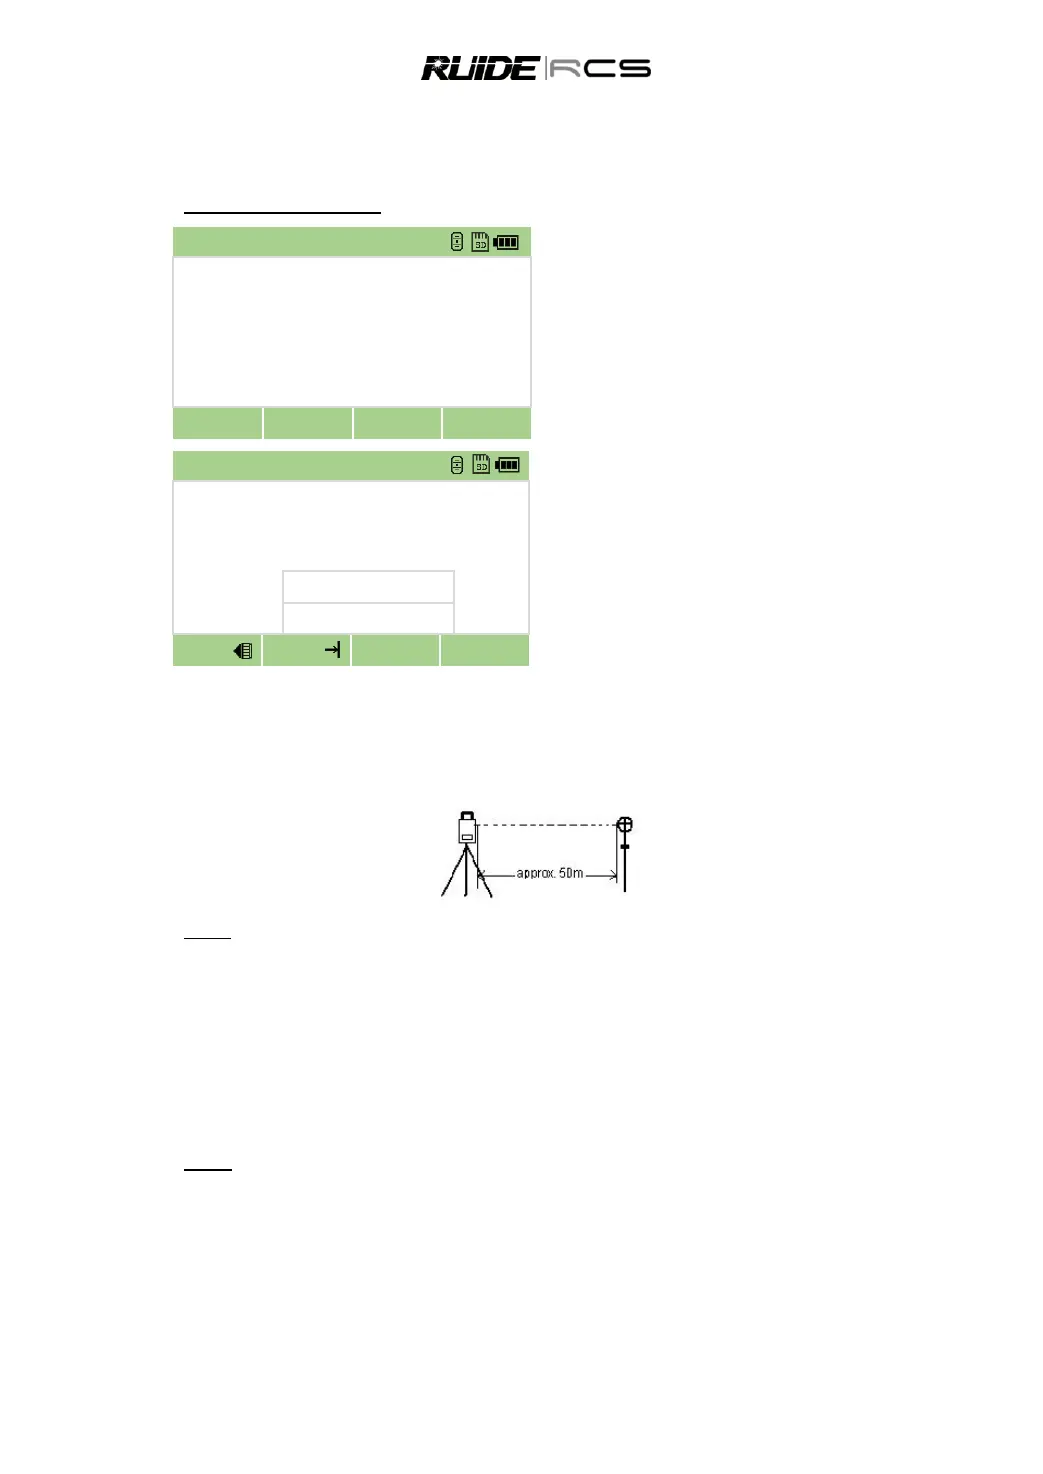
Input Instrument Constant:
Press [2] to enter the constant setting screen.
Input the constant, and press [OK]
Prism: Constant for measuring at prism mode
Nonprism: Constant for measuring at non-prism
mode
12.9 PARALLEL BETWEEN LINE OF SIGHT AND EMITTING PHOTOELECTRIC
AXIS
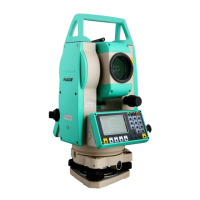
Check
1. Set the reflector 50m away from the instrument.
2. Collimate the center of the reflector prism with reticle.
3. Switch on the instrument, and enter to Distance Measurement Mode. Press [DIST] (or [All]) to measure.
Rotate the Horizontal Tangent Screw and Vertical Tangent Screw to launch electric collimation and
make the light path of EDM unblocked. In the bright zone find the center of emitting photoelectric axis.
4. Check the center of reticle to coincide with the center of emitting photoelectric axis. If so, the instrument
is proved eligible.
Adjust
If the center of reticle deviates from the center of emitting photoelectric axis, user should send the
instrument to professional repair department.
12.10 TRIBRACH LEVELING SCREW
If the leveling screw appears flexible, adjust the two adjusting screw in the leveling screw to tighten the
screw appropriately.