SYSTEM START-UP—INITIAL START-UP
19
INITIAL START-UP
Initial system start-up is only to occur
once the door and control panel have been
properly installed, wired, and all prelimi-
nary door adjustments made. Failure to
follow the instructions as outlined in the
installation manual that was provided with
your door can result in damage to the door
upon initial system start-up.
When limits are established the display
will prompt you to push the down key and
begin the auto-calibration process. I:500
messages will appear on the display. This
is normal. The I:500 messages should dis-
appear within 10 complete cycles. Keep
hands and equipment away from the door
until the auto-calibration is complete.
1. Release the brake located on the end of the motor
and manually move the door to the half-open
position.
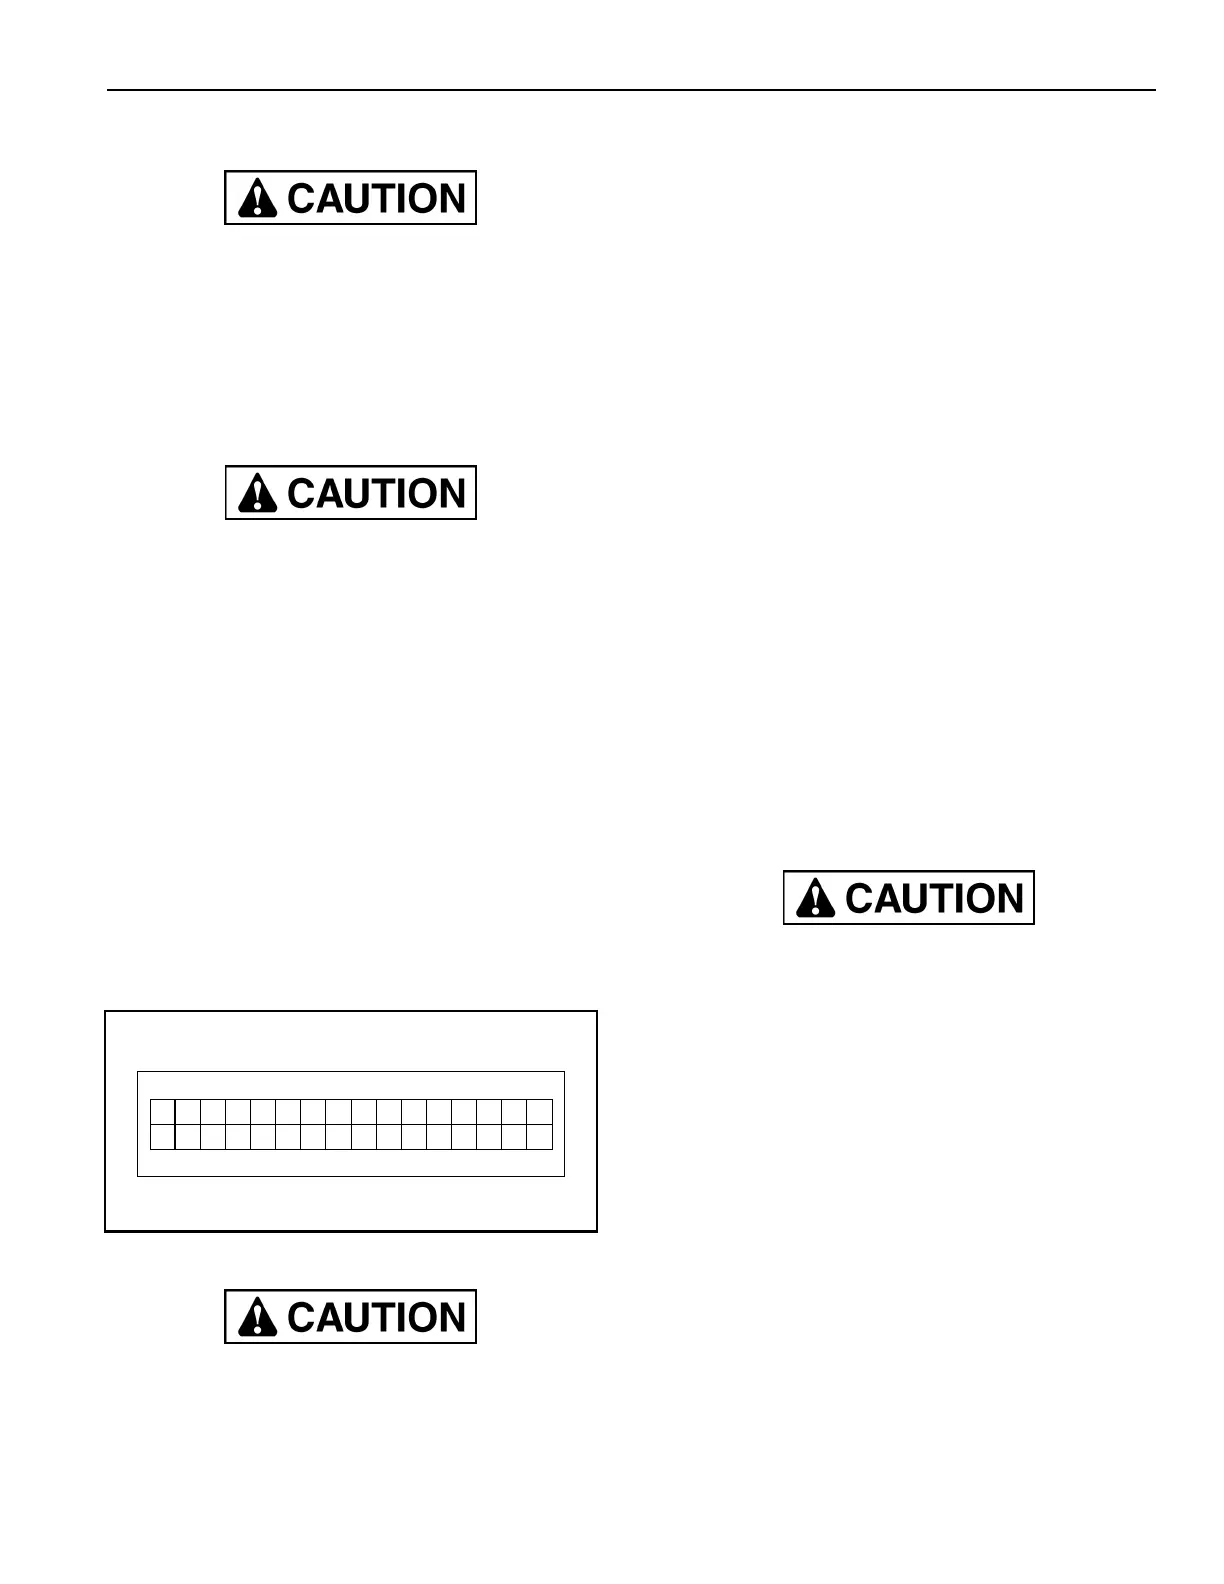
2. Apply power to the control system. During the sys-
tem initialization, the display will indicate that the
door open and close limits must be set by displaying
“! Set Limits !”. (See Figure 24.)
Then the message Push ● [press reset (●) key]
will appear on the display.
Figure 24
The door open and door close limits are to
be set only after verifying that the motor
(door) operates in the proper direction
when the up (▲) and down (▼) keys are
pressed.
3. After the reset (●) key has been pressed one time,
verify the motor rotation by briefly pushing the up
(▲) and down (▼) keys on the control panel.
The door should open with the up (▲) key and
close with the down (▼) key. If the door does not
operate in this manner, reverse two of the motor
wires (not the incoming three-phase supply wires).
NOTE: Reversing the incoming supply voltage
lines will not solve the problem if the motor
is running in the wrong direction. The
motor leads T1 and T2 must be swapped
to change motor rotation. If the motor
rotated incorrectly during the start-up pro-
cess, the limits may need to be reset by
entering P:210 and setting a value of 5.
The RESET key also serves as the
ENTER key and the STOP key.
4. Now set the door open and close limits according to
the instructions on the display.
If any error messages are displayed, some of the
required input connections may be missing. Once
the missing inputs are connected, perform the
open and close limit set-up. Otherwise, refer to
“FAULT CODES” on page 41.
NOTE: When establishing the open- and close-
limit positions, refer to the installation
manual that came with your door.
When limits are established the display
will prompt you to push the down key and
begin the auto-calibration process. I:500
messages will appear on the display. This
is normal. The I:500 messages should dis-
appear within 10 complete cycles. Keep
hands and equipment away from the door
until the auto-calibration is complete.
5. Once the limit-setting procedures have been com-
pleted, the door will automatically cycle until the
auto-calibration is complete (typically 5–10 com-
plete cycles). This
is done to optimize performance
and will allow the door to run smoothly and effi-
ciently.
!SetLimi t s !
→
●
To Be
g
in