Model 2010D Calibration Setup Page 6-
[7] Each of the 20 possible points are shown on the screen.
Arrow down to the point whose Point Start Pattern you wish to
set up.
[8] Enter the unique bit pattern that will be used to activate
this point by entering 1's or 0's. When finished, press Enter
or an arrow key to move to another point.
[9] Repeat steps 7 and 8 as necessary until a unique pattern has
been assigned to each remotely activated point.
[10] When finished, press the End Sequence button. You will be
prompted to save the information or not. The cursor will be
on the "Y" for saving. Press the Enter button and the
initialization will be saved. If you wish to discard the new
initialization, arrow to the "N" and press the Enter button.
Setting the Time and Date
To set the time and date, perform the following steps:
[1] From the main menu select System and press the Enter
button. A pop-up menu will appear.
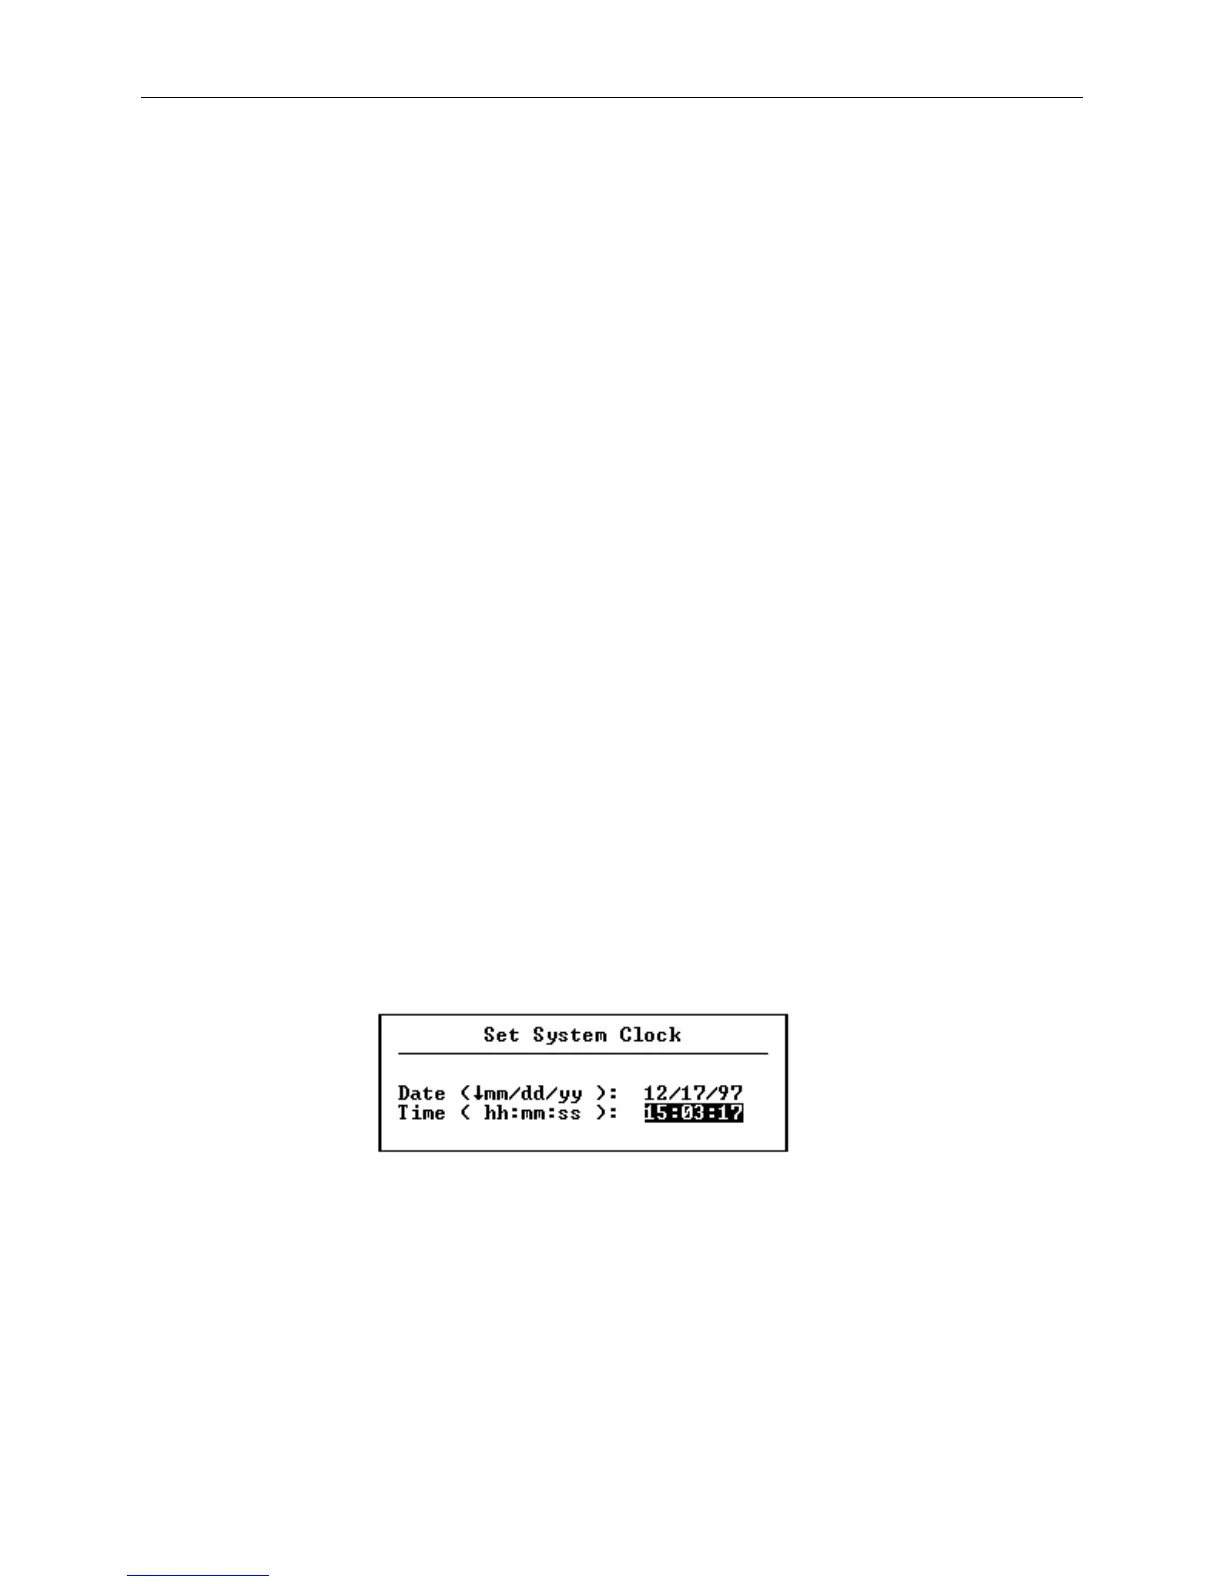
[2] Select Set Clock and press the Enter button. The screen
shown in Figure 6-12 will appear.
Figure 6-12 Set System Clock Screen
[3] Select the desired date format that will be used in all
2010D screens. The options are mm/dd/yy, dd/mm/yy and yy/
mm/dd, with either a "/" or "-" as the separator character.
[4] Set the Date and Time by entering the date and time. It is
not necessary to enter the "/" or ":" separator characters.