66
TOUCH SLIDER
11
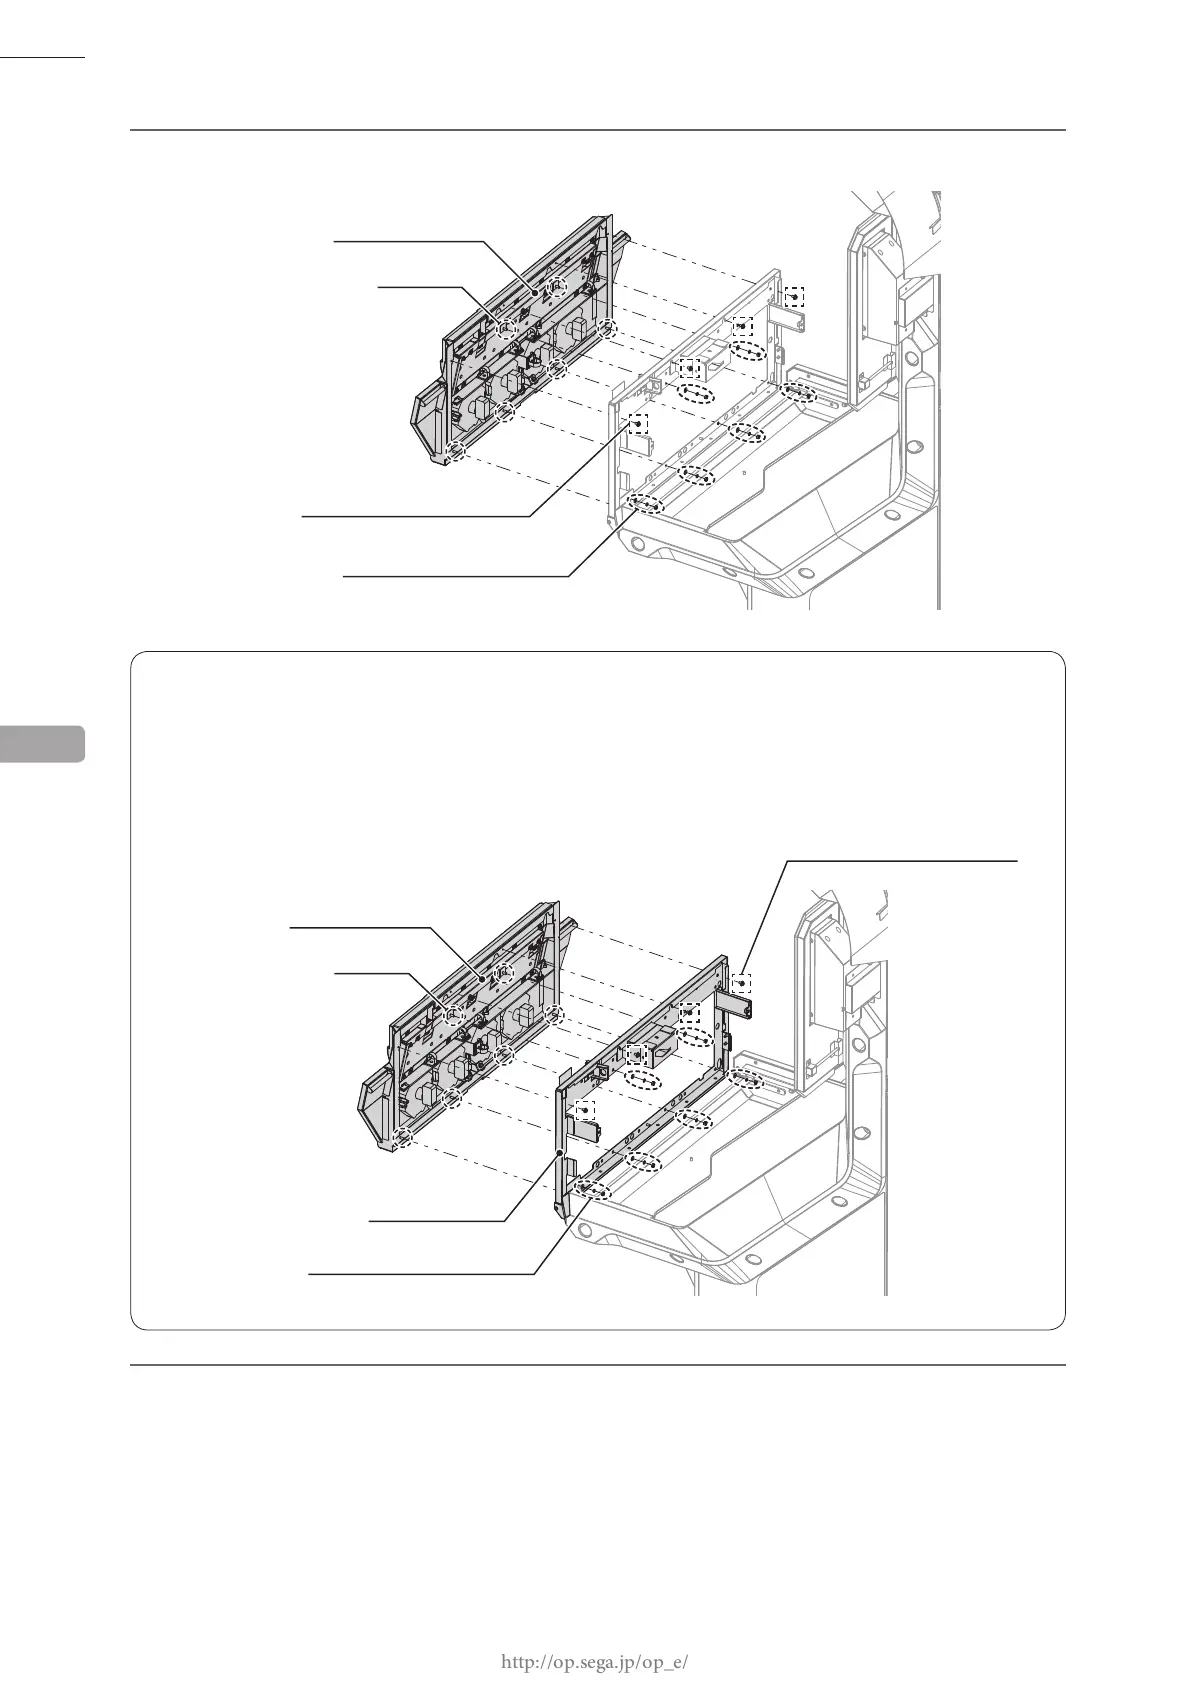
NOTE WHEN ATTACHING CONTROL PANEL
When attaching the control panel, insert the control panel's studs into the holes of the control base and afx
with 4 screws and 6 nuts. When doing this, support the control base, and take care not to catch your hands or
any cables.
NOTE:Use 2 or more workers when performing this task.
7
Place the control panel upside down on a at surface.
6
Remove 4 screws and 6 nuts, take off the control panel.
CONTROL PANEL
STUD (6)
SCREW (4)
M4 x 8, w/at & spring washers
NUT (6)
M4, at & spring washers used
CONTROL PANEL
STUD (6)
CONTROL BASE
NUT (6)
M4, at & spring washers used
SCREW (4)
M4 x 8, w/at & spring washers
 Loading...