Configuration
5.4 Mounting
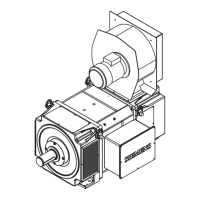
1FW3 complete torque motors
Configuration Manual, 08/2020, A5E46027705B AA
113
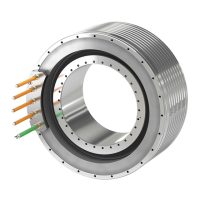
Connecting the rotor to the drive shaft
You can connect the rotor of the 1FW3 motor to the customer drive shaft either using a
flange or a clamping element:
Threaded hole at the rotor DE (face side)
Tensioning elements in the inner
diameter of the rotor
150 12 x M12, 24 mm deep, pitch circle diameter ∅
Inside diameter, 153 mm H7
200 12 x M12, 24 mm deep, pitch circle diameter ∅
Inside diameter, 153 mm H7
280 24 x M16, 34 mm deep, pitch circle diameter ∅
Inside diameter 250 mm H7
Note
Maintain the permissible clamping ranges.
n the permissible surface pressure.
Preconditions for smooth, vibration-free operation
Preconditions for smooth, vibration-free operation include:
● A stable foundation design
● Precise motor alignment.
Comply with the following mounting instructions:
● Ensure a stiff mounting design, especially when flange mounting high-speed motors. As a
consequence, you shift the natural mounting frequency above the maximum rotational
frequency.
● Align the motors using shims under the mounting feet. This avoids deforming/distorting
the motor. Use the fewest possible shims.
● To securely fix the motor and transfer the drive torque, use bolts with property class 8.8.