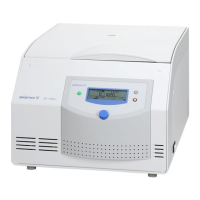
Refrigerated Centrifuge Sigma 8KS
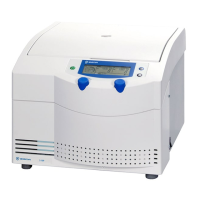
Refrigerated Centrifuge Sigma 8KBS
Version 08/2012, Rev. 2.5 of 02/07/2018 • sb
Translation of the original operating manual, part no. 0702502
Pos: 102 /100 Sig ma/110 BA Ze ntrifugen Sig ma (Projekte)/8K S_8KBS_8KHB S/050 Aufstellu ng und Anschl uss/050-001 1-0010 Aufst ellung @ 29\mod _1405327401 538_68.doc x @ 199745 @ 3 @ 1
5.2.1 Set-up
• Transport the centrifuge as closely as possible to the installation site
with a lifting device (e.g. forklift).
• Set the centrifuge down.
• To place the centrifuge on the castors, open the front door with the
supplied square spanner (part no. 930 114) by turning it clockwise by
90°. Open the front door to the left in order to access the two locking
screws located at the front.
• Loosen the two hexagon lock nuts with the open spanner, size 24 (part
no. 930 024), and screw in the locking screws with the open spanner,
size 8/10 (part no. 930015), in the anticlockwise direction up to the stop
until the adjustment feet are completely relieved of the load.
• Loosen the lock nuts of the two locking screws on the back from the
side and from below with the open spanner, size 24 (part no. 930 024).
Then, screw in the locking screws anticlockwise with the open spanner,
size 13/14 (part no. 930 013), until the adjustment feet are completely
relieved of the load.
• Transport the centrifuge on the castors to the installation site.
Do not use the lid handle to move the centrifuge because it could break
off!
The castors of the centrifuge are made of steel without any plastic coating.
Damage to the surface of the floor cannot be excluded.
Pos: 103 /010 Uni versalmodule/ Leerzeile @ 0\mod_12 02116244500 _0.docx @ 1 14 @ @ 1
Pos: 104 /010 Uni versalmodule/ Leerzeile @ 0\mod_12 02116244500 _0.docx @ 1 14 @ @ 1
Pos: 105 /100 Sig ma/110 BA Ze ntrifugen Sig ma (Projekte)/8KS _8KBS_8KHB S/050 Aufstellu ng und Anschl uss/050-001 1-0020 Ausric htung @ 29\ mod_14053274024 25_68.docx @ 199759 @ 3 @ 1
5.2.2 Alignment
For reasons of safety, the centrifuge must not be operated while it is set up
on its castors!
The centrifuge must be set-up stably and horizontally at the installation
site.
• Set the centrifuge on its adjustable feet (see chapter 5 - "Set-up and
connection" in reverse order). To do so, turn all of the feet clockwise by
hand until they touch the ground. Then, perform approximately two
more clockwise turns with the open spanner until the castors are
suspended in the air.