MMR2000_113_00_02A.FM XI
Preassembled Parts
1. Apply here
2. Do not apply
1. Clean bolts and nuts with solvent.
2. Assemble components.
3. Tighten nuts.
4. Apply drops of proper strength Loctite on
bolt/nut contact surfaces.
5. Avoid touching metal with tip of flask.
NOTE: For preventive maintenance on existing
equipment, retighten nuts and apply proper
strength Loctite on bolt/nut contact surfaces.
Adjusting Screw
1. Apply here
2. Plunger
1. Adjust screw to proper setting.
2. Apply drops of proper strength Loctite thread-
locker on screw/body contact surfaces.
3. Avoid touching metal with tip of flask.
NOTE: If it is difficult to readjust, heat screw with
a soldering iron (232°C (450°F)).
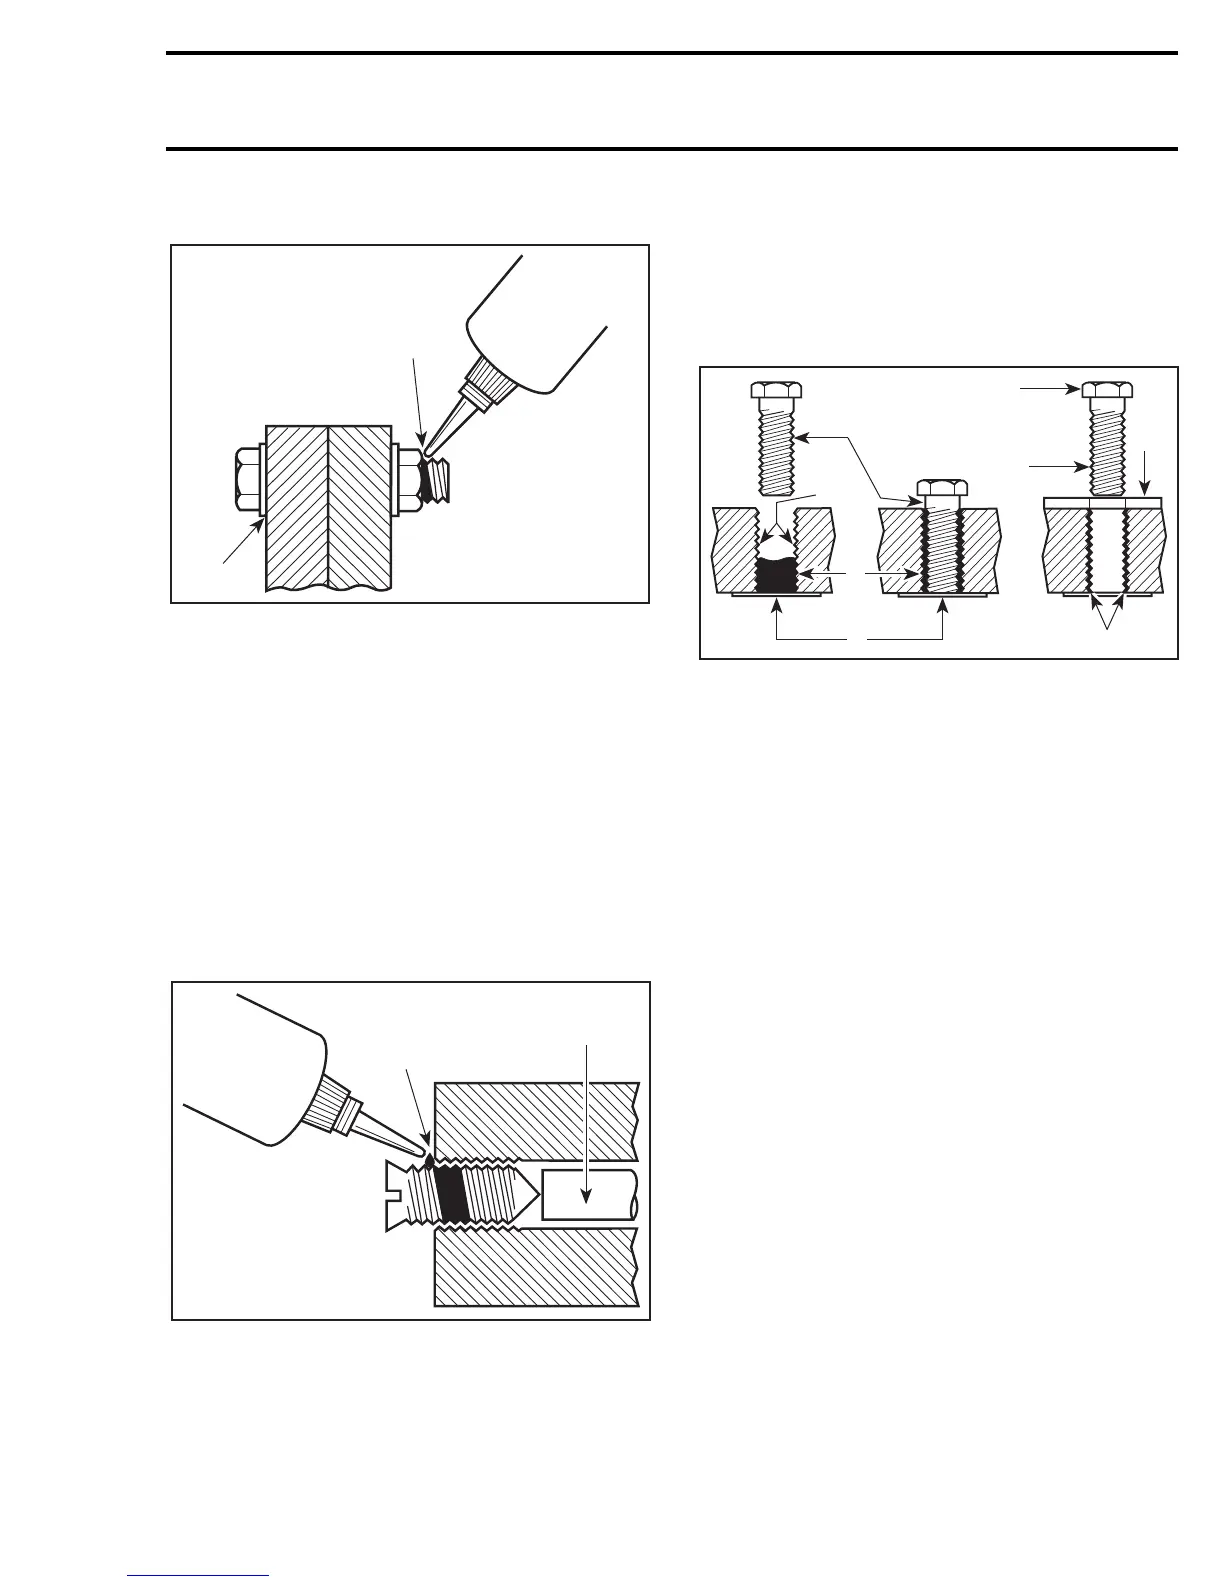
STRIPPED THREAD REPAIR
Stripped Threads
1. Release agent
2. Stripped threads
3. Form-A-Thread
4. Tape
5. Cleaned bolt
6. Plate
7. New threads
8. Threadlocker
Standard Thread Repair
1. Follow instructions on Loctite FORM-A-
THREAD (P/N 413 708 600) package.
2. If a plate is used to align bolt:
a. Apply release agent on mating surfaces.
b. Put waxed paper or similar film on the surfac-
es.
3. Twist bolt when inserting it to improve thread
conformation.
NOTE: NOT intended for engine stud repairs.
Repair of Small Holes/Fine Threads
Option 1: Enlarge damaged hole, then follow
Standard Thread Repair procedure.
Option 2: Apply FORM-A-THREAD on the screw
and insert in damaged hole.
Permanent Stud Installation (light duty)
1. Use a stud or thread on desired length.
2. DO NOT apply release agent on stud.
3. Do a Standard Thread Repair.
4. Allow to cure for 30 minutes.
5. Assemble.
A00A3OA
1
2
A00A3PA
1
2
A00A3QA
5
8
6
7
1
2
3
4
INTRODUCTION
 Loading...