Chapter 2 Installing the display
smarttech.com/kb/171744 27
1. Flick the power switch beside the AC power inlet on the rear of the display to the ON (I) position.
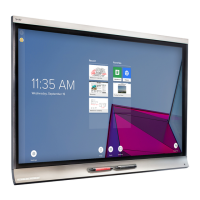
SBID-GX165 SBID-GX175
and
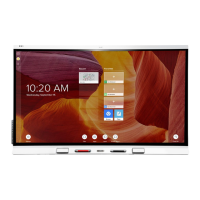
SBID-GX186
2.
Select your preferred language, and then tap the Next icon .
3. Select the country location where you’re installing the display. This helps to ensure the proper Wi-Fi
frequencies for wireless networks are available. Tap the Next icon .
4. Select an Ethernet connection or wireless network. To add a hidden Wi-Fi network manually, select
Add Network.
Important
The display needs an internet connection for downloading and installing important updates. Ask
the network administrator to verify that the display can access the network by making sure the
display’s built-in browser can access the internet.
5. Add a network certificate (optional).
See
Connecting to a network
on page23
6.
Tap the Next icon .
7.
Set the date, time and timezone, and then tap the Next icon .
You can also enable the display’s date and time to be set automatically.
(see
Date, time, location, and language settings
on page78).