HRX-OM-M090
Chapter 3 Transport and Setting Up
HRS Series 3.3 Installation
3-7
3.3 Installation
3.3.1 Mounting
z
Mount the product on a flat and stable floor with no vibrations.
z
Refer to’’8.2 Outline dimensions’’ for dimensional information of the
product.
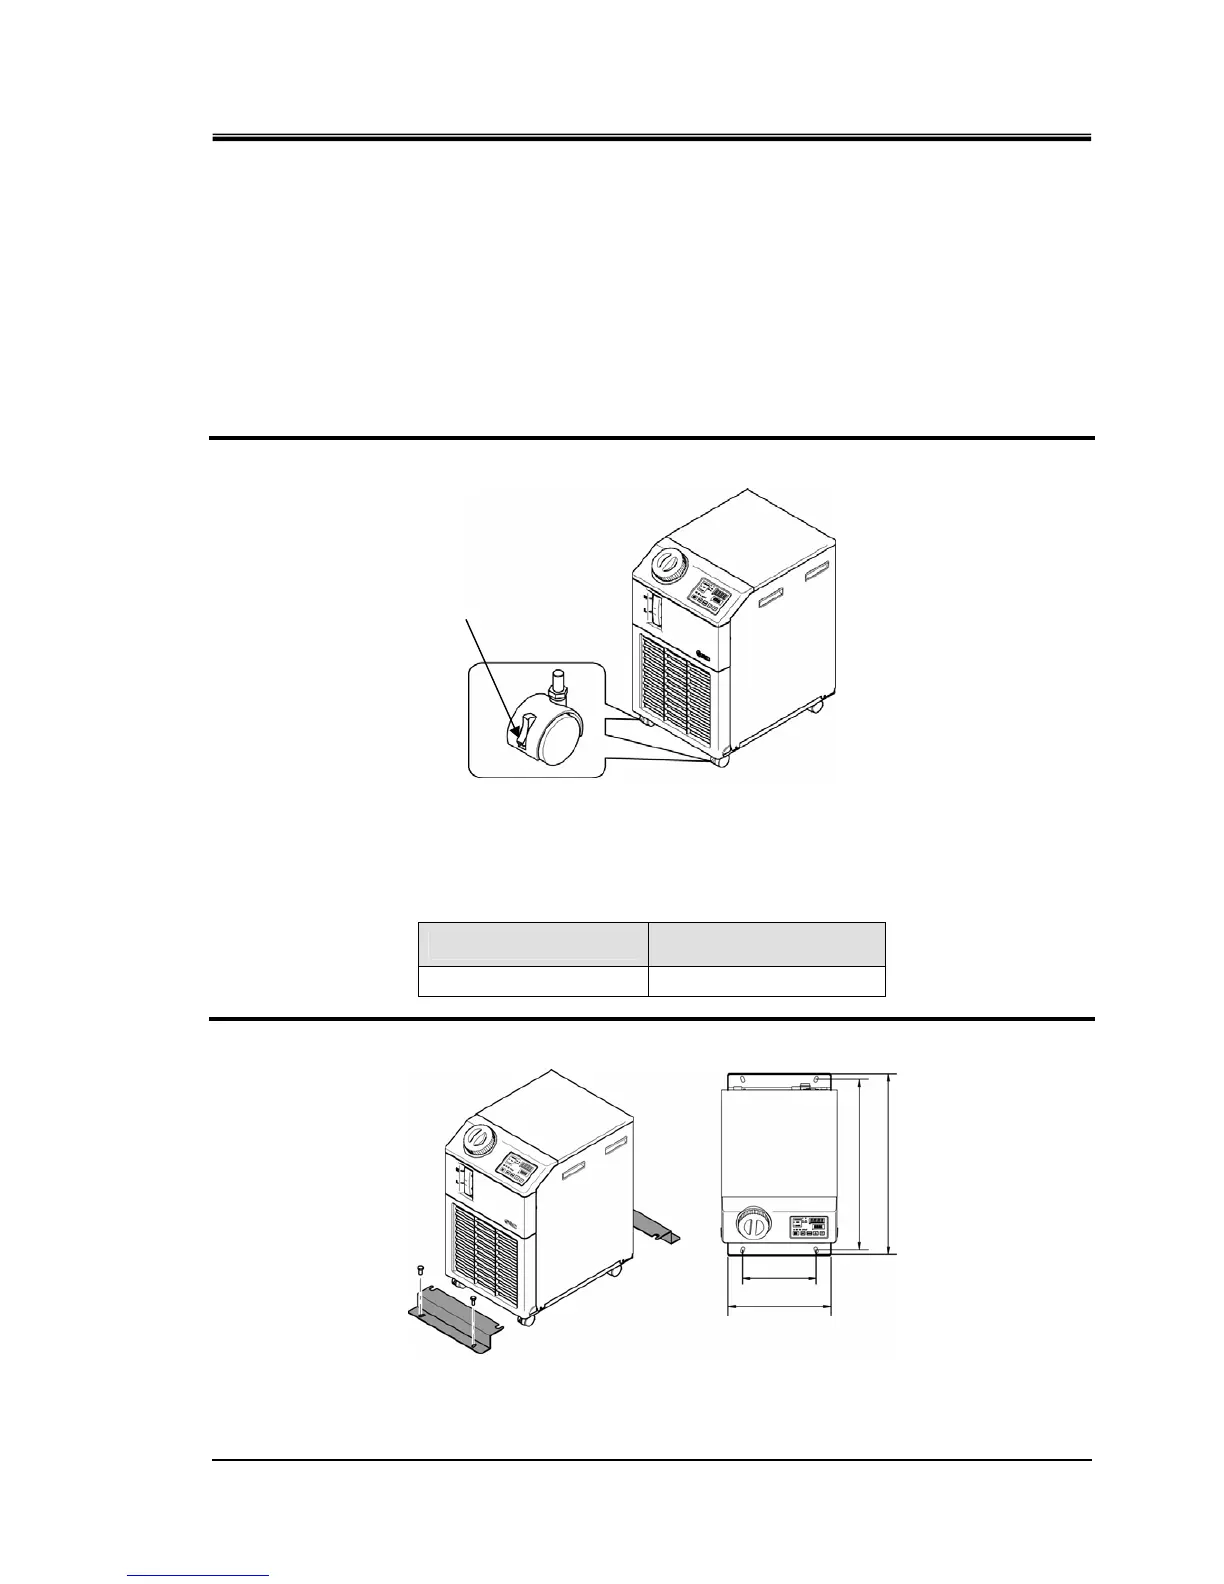
How to mount the product
1. Move the product to the installation area.
2. After moving, lock the front casters again.
Fig. 3-3 Installation procedures
〈Fixture〉
Follow the procedure below when fixing the thermo-chiller to the floor or the mounting frame.
1. Prepare the fixing bracket shown below (Not included in the package).
Item
Part number
Anti-seismic brackets HRS-TK001
2. Use M8 foundation bolts to fix the product within the dimensions below.
Fig. 3-4 Anti-seismic brackets installing
∗4 (four) M8 foundation bolts should be prepared by the customer.
Lock
240
335
 Loading...