User Manual |
111
Laser Engraving and Cutting - 03 How to Laser Engrave and Cut
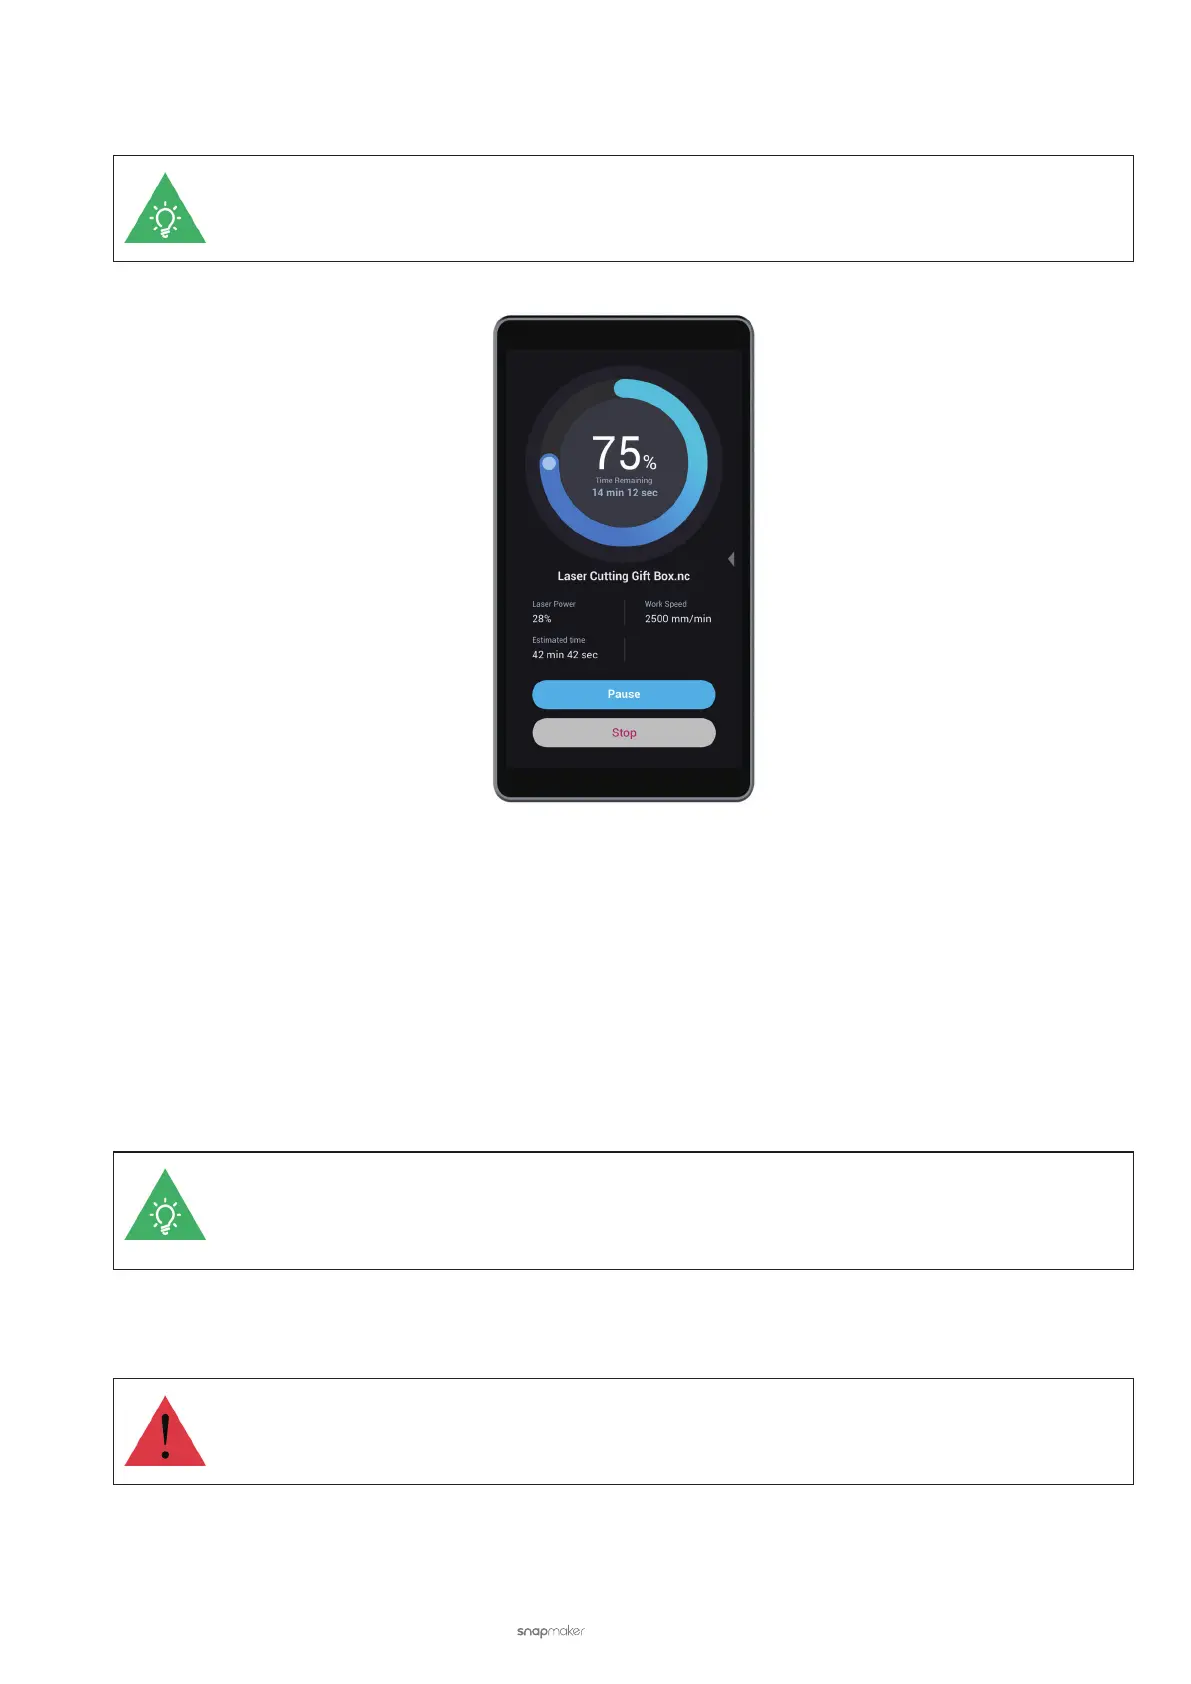
(8) Laser engraving and cutting starts.
You can swipe left to modify Laser Power and Work Speed.
Start Engraving and Cutting in Luban
(1) Connect your machine to Luban.
(2) Load G-code to Workspace.
• If you generate G-code in Luban, click Load G-code to Workspace to load the generated G-code to
Workspace.
• If you want to use a G-code le stored in your computer, click Open G-code. Select a G-code le (NC le)
from your computer and click Open.
(3) Select Auto Mode.
You can also opt for Manual Mode. However, we recommend auto mode as it is easier to follow. To
know more about the differences between the two modes as well as how to navigate the manual
mode, see 3.10 Auto Mode and Manual Mode for Laser Engraving and Cutting.
(4) Set Material Thickness. Enter the thickness (in millimeters) of the material you want to engrave or cut.
Set an accurate material thickness. Otherwise, the Lens Hood may collide with the material.
(5) Put on the Laser Safety Goggles and turn on Laser Power.
(6) Click X-, X+, Y-, or Y+ to move the laser dot to where the work origin will be, and then click Set Work Origin.