User Manual |
45
3D Printing - 03 How to 3D Print
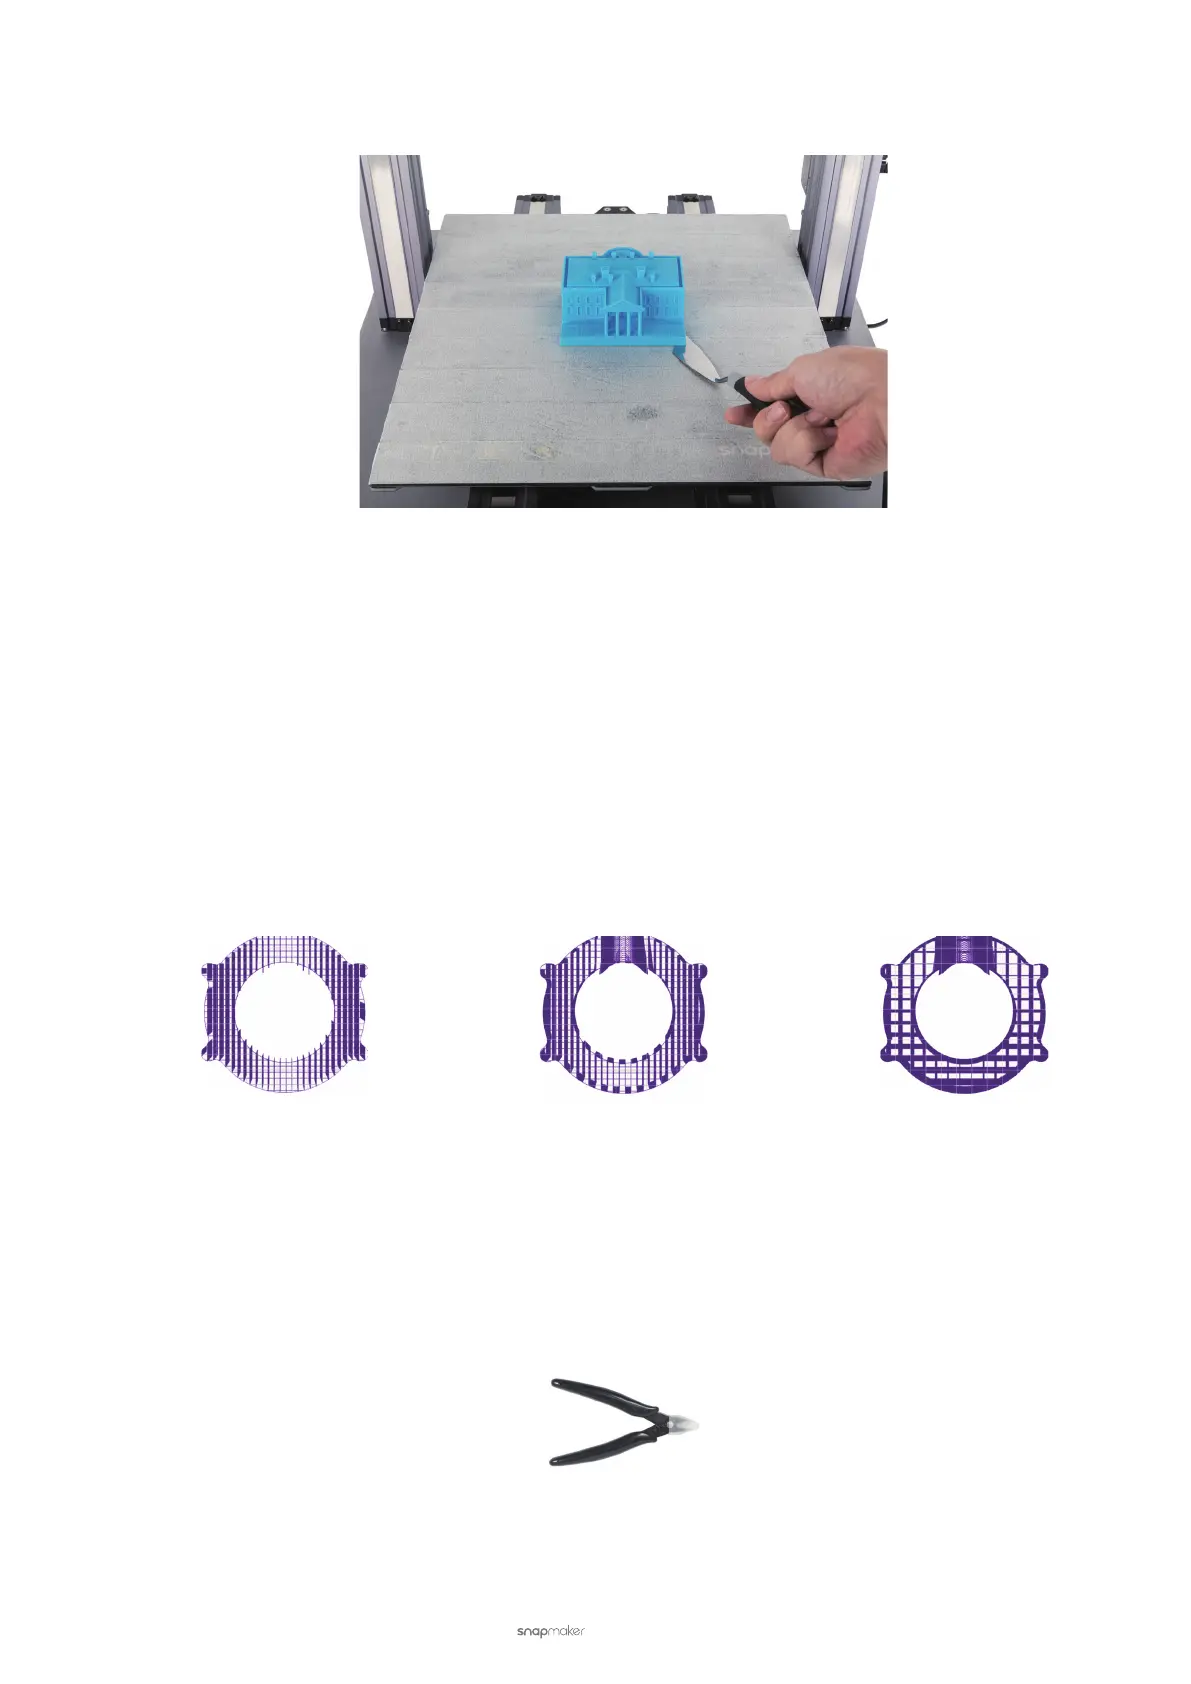
(6) After the printing job completes, wait for the Heated Bed to cool down. Gently scrape your print from the tape
using the palette knife. Adhesive tapes on the Print Sheet can be used for next printing job.
Remove Support Structures
Some 3D prints work well without support structures, whereas some do need them. Should you add support
structures in your G-code files, the following tips may be helpful.
Set Proper Support Structures
Luban has three types of support structures—Line, Zig Zag, and Grid. Generating support structures can prevent the
overhung model parts from collapsing during printing. Setting a proper support pattern and its pertaining parameters
will ease the removal of the support structures.
Generally, Line is the easiest pattern to remove, and Grid the most difficult. Line is often used for prints with few
overhangs, requiring only slight support. Grid is suitable for prints with more overhangs which, if without any support
from the base, will collapse the moment the uncured filament is extruded.
Line Zig Zag Grid
Use Tools
As a general rule, you should always remove support structures slowly and cautiously.
Diagonal Pliers
Provided by Snapmaker. Diagonal pliers with wide jaws are typically used for cutting off outer parts, but less ideal for
parts embedded deep inside the model.