15
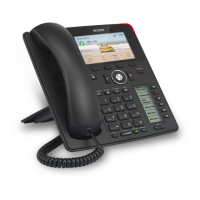
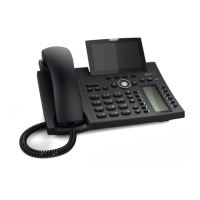
D862 User Manual Setting up the Phone
User name, authentication name, and outbound proxy may also be required. These are settings that
can only be congured on the web interface of the phone after it has been successfully registered. If
your provider or your network provides a mailbox account, that setting is also congured on the web
interface. For more information, see "Identities/accounts" on page 60.
Initialization
Snom phones are plug-and-play. Once the phone is connected to your network, it will begin to
initialize.
Note: Normally the initialization is completely automatic, using DHCP. If the phone
cannot discover a DHCP server in the subnet, you will be asked: Are you using DHCP?
If your network does not support DHCP, press and enter the IP address, netmask, IP
gateway, and DNS server manually. Ask your Internet service provider or your network
administrator for them.
If your network does not support DHCP, you must obtain the IP address, netmask, IP gateway, and DNS
server from your Internet service provider or your network administrator and enter them manually.
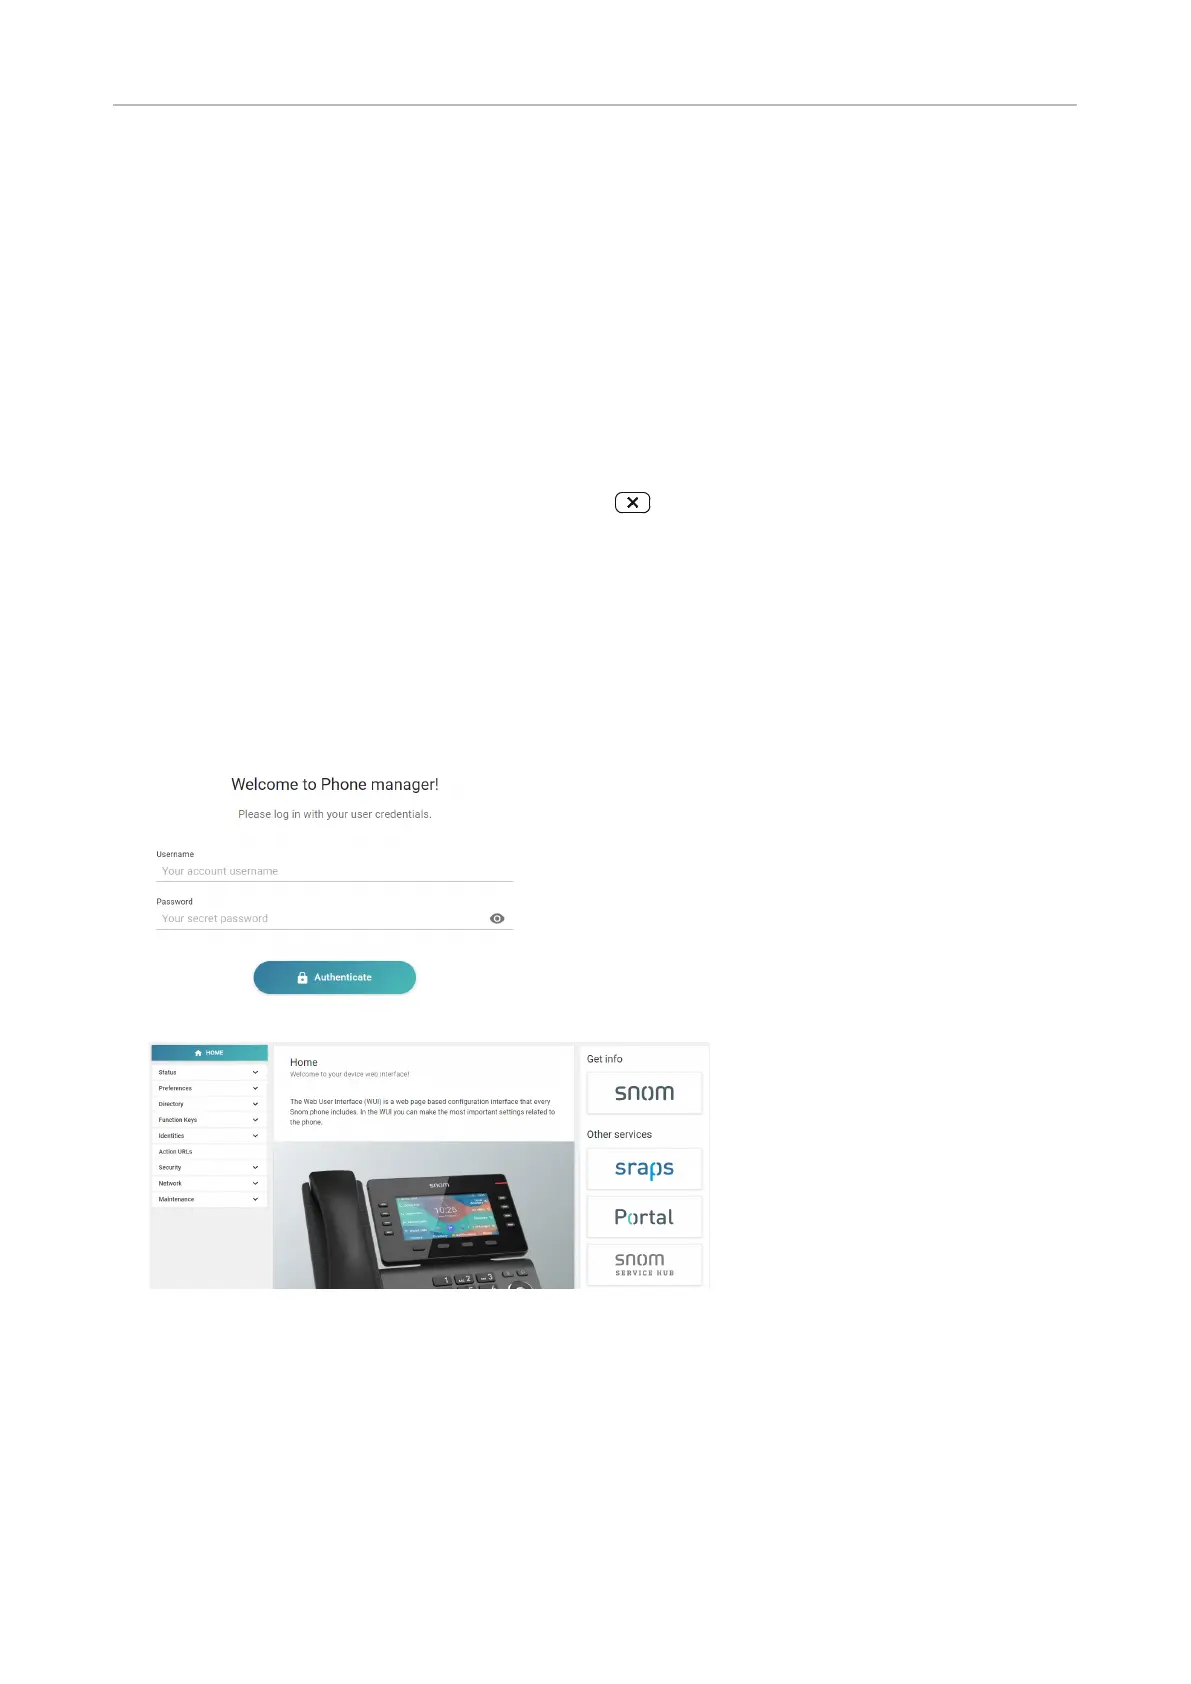
When the phone has been connected, it will show the welcome screen with the IP address of the
Phone Manager. Enter the IP address into the address bar of your computer's browser and press
ENTER to open the Phone Manager.
1. Click Authenticate. The Home page opens.
2. Click Preferences in the vertical menu on the left side.
3. Select the language and click Apply,
4. Select the timezone and click Apply.
5. Select the tone scheme (dial tone) and click Apply.
6. Click Identities in the vertical menu on the left side and select Prole.
7. Enter the account number, the registrar, and the password received from your Internet service
provider or administrator and click Apply.