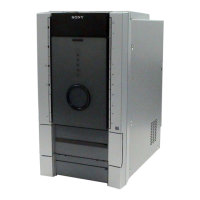
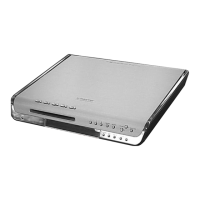
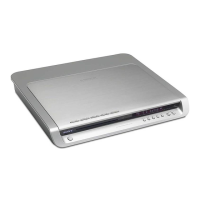
Do you have a question about the Sony HCD-FL5D and is the answer not in the manual?
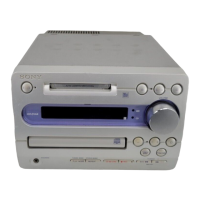
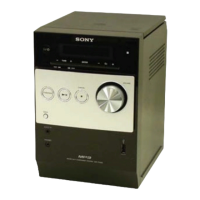
| Type | Mini Hi-Fi Component System |
|---|---|
| Power Output | 100 W |
| Tuner | FM/AM |
| CD Player | Yes |
| USB Playback | No |
| Bluetooth | No |
| Weight | 4.2 kg |
| Frequency Response | 20 Hz - 20 kHz |
| Signal-to-Noise Ratio | 80 dB |
| Speaker Impedance | 6 Ohms |
| Functions | CD, Radio |
| Tuner bands | AM/FM |
Provides a summary of DVD and Tape mechanism details.
Details specifications for Amplifier, Inputs, Outputs, DVD, and Tape sections.
Specifies tuning range, antenna type, and intermediate frequency for FM and AM.
Covers power requirements, dimensions, mass, and supplied accessories.
Lists controls alphabetically and provides their locations.
Describes connections for component video, video, S-video, and digital audio outputs.
Steps to adjust the hour and minute settings after activating clock set mode.
Outlines the step-by-step process for disassembling the unit.
Instructions for removing the top panel assembly.
Instructions for removing the back cover.
Instructions for removing the side panels (A and B).
Instructions for removing the main case.
Instructions for removing the front panel assembly.
Instructions for removing the GC board.
Instructions for removing the tape mechanism assembly.
Details the process for replacing belts, including component identification.
Instructions for removing SW, Head (A), and Head (B) boards.
Instructions for disassembling the DVD mechanism block.
Instructions for removing the DSP board.
Instructions for disassembling the DVD mechanism deck (CDM53N-DVBU14).
Instructions for removing the fitting base, bracket, and magnet assemblies.
Instructions for disassembling the base unit (DVBU14).
Instructions for removing the sub tray.
Instructions for removing the chassis, stocker, and slider sections.
Instructions for removing the VIDEO board.
Instructions for removing the SUB TRANS board.
Instructions for removing the back cover section.
Instructions for removing the TRANS board.
Instructions for removing the SP RELAY board.
Outlines the step-by-step process for assembling the unit.
Instructions for installing gears, ensuring proper meshing and alignment.
Instructions for inserting the slider into the assembly and aligning it.
Instructions for installing the stocker section and hooking it to the slider.
Instructions for installing the chassis section and inserting gears.
Explains how to clear preset data and reset the system to initial conditions.
Details how to change AM channel steps between 9 kHz and 10 kHz.
Explains how to select between VIDEO or MD for external function input.
Covers checking software version, LEDs, keyboard, and VACS.
Details checking Amplifier, Tuner, and Tape operations. Includes volume and tuner function checks.
Procedure for adjusting the playback head azimuth for both decks.
Procedure for adjusting tape speed for Deck B, including wow and flutter values.
Procedure for adjusting recording bias in Deck B using REC memory mode.
Block diagram illustrating the RF servo section signal paths.
Block diagram of the tuner and tape deck sections.
Block diagram showing the audio digital signal processor and related circuits.
Block diagram illustrating the power amplifier stages and speaker outputs.
Block diagram of the video processing section, including outputs.
Block diagram of the display driver and power supply circuits.
Notes on PWB layout, schematic conventions, and circuit board locations.
Exploded view of the main case and associated parts.
Exploded views detailing the front panel assemblies.
Exploded views illustrating the chassis structure and components.
Exploded views of the DVD mechanism deck components.
Exploded view of the base unit (DVBU14) and its parts.
Exploded views of the tape mechanism deck components.
List of components for the blue LED board.
List of components for the CD door board.
List of components for the CD motor board.
List of components for the DSP board.
List of components for the front rear amplifier board.
List of components for the MC board.
List of components for the SP relay board.