4-17
R
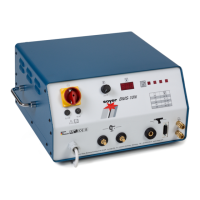
Installation of the stud welder
4 Installation of the stud welder
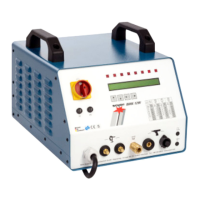
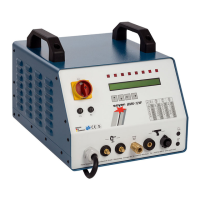
The sides of the stud welders BMS-10N and BMS-10NV are equipped with
two plastic handles.
These carrying handles are intended for transport by hand only.
☞ Never pull ropes through these handles to lift the system by
crane to the installation site. The system would become unstable
and might tilt from its original position. As a result the handles
could rip and the system fall on the ground.
• Only place the stud welder on an even surface. Four anti-vibration pads
located on the bottom of the system guarantee its anti-skid position and
serve as vibration dampers.
• Although the stud welder is resistant to environmental influences, it should
be protected against dampness and dust. This is easily achieved by placing
the welding system on a workbench.
• Please pay particular attention to the bearing strength of the workshop
furniture and a safe and stable position.
• Make sure there is sufficient free space around the air apertures.
• Install the stud welder close to the welding location.
• Observe the correct connected loads for electrical connections.
• The electrical connecting cable is of adequate length. Additional extension
cables cause a voltage drop, possibly leading to unit disturbances.
• Ensure sufficient ventilation of the working room when operating the system.
The housing of the stud welders BMS-10N and BMS-10NV
☞ corresponds to safety class IP 21. Please observe that this
system of protection is e.g. not suitable for being operated or
transported in the rain.
 Loading...