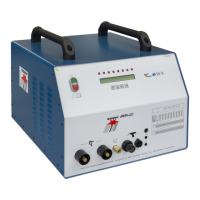
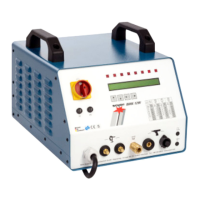
A-2
R
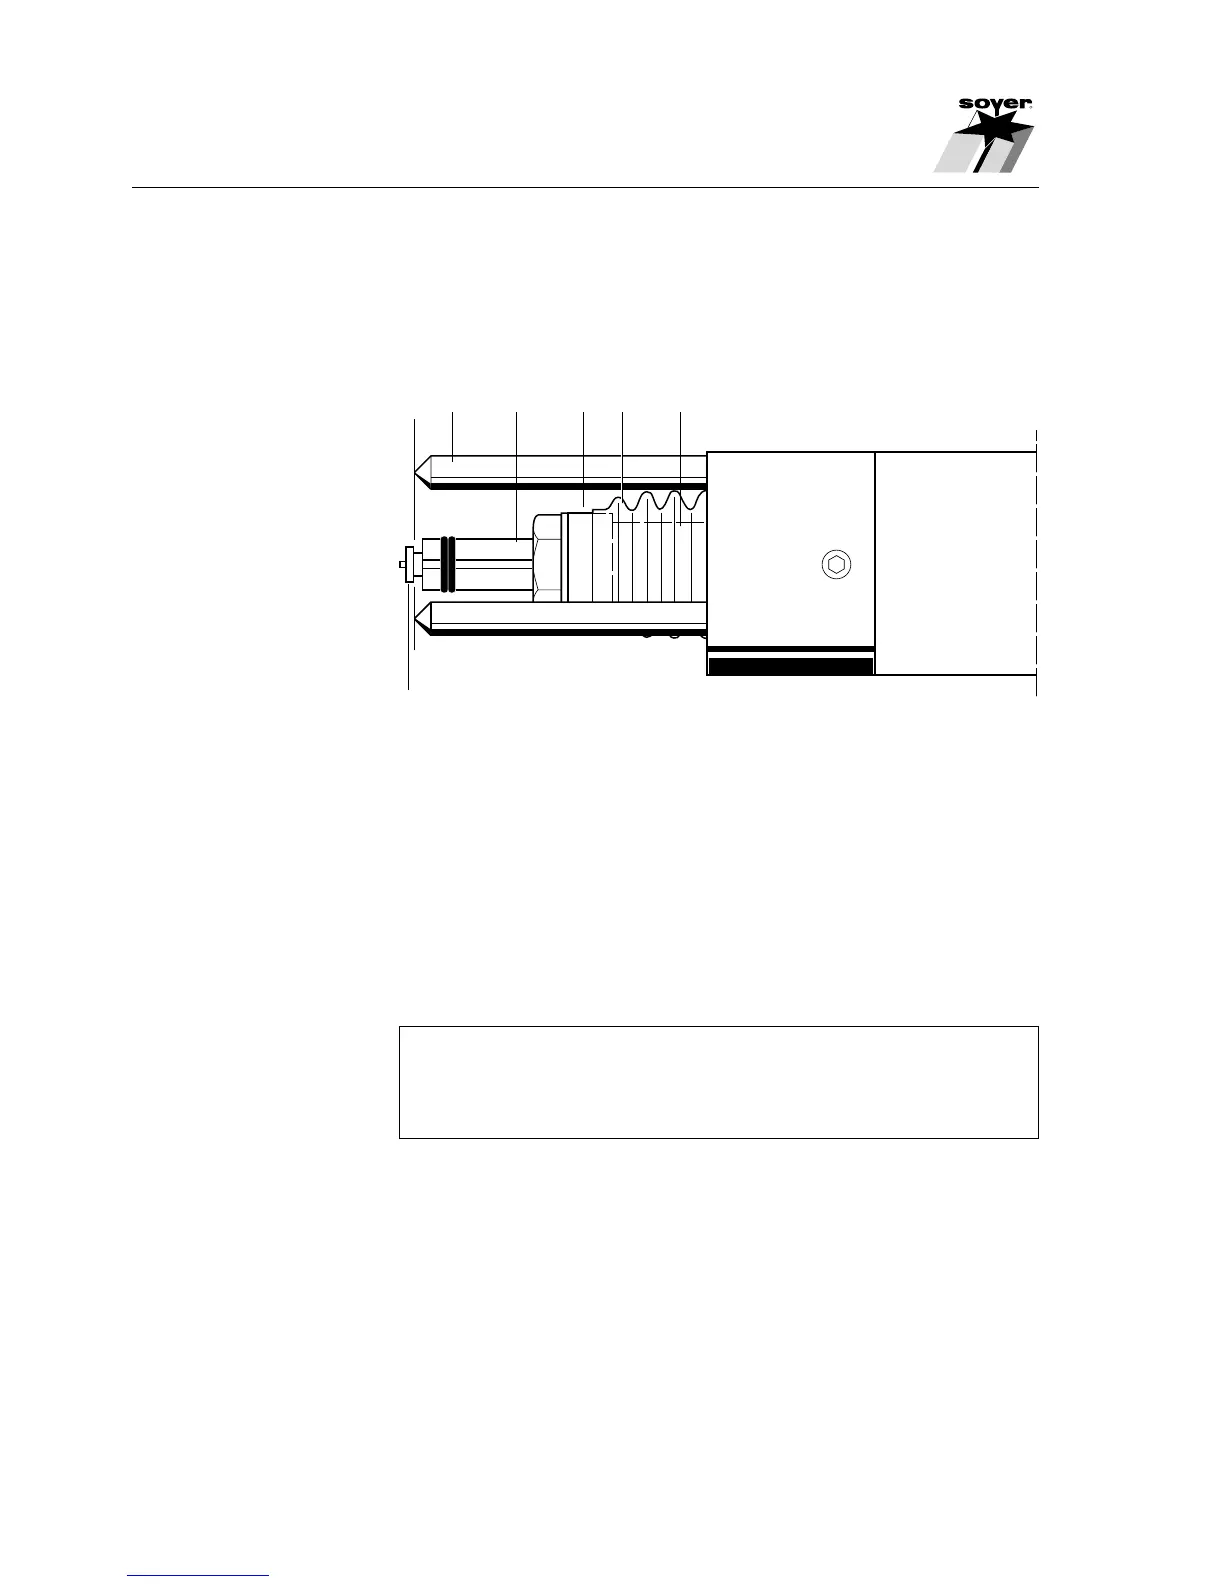
1.2 Installation of stud holder into stud welding pistol
The illustration below shows how to install the stud holder into the stud welding
pistols PS-1, PS-3 and PS-3K. Stud welding pistols PS-0K and PS-1K are
provided with a support tube instead of pistol legs (1).
1 Pistol leg 4 Bellows
2 Stud holder 5 Spring piston
3 Sleeve nut 6 Stud flange
• Loosen sleeve nut (3) at stud welding pistol PS-1, PS-3 and PS-3K by
means of socket wrench SW 17, those at stud welding pistols PS-0K and
PS-1K by means of socket wrench SW 14
• Insert stud holder (2) into spring piston (5) until stop
• Tighten stud holder (2) with sleeve nut (3)
The stud flange must project from the top of the pistol legs or
☞ the support tube for the thickness of the flange. If this is not the
case, remove stud holder and correct the projection by means
of stop screw.
Appendix A/PS-3 - Adjustment of stud welding pistols - Capacitor Discharge
1
6
23 5
SZ05.0693.010.X
4
 Loading...