6-27
Operation
R
6 Operation
The measures mentioned in the "Initiation of stud welder" chapter have already
been performed.
Ꮨ
The applicable accident prevention and safety regulations in chapter 3 have
to be complied with when operating the stud welder.
Ꮨ MORTAL DANGER
Never touch the stud or stud holder during the welding process. These
components are current-carrying !
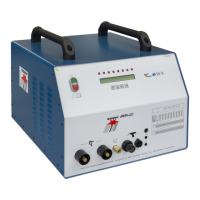
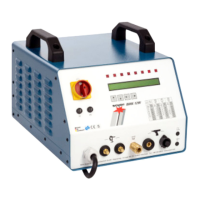
• Select the energy range according to stud diameters and welding para-
meters (chapter 5.5) by using the energy range controller (item 4, chapter
5.1). LED "Ready" lights up (item 7.2, chapter 5.2.2).
• Position pistol with welding stud on the workpiece.
Besides LED "Ready" (item 7.2, chapter 5.2.2) LED "Stud on Workpiece"
lights up (item 7.3, chapter 5.2.2) when earth has been properly connected
to the workpiece. Electric circuit is completed.
• Activate pistol switch.
LED "Release" (item 7.4, chapter 5.2.2) lights up and welding process is
started. Charging voltage returns to "0". LED "Stud on workpiece" (item 7.3,
chapter 5.2.2) lights up. LED "Ready" (item 7.2, chapter 5.2.2) goes out.
Stud welder is not ready for welding.
• Remove pistol from the workpiece.
All LEDs go out and the stud welder is charged to the set value. After the
value has been obtained, LED "Ready" (item 7.2, chapter 5.2.2) lights up
and the stud welder is ready for the next welding process. In the case of
automatic operation, one stud is reloaded.
Hold the pistol still during the welding process and wait until the welding
process has been completed before removing it vertically from the welded
stud. Please also refer to the respective chapters in the operating instructions
of the stud welding pistols.
Adjustment and installation of the stud holder into the welding pistol as well as
adjustment of the welding pistol are described in the operating instructions of
the stud welding pistol.