QA BEAMCHECKER™ PLUS 34
Orientation may differ depending on room type or energy selected
5. Now complete an MVCT of the QA BeamChecker Plus by following the directions for
running a procedure on the “What’s Next?” box at the top of the screen in the TomoTherapy
software. After completing the scan, go to the registration panel on the Operator’s Station and
register the MV image to the reference image (taken during the planning step - See Appendix
B) using the manual adjustments. Note registration adjustments.
CAUTION: Do not irradiate past the 20 x 20 cm field label edge.
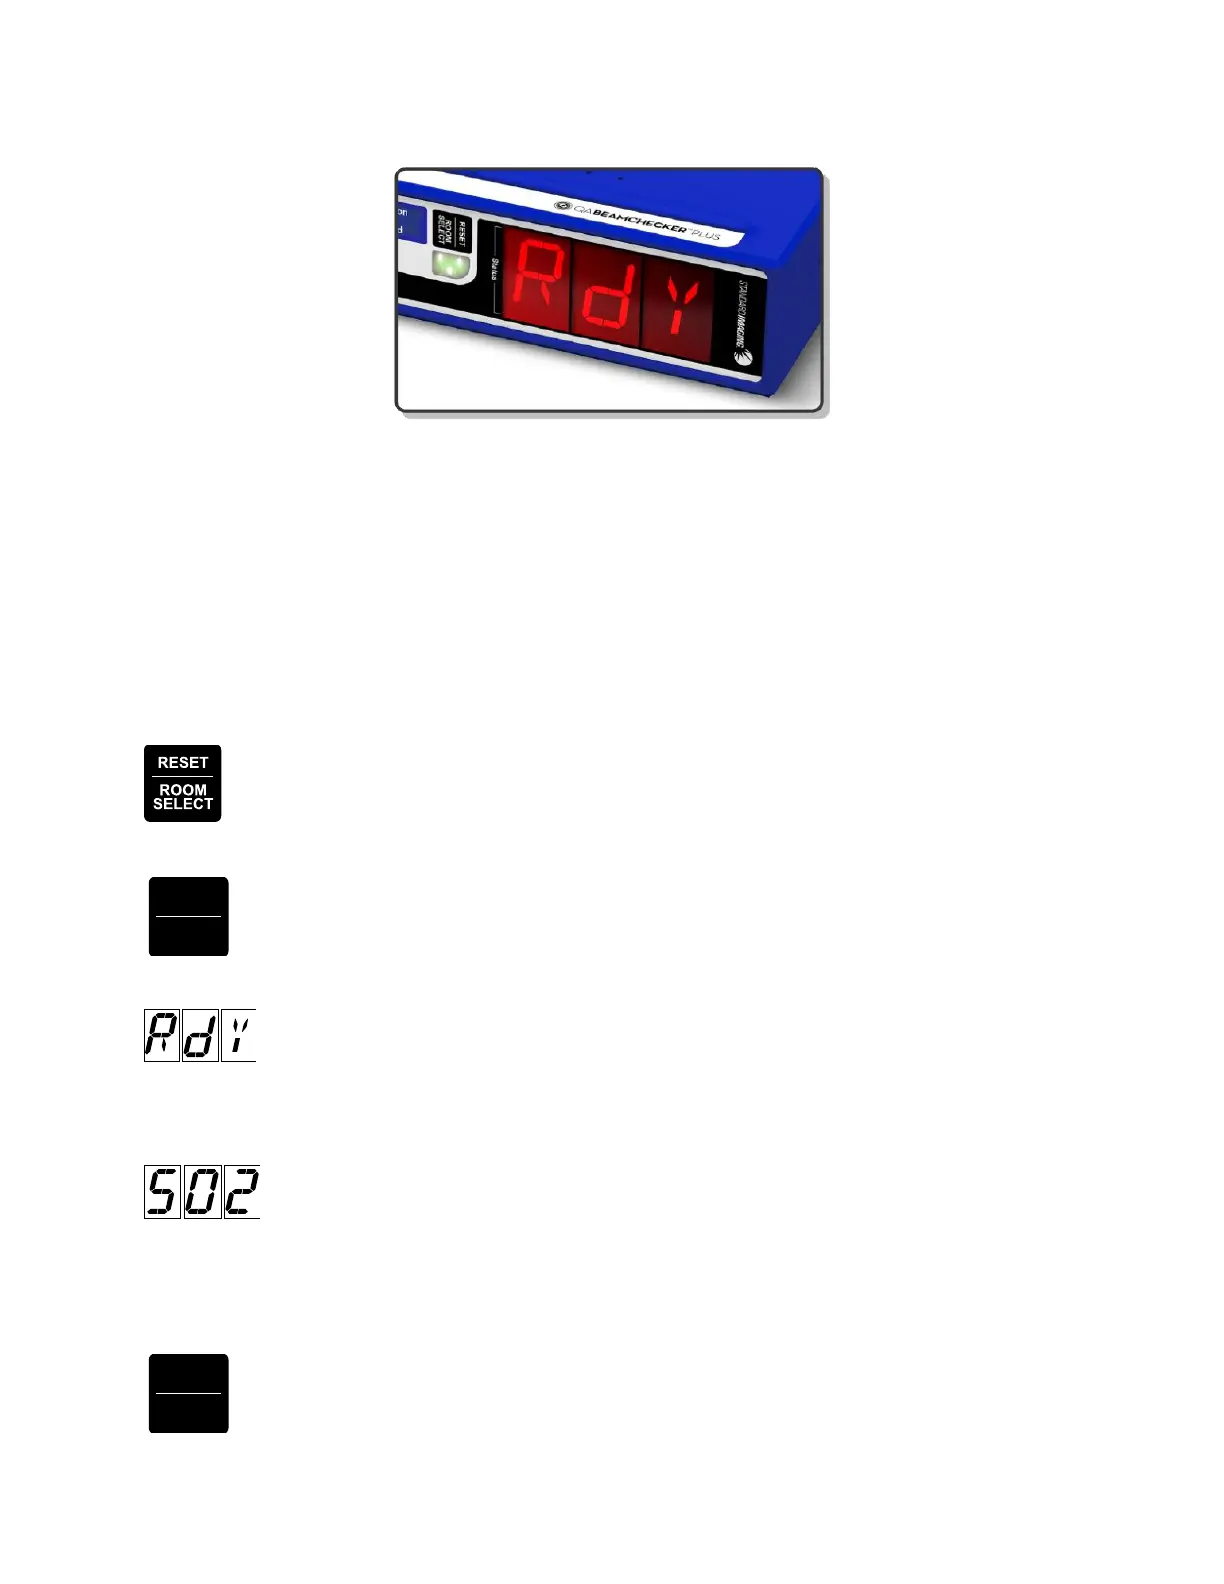
6. Turn the QA BeamChecker Plus on using the power button on the front of the unit.
7. (If only 1 room is configured, skip to step 5) After displaying the firmware version,
the front panel will alternate between RM and SEL (Room Select). Press the RESET /
ROOM SELECT button to cycle through the available rooms (displayed as RM1, RM2,
etc). Once the desired room number is displayed, briefly wait and the selection will be set.
8. The QA BeamChecker Plus display will now alternate between PLN, SEL (Plan
Select). Press the MODE / PLAN button to cycle through the available plans
(displayed as D01, D02, S01, S02, etc). Once the desired plan number is displayed,
briefly wait and the selection will be set.
9. The front panel will now display Rdy (Ready).
10. Deliver the plan selected on the front panel of the unit. Measurement will start
automatically as indicated by spinning lines displayed on the front panel.
11. Check the patient monitor to verify the plan was successfully delivered. For
example, if S02 (label selected at time of baseline) was administered, S02 will be
displayed, and the measurement will be saved. If the beam parameters fall below action level 1
(set at time of baseline), the unit will reset in roughly ten seconds, re-arm, and display Rdy. If
the unit beeps repeatedly and a fault message is displayed, see the following section of the
manual: Wire-Free Measurement Fault.
12. Repeat steps 10-11 to test the same plan again, otherwise enter the vault and use
the MODE / PLAN button to select a new plan from the QA BeamChecker Plus front
panel.