QA BEAMCHECKER™ PLUS 41
5. Now complete an MVCT of the QA BeamChecker Plus by following the directions for
running a procedure on the “What’s Next?” box at the top of the screen in the TomoTherapy
software. After completing the scan, go to the registration panel on the Operator’s Station and
register the MV image to the reference image (taken during the planning step - See Appendix
B) using the manual adjustments. Note registration adjustments.
6. On the PC connected to the QA BeamChecker Plus, launch the QA BeamChecker Plus
Communication Software.
NOTE: The QA BeamChecker Plus should automatically turn on when the communication
software is launched.
7. If the database file associated with the QA BeamChecker Plus connected to the PC
is not already open, open it by clicking the open icon on the toolbar or navigating to
File > Database > Open and browse for the correct file.
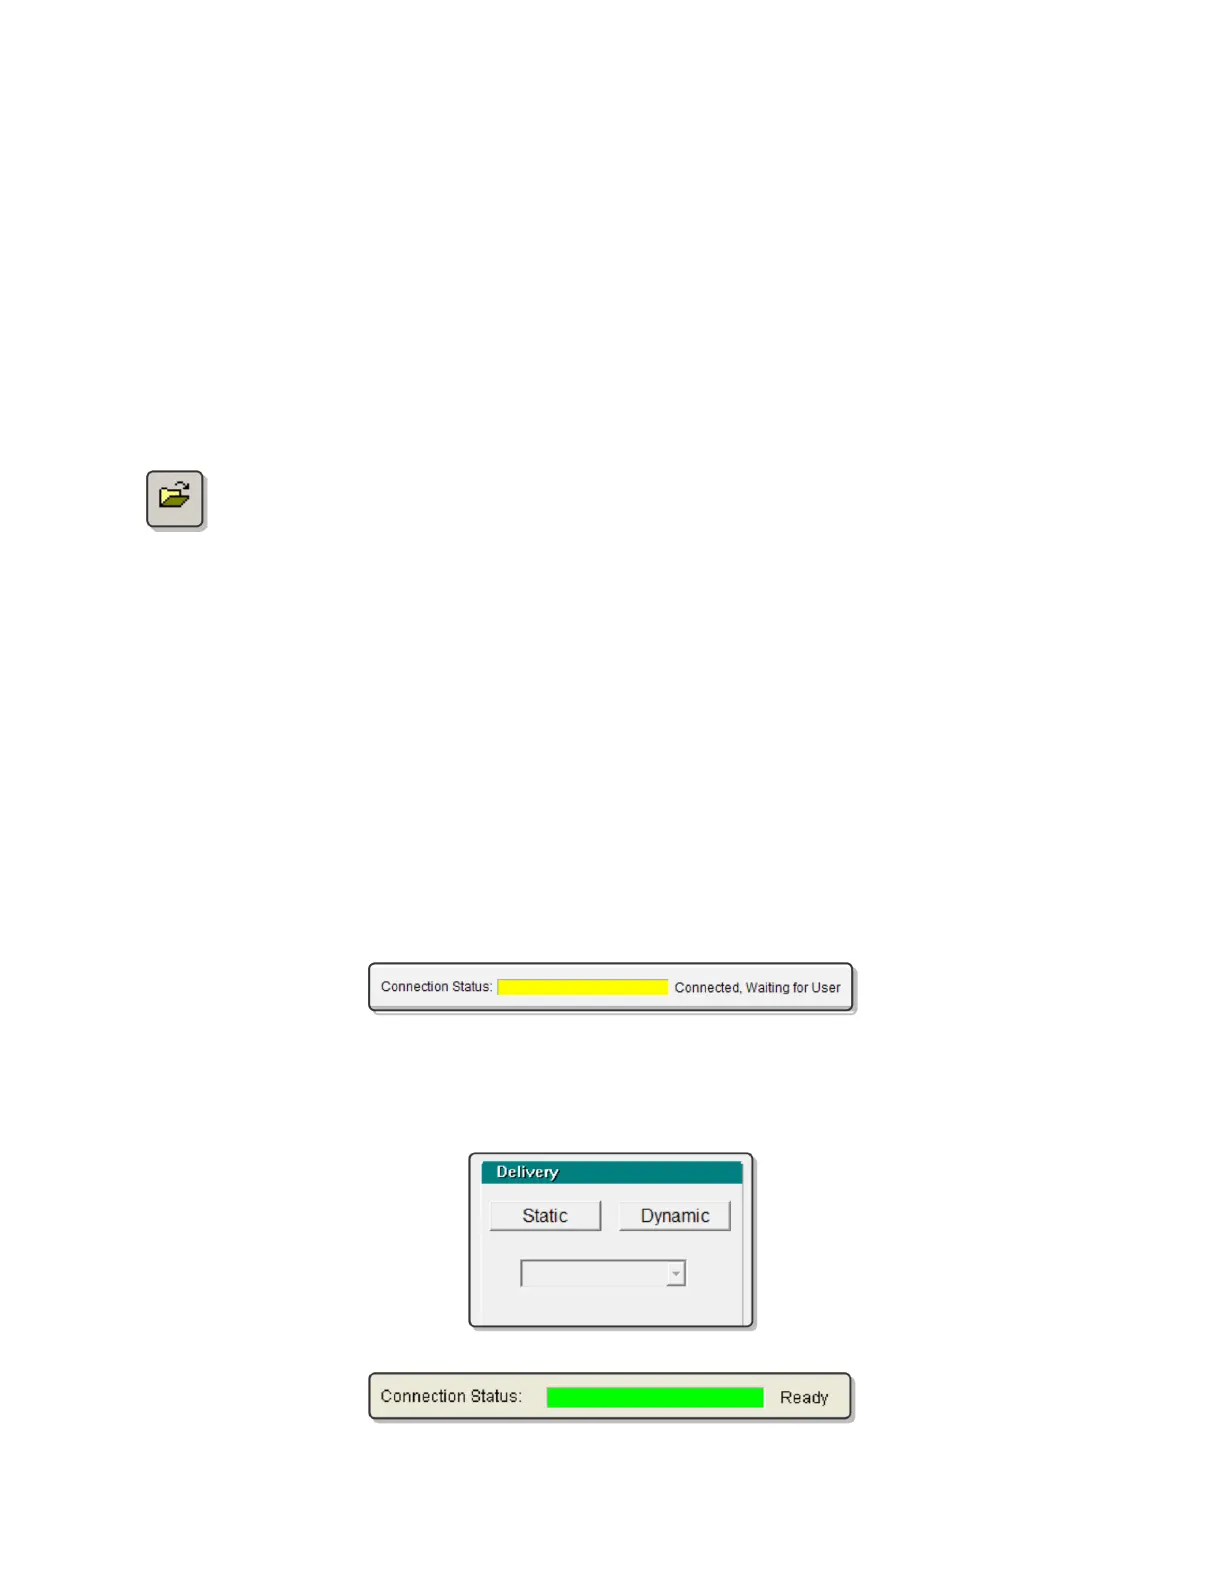
8. Depending on the tab being viewed, the Connection Status shown at the top of the screen
should read “Connected, Waiting for User” (yellow) or “Ready for Beam” (green). If the
Connection Status shows as red, see the Troubleshooting section of this manual for more
information.
9. If connection is verified, select the appropriate treatment room (RM1, RM2, etc) from the left
side of the screen.
NOTE: Ensure the proper room is selected to avoid overwriting or adding new data to the
wrong room.
10. Select the Real-Time Operation tab at the bottom of the screen. At this point, the
Connection Status shown at the top of the screen should be shown as “Connected, Waiting for
User” (yellow).
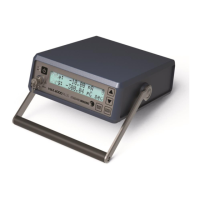
11. Select the intended delivery, static or dynamic, and then desired plan to test (D01-D25 or
S01-S25) from the Delivery area on the upper right of the screen. The Connection Status should
now be shown as “Ready for Beam” (green).