QA BEAMCHECKER™ PLUS 40
the graphical representation of the QA BeamChecker Plus’ alignment field. Additionally,
temperature, pressure, and baseline parameters.
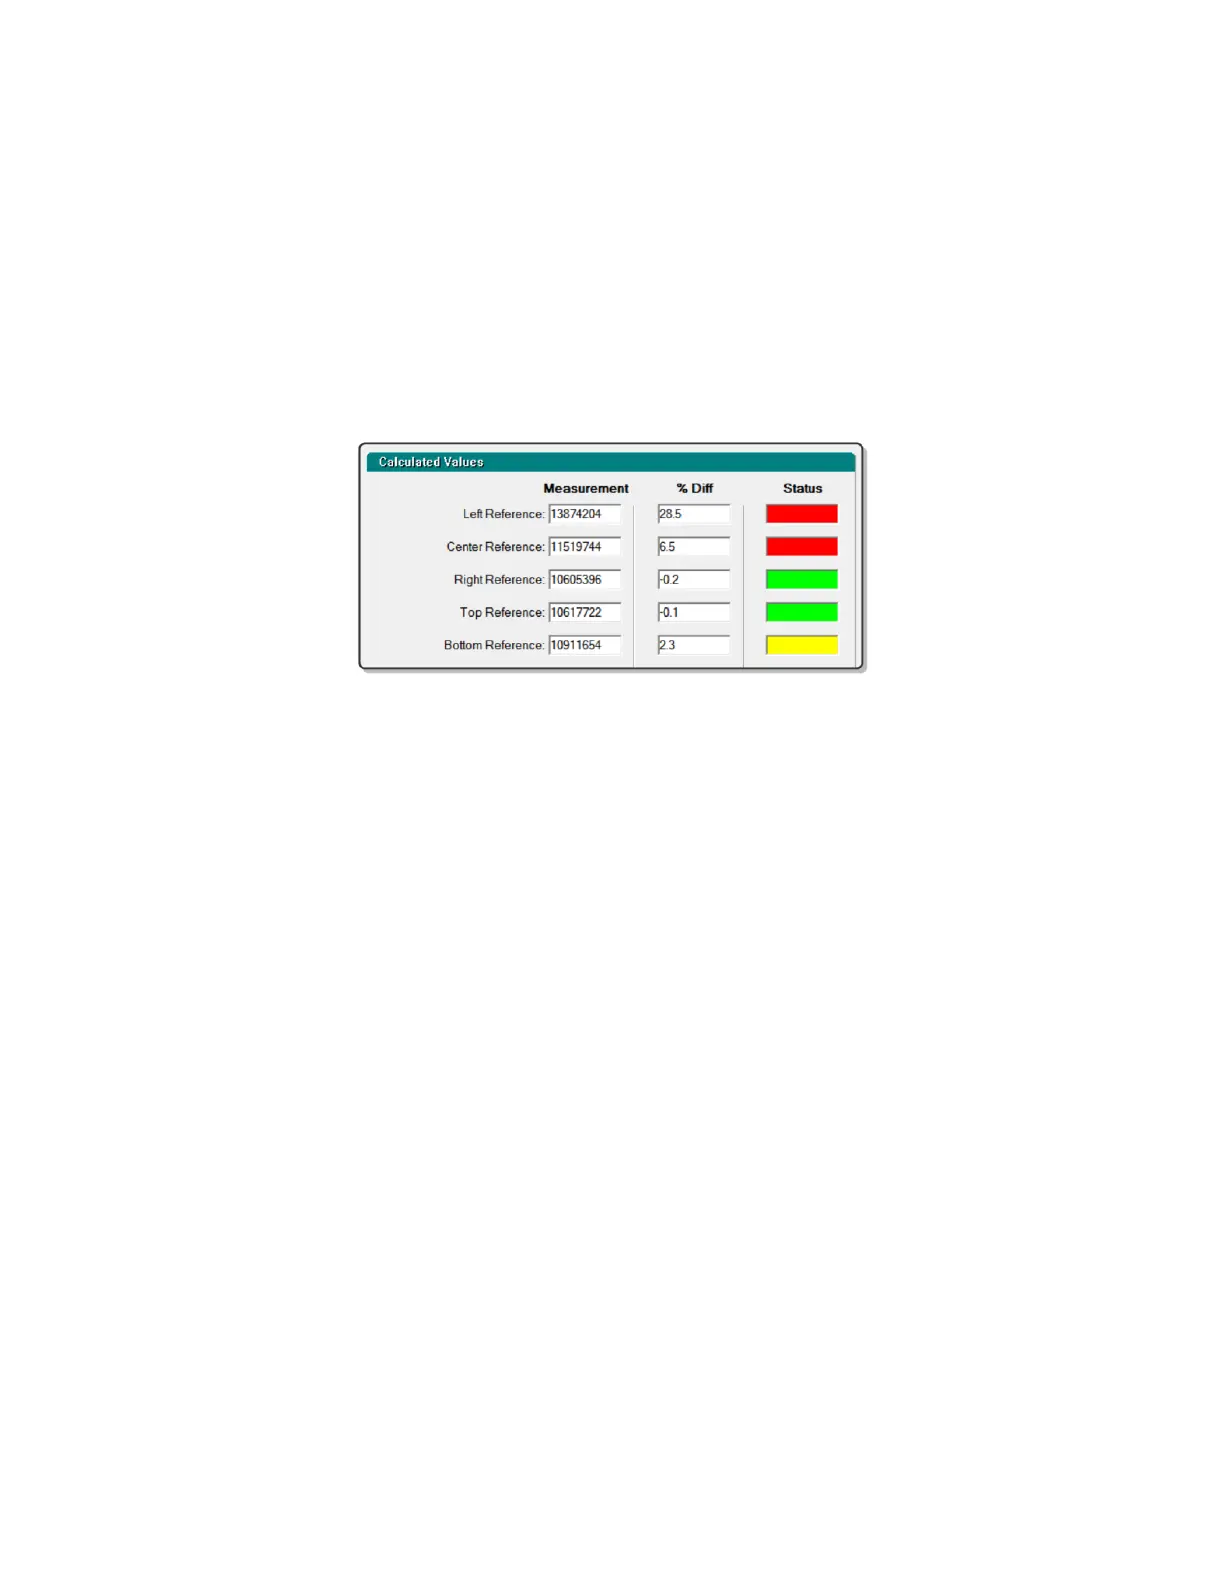
Delivery specific measurements will be shown including temperature corrected
measurements for the center, top, bottom, left, and right chambers. Percentage differences
from the baseline will also be shown along with a status color code:
Green Within action level 1
Yellow At or outside of action level 1
Red At or outside of action level 2
Real-Time Operation results from Dynamic 5 Channel mode
11. If desired, add a comment in the provided field. When the measurement is saved, this
comment will be accessible in the Data View.
12. Click Save Results to save this measurement directly to the database or Reset to clear
values and re-arm for the next measurement.
13. Repeat steps 10-11 if not switching to a different plan, otherwise continue from step 9.
14. Once completed, the acquired measurements can be viewed for analysis. For instructions,
see the Data View and Downloading Measurements section of this manual.
TomoTherapy System Room
1. Place the Precision TomoTherapy Leveling Platform (or other leveling device) onto the
treatment couch and place the QA BeamChecker Plus onto it ensuring the Photon side is
facing up as indicated by the large white field labels on both sides of the device.
2. Level the top of the QA BeamChecker Plus by placing the precision bubble level at the
center of the top surface and adjusting the three leveling screws on the leveling platform as
needed.
3. Adjust the vertical height using the treatment couch until the horizontal side lasers line up
to the fiducial alignment mark on the top end of the QA BeamChecker Plus facing the bore of
the TomoTherapy unit. After the couch height is correct, align the lasers to the crosshair on the
top surface of the unit.
4. Connect the QA BeamChecker Plus to the PC as shown in Figure 5 and exit the vault.