Instruction Manual for Libra Care Bed
Page 38
4.4.5 Bed extension (adaptable) *
The bed can be fitted with an adaptable bed extension at the foot end which extends
the mattress base by approx. 10 cm or 20 cm (if used with full-length and combined
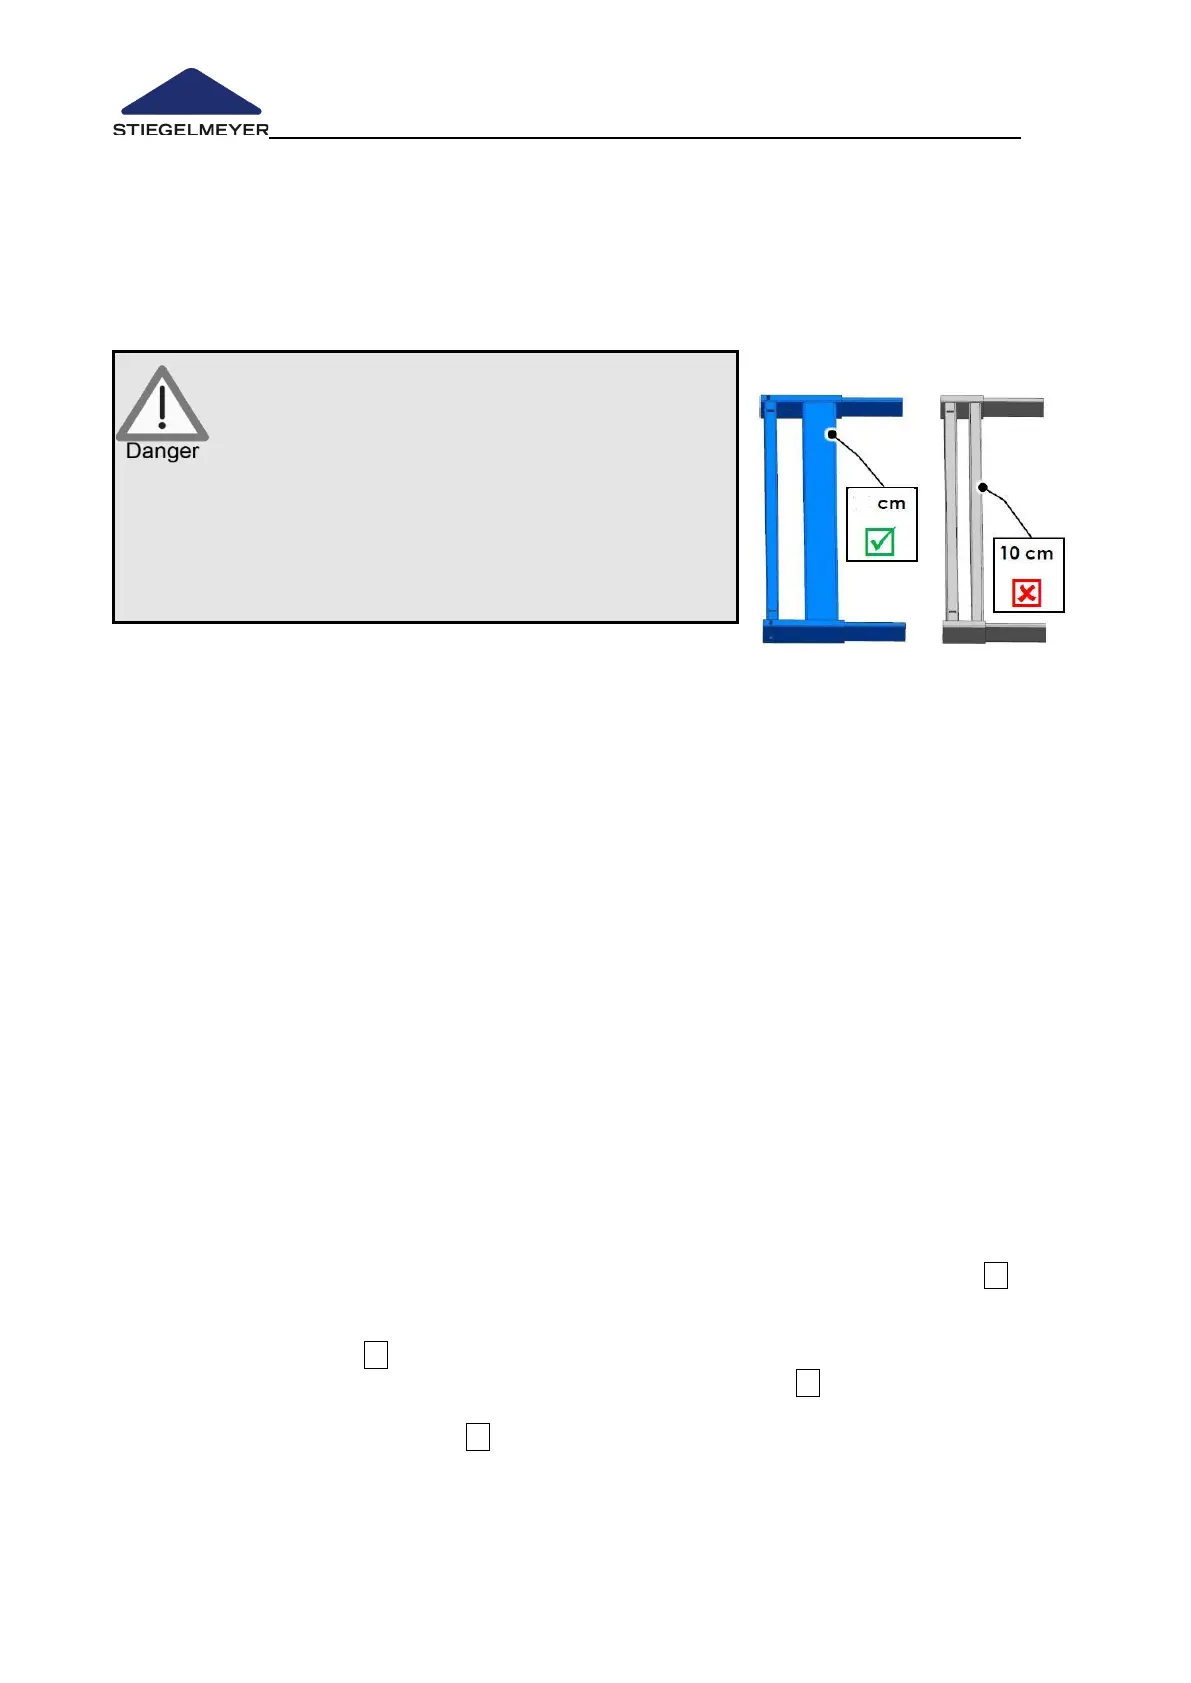
safety sides) or by approx. 20 cm (if used with split safety sides “Vario Safe system”
(D)). The free space created is filled with an insert and a mattress piece.
Trapping hazard
Failure to take this into account may incur the risk of
entrapment of the patient, since the required
distance between the safety side and the footboard
will not be maintained in this case.
- When using split safety sides (D) (“Vario
Safe” system), only use the
20 cm bed extension (see Fig.)
4.4.5.1 Attaching the bed extension
For easier installation: raise the bed and apply the brakes.
The bars of the full-length (2) or combined (6) safety sides, if fitted, must be dismantled
(see chapter 4.5.4).
Remove any “Vario Safe” safety sides at the foot end (D), if fitted (see chapter 4.5.5.5).
Note: The safety sides must be replaced by longer ones.
In the case of full-length/combined safety sides: Remove any side panels, please refer to the
supplementary instructions supplied.
Vario Safe: Remove any side panels fitted at the foot end (see chapter 4.4.9)
Note: The side panels must be replaced by longer ones, please refer to the supplementary
instructions supplied.
Remove the footboard (see chapter 4.4.8.2)
To attach the bed extension:
• Insert the bed extension tubes into the mattress base frame as far as they will go A
• Slightly raise the bed extension and push it forwards until the locking hooks on the bed
extension slide over the cross tube on the mattress base frame and are positioned over
the slits provided B
• Press the bed extension down until the hooks snap into place C
• Swivel the locking levers upwards (on the left and right-hand side) and press them in until
they audibly click into place D .