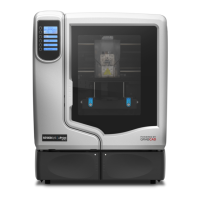
15
4. Remove the material carriers by first pushing them in to unlatch and then pulling them
outwards.
5. Place the carriers on a flat stable surface.
6. Open the carriers.
7. Rotate the spools to rewind the material, leaving 2 inches (50mm) remaining at the material
guide. See Figure 7.
Figure 7 Rewinding the material spool
8. Using a cutters, cut the excess 2 inches (50mm) of material from the material guide. leaving a
blunt end.
9. Power the printer off at the power switch.
10. When the display is blank and the printer has shut down, turn the circuit breaker to the OFF
position.
11. Disconnect the power cable, network cable, material bay cable and UPS cable if used.
12. Disconnect the model and support material tubes from the printer and the material bay by
pressing in on the coupler ring and pulling the tubes outward.
13. With 2 people, use the handgrips to lift the printer off of the material bay and place on a flat
stable surface. See Figure 8.
Figure 8 Separating the printer and material bay
14. Position the second material bay on top of the existing material bay. Be sure the feet and pins
are properly aligned. See Figure 9.
CAUTION: Do not push the material through the material guide back into the
carrier, doing so can cause material to break or become tangled.