ELECTRICAL TROUBLESHOOTING
SECTION 4 Main Sequence PAGE 10
Connect the test light across the motor ‘S1’ and
‘S2’ terminals.
Close all interlock switches, turn the Key
Switch ON, and place the F&R Switch in
Forward.
Depress the accelerator fully.
•
If the light comes on then the motor field
windings are open and the motor must
be repaired or replaced. Stop trouble
shooting here and repair the problem.
When the repair is completed,
completely retest the vehicle before
lowering the drive wheels to the ground.
•
If the test light did not come on during
either test then go to the
F/R Switch
sequence.
Accelerator
This is the accelerator module test
harness part number 62-027-31. It will
be used in the following tests. These
tests cannot be completed without this
harness. If you do not have this harness,
one must be obtained before testing can
continue.
1. Make sure the key-switch is in the “OFF” position, then remove
the key.
2. Place the forward-reverse switch in the center “OFF” position.
3. Set the park brake.
4. Place blocks under the front wheels to prevent vehicle movement.
The rear drive wheels may rotate during some of the following tests.
Block the front wheels, raise the rear drive wheels off the ground,
and support the vehicle with jack stands. Failure to do so may cause
the vehicle to move and cause property damage and/or serious bodily
injury.
Rotating rear drive wheels are a potential hazard. Keep hands, arms,
legs and loose clothing away from the rear drive wheels while
conducting tests. Failure to do so may cause serious bodily injury.
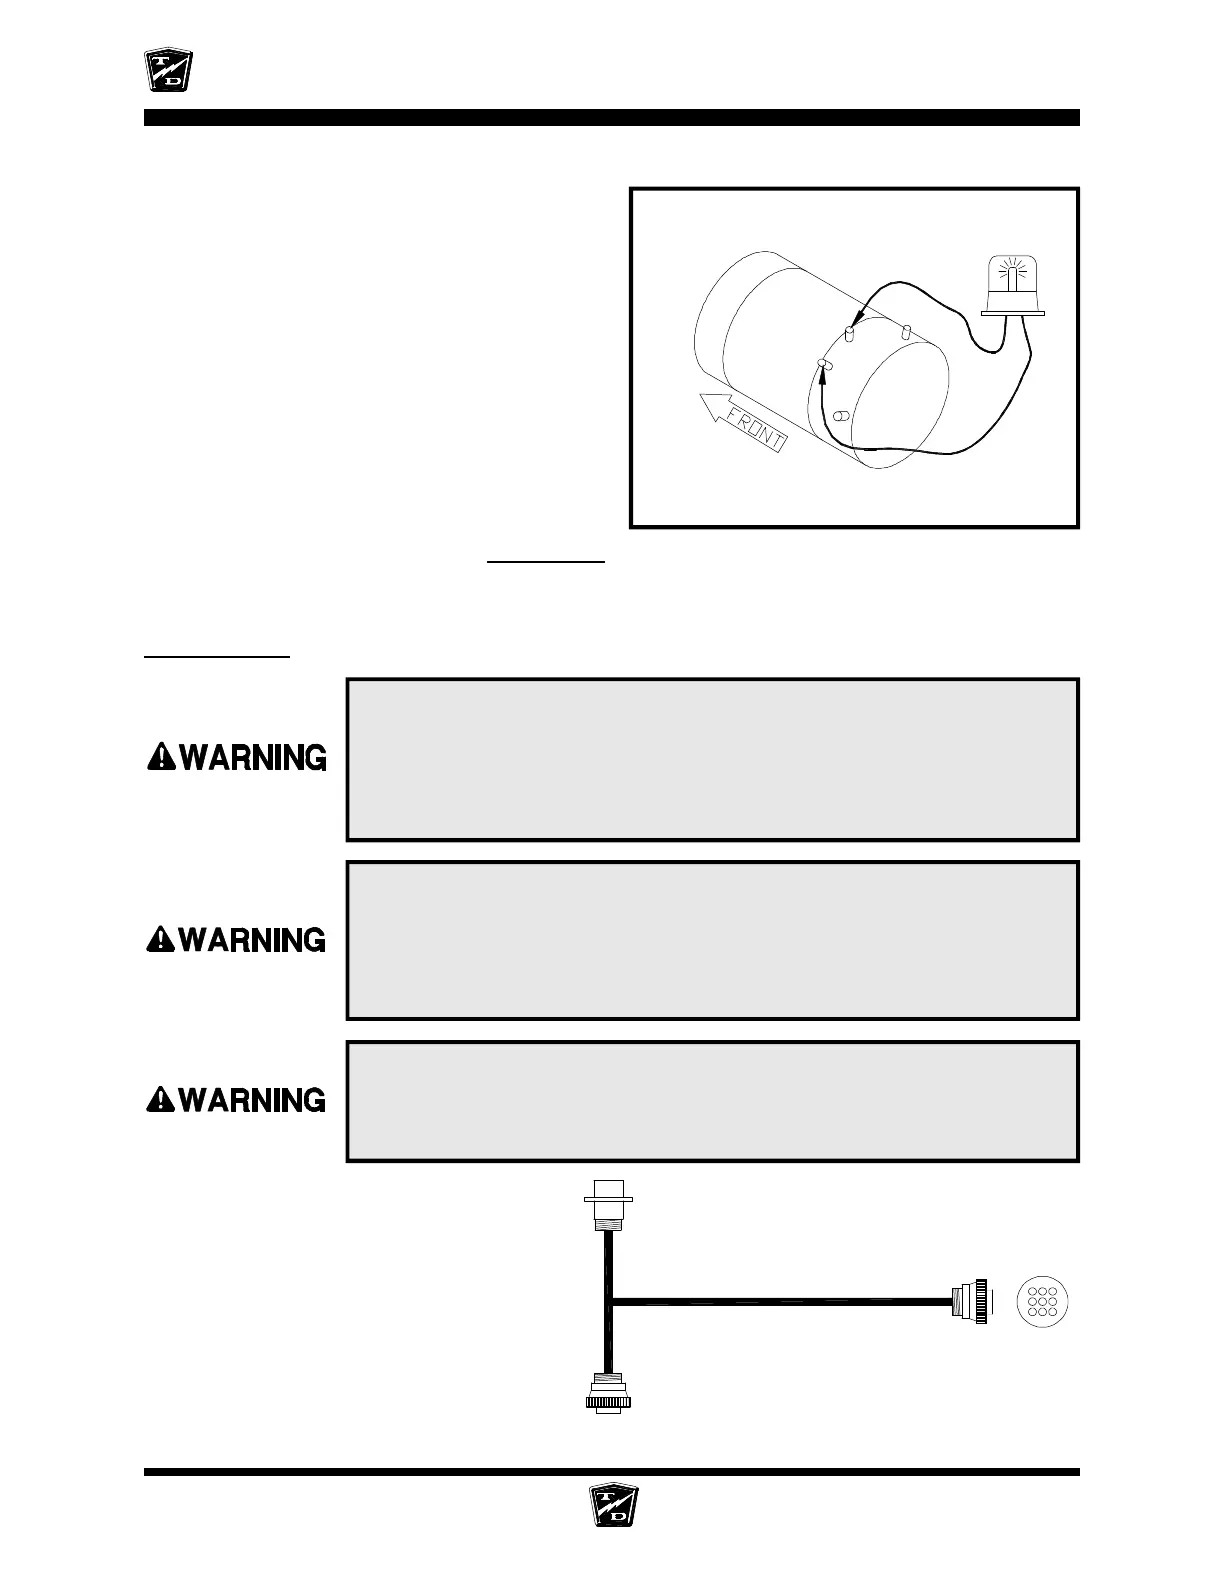
Motor shown for reference only. Terminal positions
on your motor may not be in the same location.
S2
A1
A2
S1
Wiring to motor omitted for clarity. Do not
disconnect the motor wires for this test.
INTO THE HARNESS
PLUG THIS END
INTO THE MODULE
PLUG THIS END
FOR TESTING
USE THIS END
9
6
7
4
3 1