10 TEGAM WAY • GENEVA, OHIO 44041 • 440-466-6100 • FAX 440-466-6110 • sales@tegam.com
3-1
SECTION 3
QUICK START INSTRUCTIONS
GENERAL
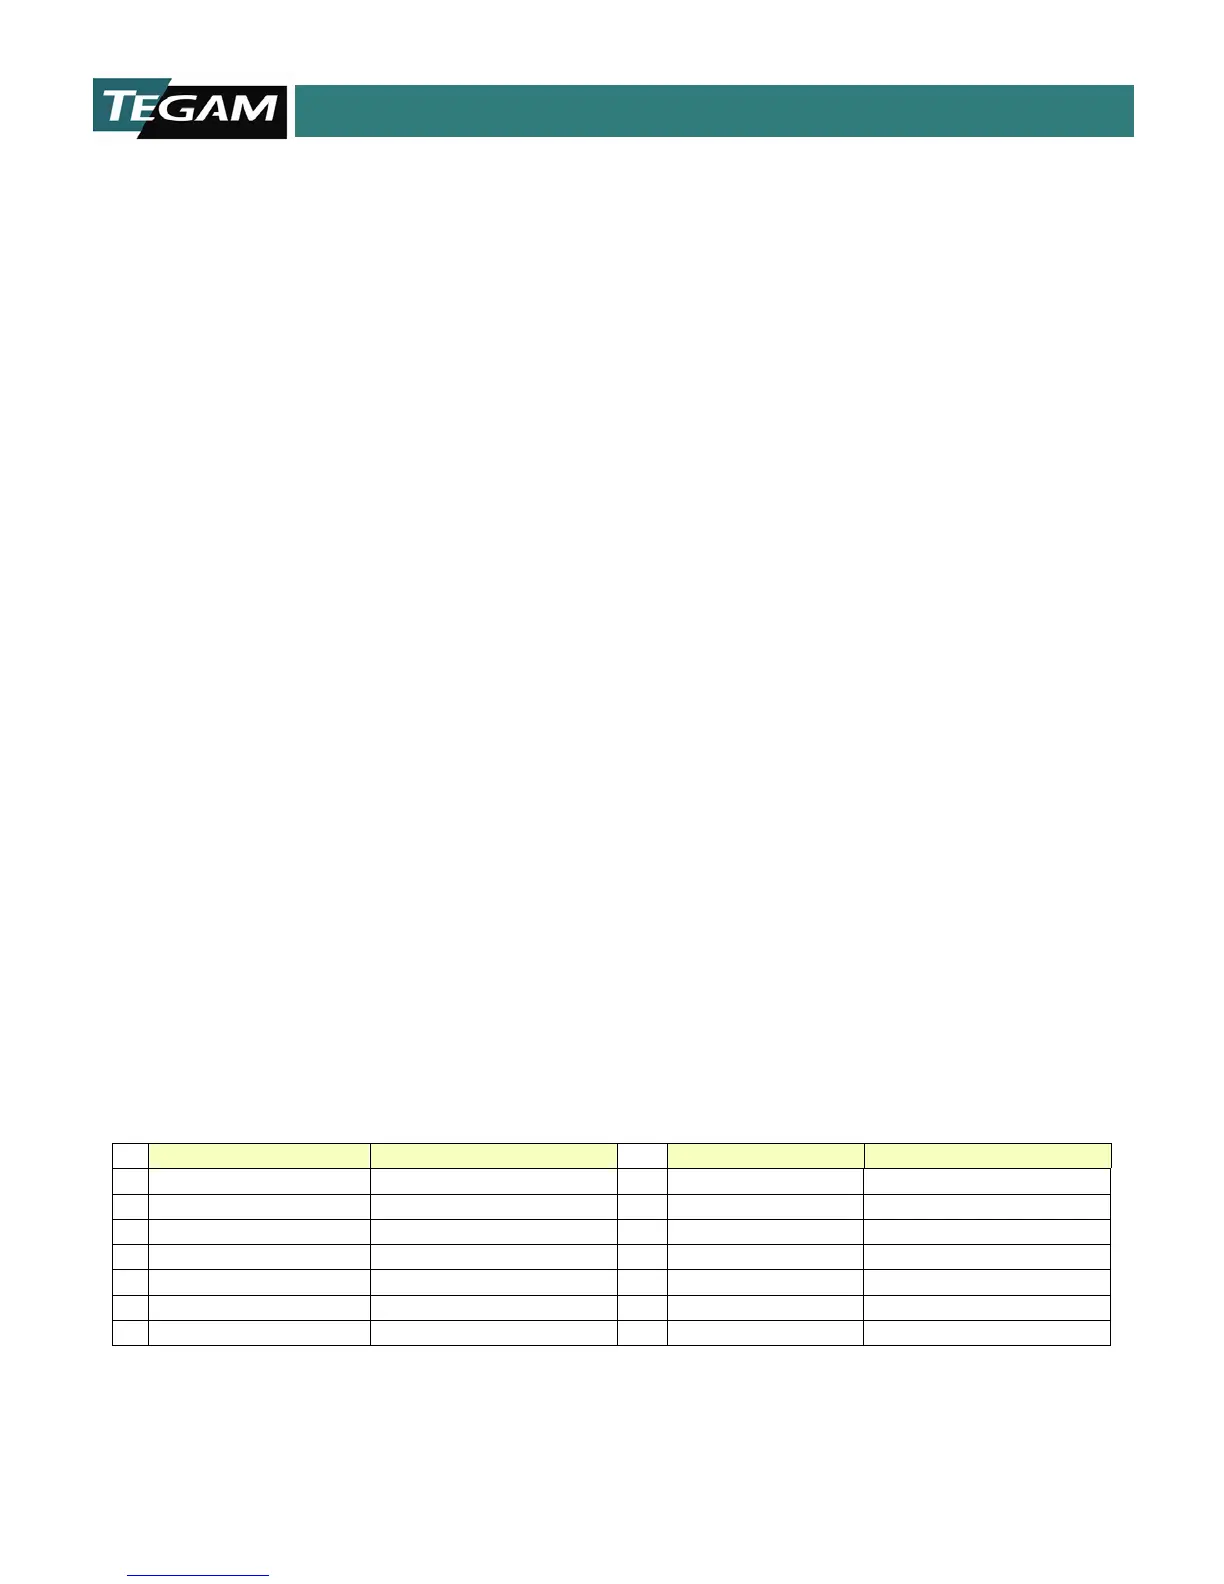
The Model 1750 microohmmeter is a versatile product, which can be used in many different
configurations. Depending on the application, there are configurations of the 1750 microohmmeter that
will help optimize test conditions involving accuracy, measurement speed, and versatility. The best way
to maximize the effectiveness of a product and test setup is by having a thorough understanding of the
instrumentation and the test parameters, which can affect the readings.
The Quick Start section is designed to give the user a general instruction set for the speedy setup and
measurement of resistance values. Whenever additional information is applicable, a reference will be
made to other parts of this manual so that the user, at their discretion, can decide whether or not to
pursue additional information.
POWER THE UNIT
The power supply of the Model 1750 is designed for 50-60 Hz operations and a voltage range of 108-
132 & 216-264 VAC. Review the line voltage selection procedure on page 2-4 before proceeding.
Power the unit and allow at least 30 minutes for the unit to warm up. Make sure that the safety
precautions on pages 2-2 and 2-3 have been reviewed and understood. Verify that the environmental
conditions, listed on page 1-10 are met.
FACTORY SETTINGS
Before performing the actual resistance measurement, there are a number of test parameters, which
must be defined. The factory settings can be used for most general resistance measurements.
The 1750 microohmmeter is shipped from the factory with instrument settings as follows:
These settings can be recalled by sending a device clear command via RS232, RS422 or GPIB interface.
* When a device clear command is sent via communications interface, this value does not change.
Table 3.1: Factory Default Settings
CUSTOMIZING PARAMETER SETTINGS