AGL7 Analog Genlock module
How to operate
theAGL7module
After the AGL7 module is installed in the mainframe, and the mainframe is
installed in the rack or other location where it will be used, use the following
procedure to
access each function of the module:
1. Connect the power cord to the power connector on the rear panel, and then
plug the cor
d into the AC electric power source. Electric power is supplied
to the mainframe.
2. Wait until
the power-on initialization process is complete, and then check that
there are no error m essages on the display.
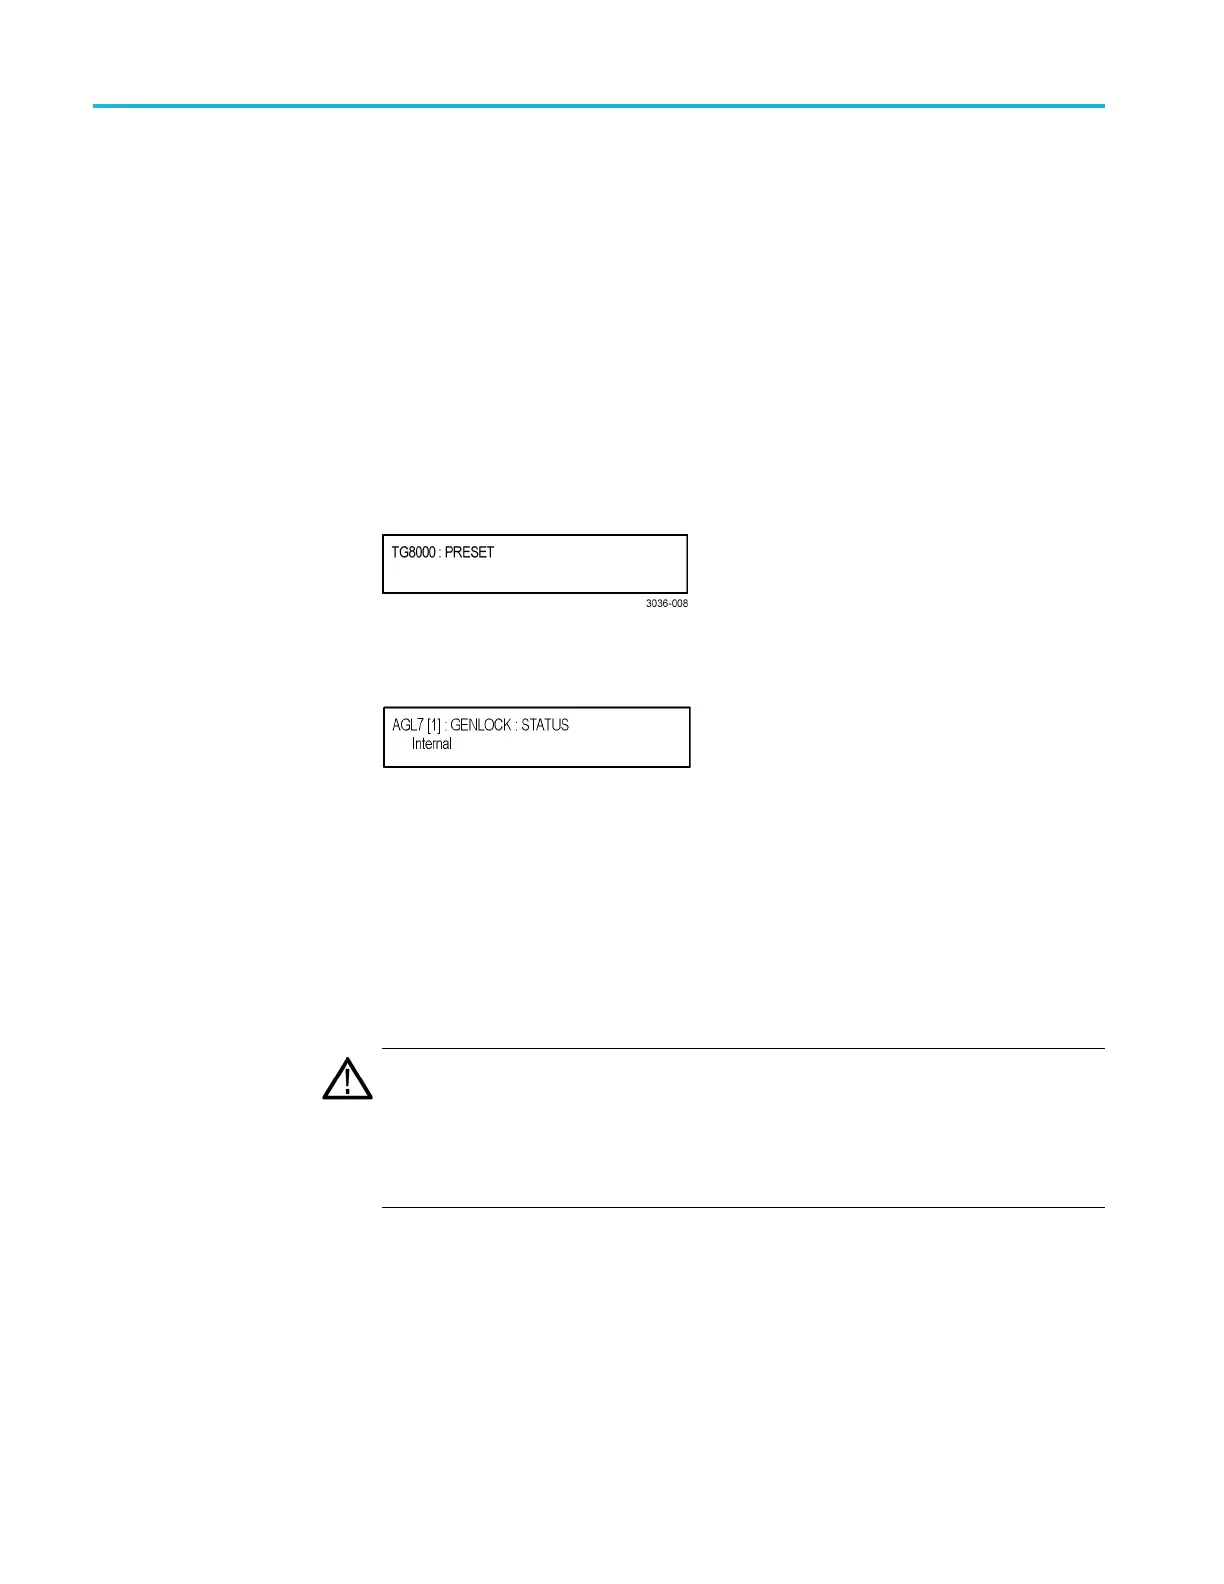
3. After the
initialization process, the mainframe main menu appears a s shown
below.
4. Press t
he front-panel MODULE button until the AGL7 module main menu
appears as shown below.
5. Use the front-panel arrow buttons to navigate and select items in the main
menu and submenus. (See page 3-9, AGL7 module main menu.)
AGL7
module up grades
If the TG8000 you are upgrading has an AGL7 module installed, and if the
firmware version in the TG8000 is 1.2 or earlier, the FPGA of the AGL7 module
will be automatically updated when the instrument reboots after the firmware
up
grade. This will also occur if the AGL7 module is moved from a TG700
mainframe to a TG8000 mainframe.
CAUTION. To prevent an upgrade failure of your AGL7 module, do not remove or
cycle power on the TG8000 while the instrument is rebooting after the firmware
upgrade. The FPGA update on the AGL7 module takes about three minutes and
there is no indication on the front panel that the AGL7 module is being updated. If
power is interrupted before the FPGA update is complete, the module will need to
be returned to Tektronix for service.
3–8 TG8000 Multiformat Test Signal Generator User Manual

 Loading...


