GPS7 GPS Synchronization and Timecode module
Ability to confi
gure how the instrument responds when there is a loss of lock
from the black signal input
Ability to con
figure how the instrument synchronizes to an incoming VITC
signal when VITC is selected as the time-of-day referenc e
How to operate the GPS7 module
After the module is installed in the mainframe, and the mainframe is installed in
the rack or other location where it will be used, use the following procedure to
access each function of the module:
1. Connect the power cord to the power connector on the rear panel, and then
plug the cord into the AC electric power source. Electric power is supplied
to the mainframe.
2. Watch t he display for messa ges during the boot process. Messages are
displayed for a few seconds. If a serious error is detected during boot, the
module menus will not be displayed.
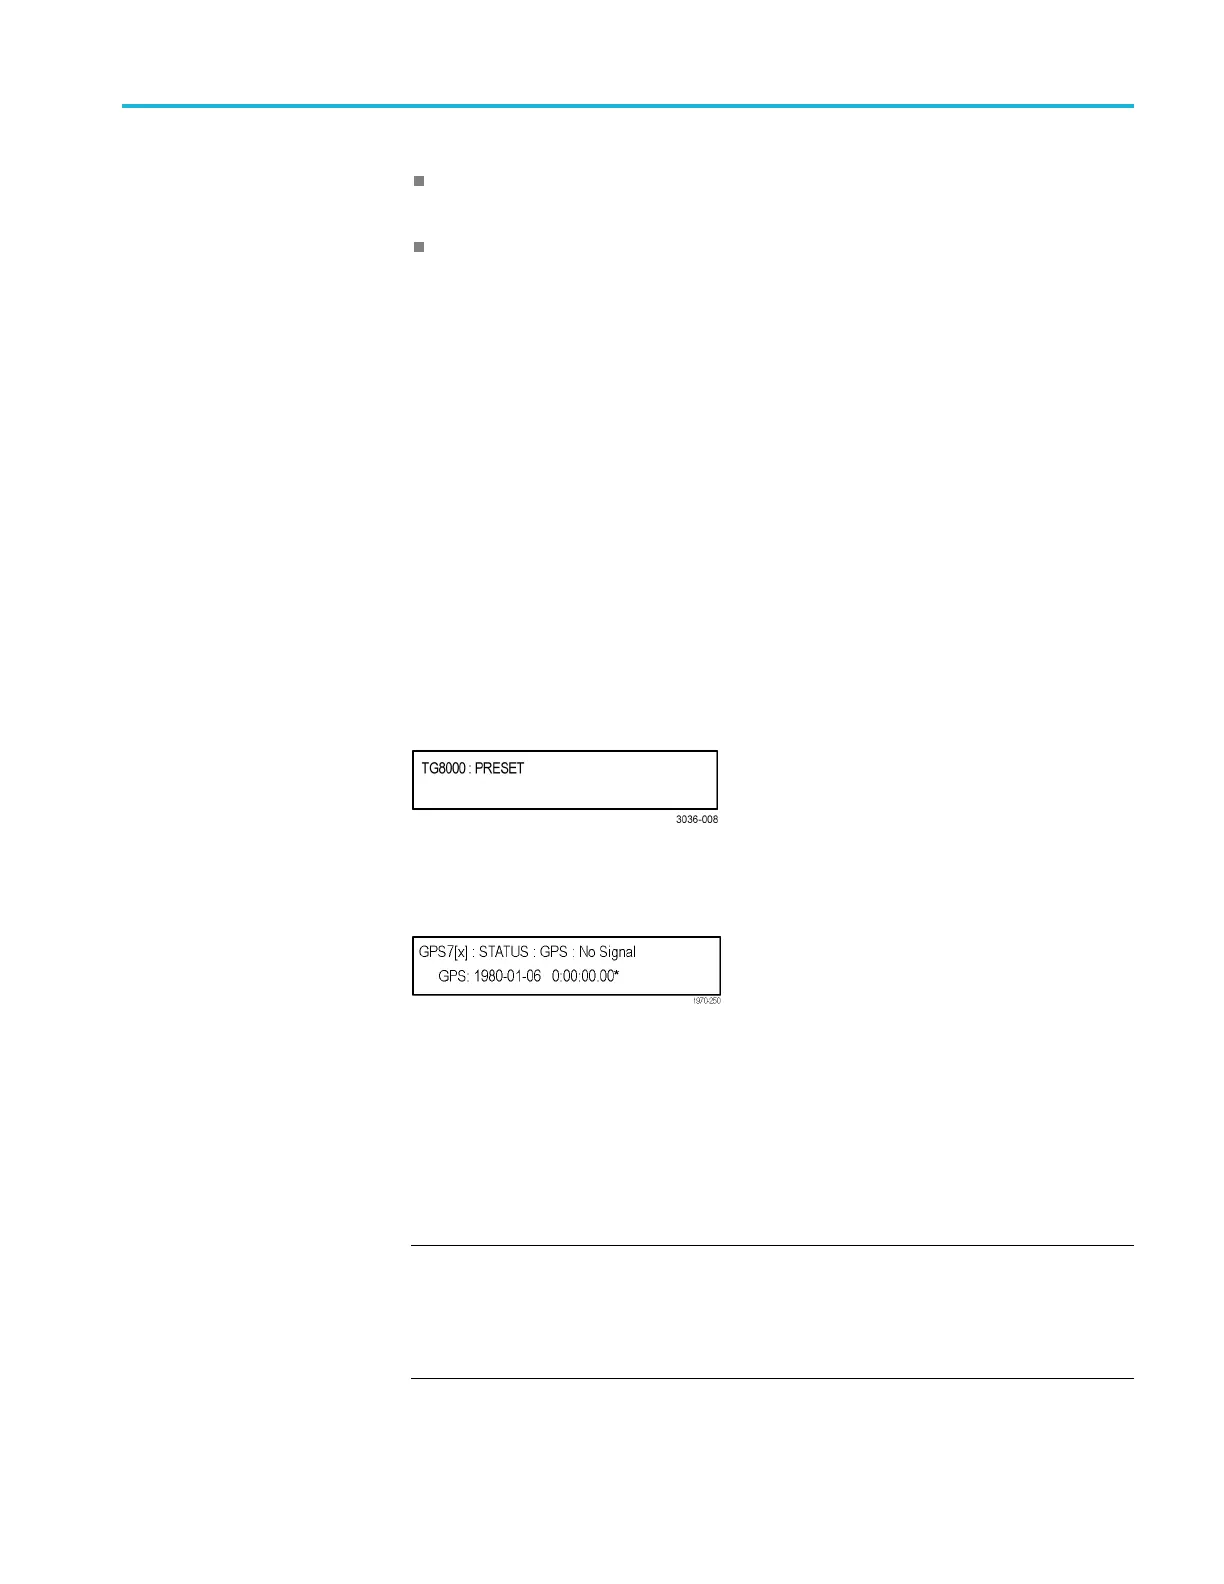
3. After the initialization process is complete, the mainframe main menu appears
as shown below:
4. Press the front-panel MODULE button until the GPS7 module main menu
appears. It will look similar to what is s hown below:
5. Configure the GPS7 module as required for your installation. (See page 3-100,
To configure the GPS7 module.)
6. Use the front-panel arrow buttons to navigate and select items in the m ain
menu and submenus.
Refer to GPS7 module main menu for detailed information about the main menu
items and the submenu items. (See page 3 -113.)
NOTE. Configure your GPS7 for your installation before putting it into service.
(See page 3-100, To configure the GPS7 module.) After you have configured the
module, save the configuration as the power-on preset so that if power is lost,
the GPS7 will power-on in the correct configuration. (See page 2-23, PRESET
submenu.)
TG8000 Multiformat Test Signal Generator User Manual 3–99

 Loading...


