6
2.1
Unpacking and
setting up
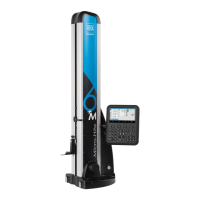
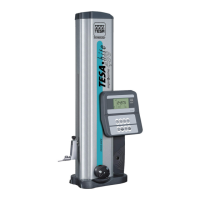
TESA Micro-hite plus M is supplied in a special
box giving protection against shocks and corrosion.
Keep this box for use whenever the instrument is
transported at a later date.
– First lay the box flat, then carefully lift the height
gauge and place it on a safe surface. For this
operation, ask for the help of someone else.
– Stand the instrument up on the clear surface
plate.
– Fix the control panel on the articulated support
and tighten with screw.
For safe transportation of your height gauge from a
surface plate to another, we advise to use the han-
dle set N° 00760129 available as an option.
2 INSTALLATION
2.2
Getting started
Activate the electric pump using the relevant switch
(11) to generate the air-cushion for easy displace-
ment.
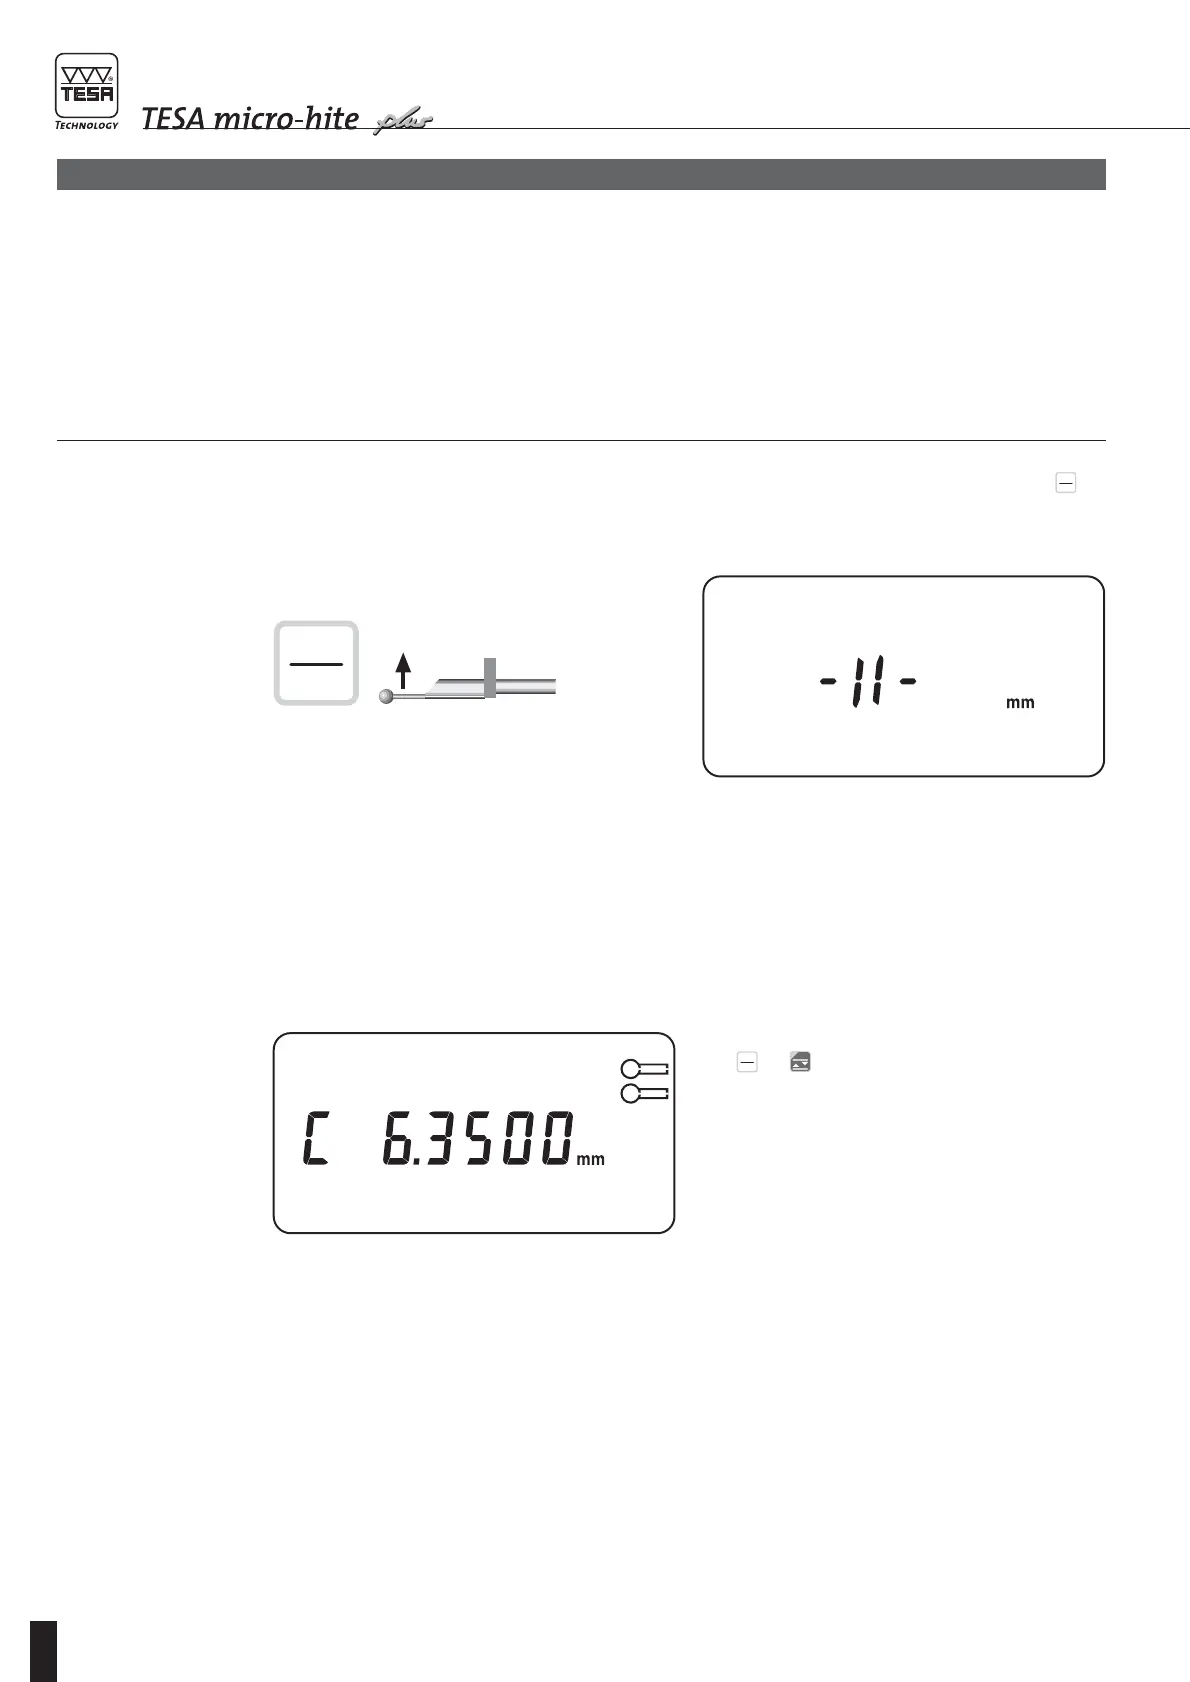
Next, start the height gauge by pressing key
for more than one second .
This causes the measuring head to move past the
reference mark and position itself at the point where
the master piece is located. Head displacement can
be accelerated by using either the handle or the
rotary power control.
Displayed value once the head has travelled past
the reference mark
Start capturing probe constant value by pressing
key or which is used for groove measure-
ment.
For more details, report to chapter 4.5.