www.ti.com
Dimensions
This action is needed only if the DLP LightCrafter 4500 firmware becomes corrupted and must be
reprogrammed through the JTAG boundary scan or USB. The graphical user interface (GUI) firmware
upgrade process places the DLPC350 in bootloader mode through software commands and does not
need the jumper.
• J19: Device address select
– Jump across header to set I
2
C address to 0x3A and USB device serial number to LCR2.
– Do not populate jumper to set I
2
C address to 0x34 and USB device serial number to LCR2.
• J23: Hold in reset. Jump across header to drive and hold reset line low. Jumping across this header is
equivalent to pressing and holding the reset switch.
• J28: DLPC350 LED signals voltage selection. This jumper must be populated when bypassing the
onboard LED driver and using an external LED driver.
– Jump across pins 1 to 2 to set the DLPC350 LED enables and PWM signals to 3.3 V.
– Jump across pins 3 to 4 to set the DLPC350 LED enables and PWM signals to 1.8 V.
• J30: DLPC350 LED driver disable. This jumper must be populated when bypassing the onboard LED
driver and using an external LED driver.
– Jump across header to disable the onboard LED driver and turn off all LEDs, regardless of the DLP
LightCrafter 4500 video mode.
– Do not populate this header for normal operation using the onboard LED driver.
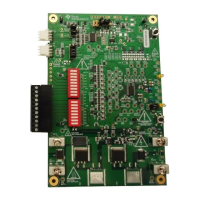
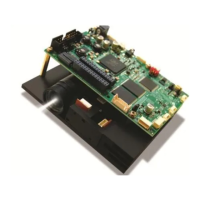
1.6 Dimensions
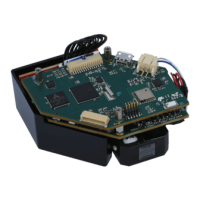
The DLP LightCrafter 4500 optical engine is mounted on top of a thermal plate to provide passive cooling
to the module. A heat sink and fan provide active cooling to the LEDs. The DLP4500, 0.45-in. DMD, is
vertically mounted at the end of the optical engine and attached with a flex cable to the driver board that
lies on top of the light engine. The dimensions of the DLP LightCrafter 4500 are of 98 mm long, 121.6 mm
wide, and 47.7 mm tall. Figure 1-12 shows DLP LightCrafter 4500 dimensions.
19
DLPU011E–July 2013–Revised September 2015 DLP LightCrafter 4500 Module Overview
Submit Documentation Feedback
Copyright © 2013–2015, Texas Instruments Incorporated
 Loading...