Structural Maintenance 12-35
20. Position the seal plate (item 10) that is next to the evaporator blower so the hole in the seal plate is centered on the fan shaft.
Tighten the seal plate mounting hardware to hold the seal plate in this position.
21. Screw the condenser seal gauge pin (item 20) into one of the tapped holes in the control box side condenser blower. Screw
the seal gauge pin in until it is firmly finger tight. The thin tip of the tool should be sticking out of the compressor side of the
blower.
22. Slide the control box side condenser blower toward the bulkhead (compressor side of the unit) until the tip of the seal gauge
pin contacts the bulkhead and stops the blower from sliding any farther to the compressor side of the fan shaft.
23. Hold the control box side condenser blower firmly in this position against the bulkhead and torque the control box side
condenser blower mounting screws to 17.5 N•m.
24. Remove the condenser seal gauge pin from the control box side condenser blower after the mounting screws have been
tightened.
25. Position the seal plate (item 10) that is next to the control box side condenser blower so the hole in the seal plate is centered
on the fan shaft. Tighten the seal plate mounting hardware to hold the seal plate in this position.
Evaporator Shaft Seal Collar Position – SL and SLe
1. Seal Plate (item 10)
2. Evaporator Shaft Seal Collar (item 13)
3. Fan shaft (item 5)
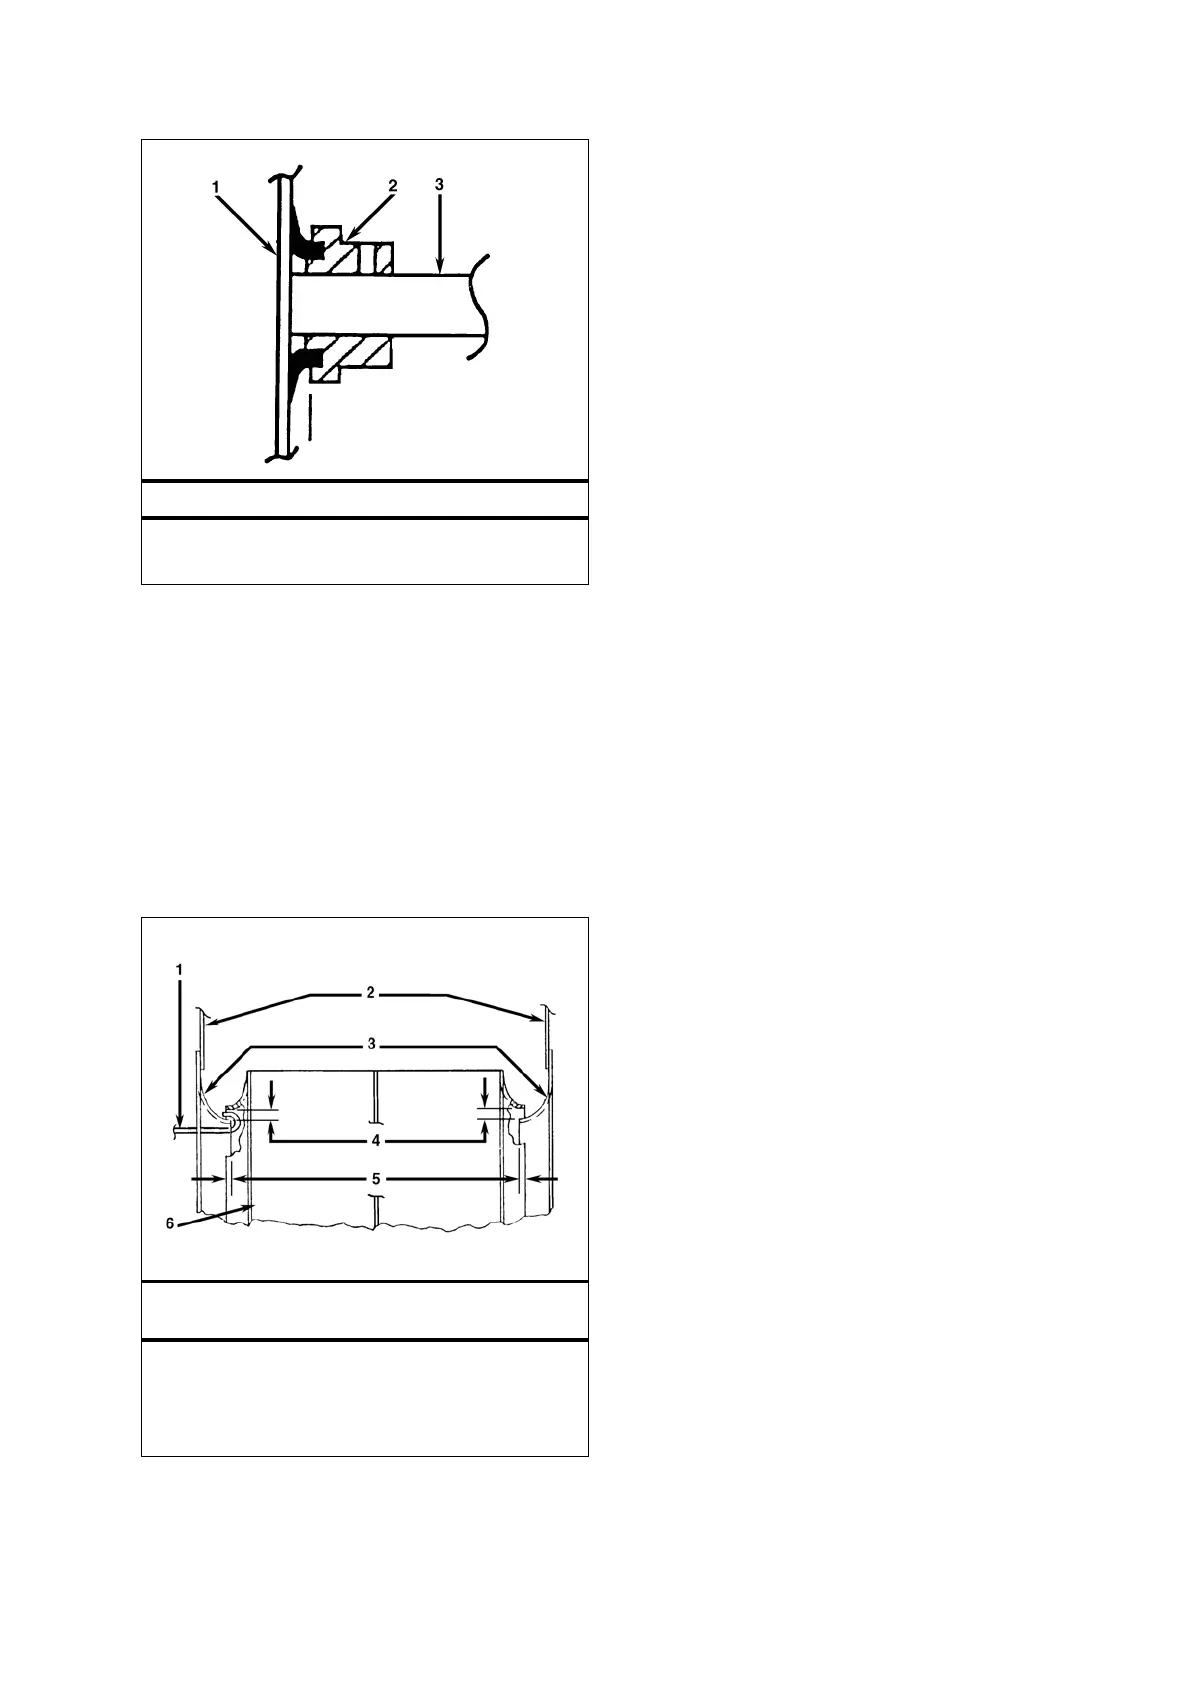
Evaporator Blower and Orifice Adjustment – SL and
SLe
1. Check Clearance with Wire
2. Blower Housing Sides
3. Inlet Rings
4. Radial Clearance
5. Equalise Blower Inlet Overlap
6. Evaporator Blower
 Loading...