Structural Maintenance 12-36
26. Place the forked prongs of the evaporator shaft seal gauge (item 21) between the evaporator seal plate (item 10) and the
evaporator shaft seal collar (item 13).
27. Push the evaporator shaft seal collar up against the evaporator shaft seal gauge and tighten the 1/4-20 set screw on the shaft
seal collar. This adjustment leaves 4.78 mm of clearance between the seal plate and the large diameter step on the shaft seal
collar.
28. Slide the evaporator blower toward the control box side end of the fan shaft until the fan shaft keyway is accessible. Tap the
remaining square key (item 18) into the keyway.
29. Remove the evaporator shaft seal gauge after tightening the set screw in the shaft seal collar.
30. Slide the evaporator blower, back into the evaporator blower housing and align the square key.
31. Fasten the compressor side evaporator orifice (item 7) loosely in place on the evaporator blower housing.
32. Fasten the control box side evaporator orifice (item 8) loosely in place on the evaporator blower housing.
33. Center the evaporator blower (item 9) in the evaporator blower housing (item 19). The evaporator blower should overlap both
evaporator orifices equally, by approximately 3.8 mm.
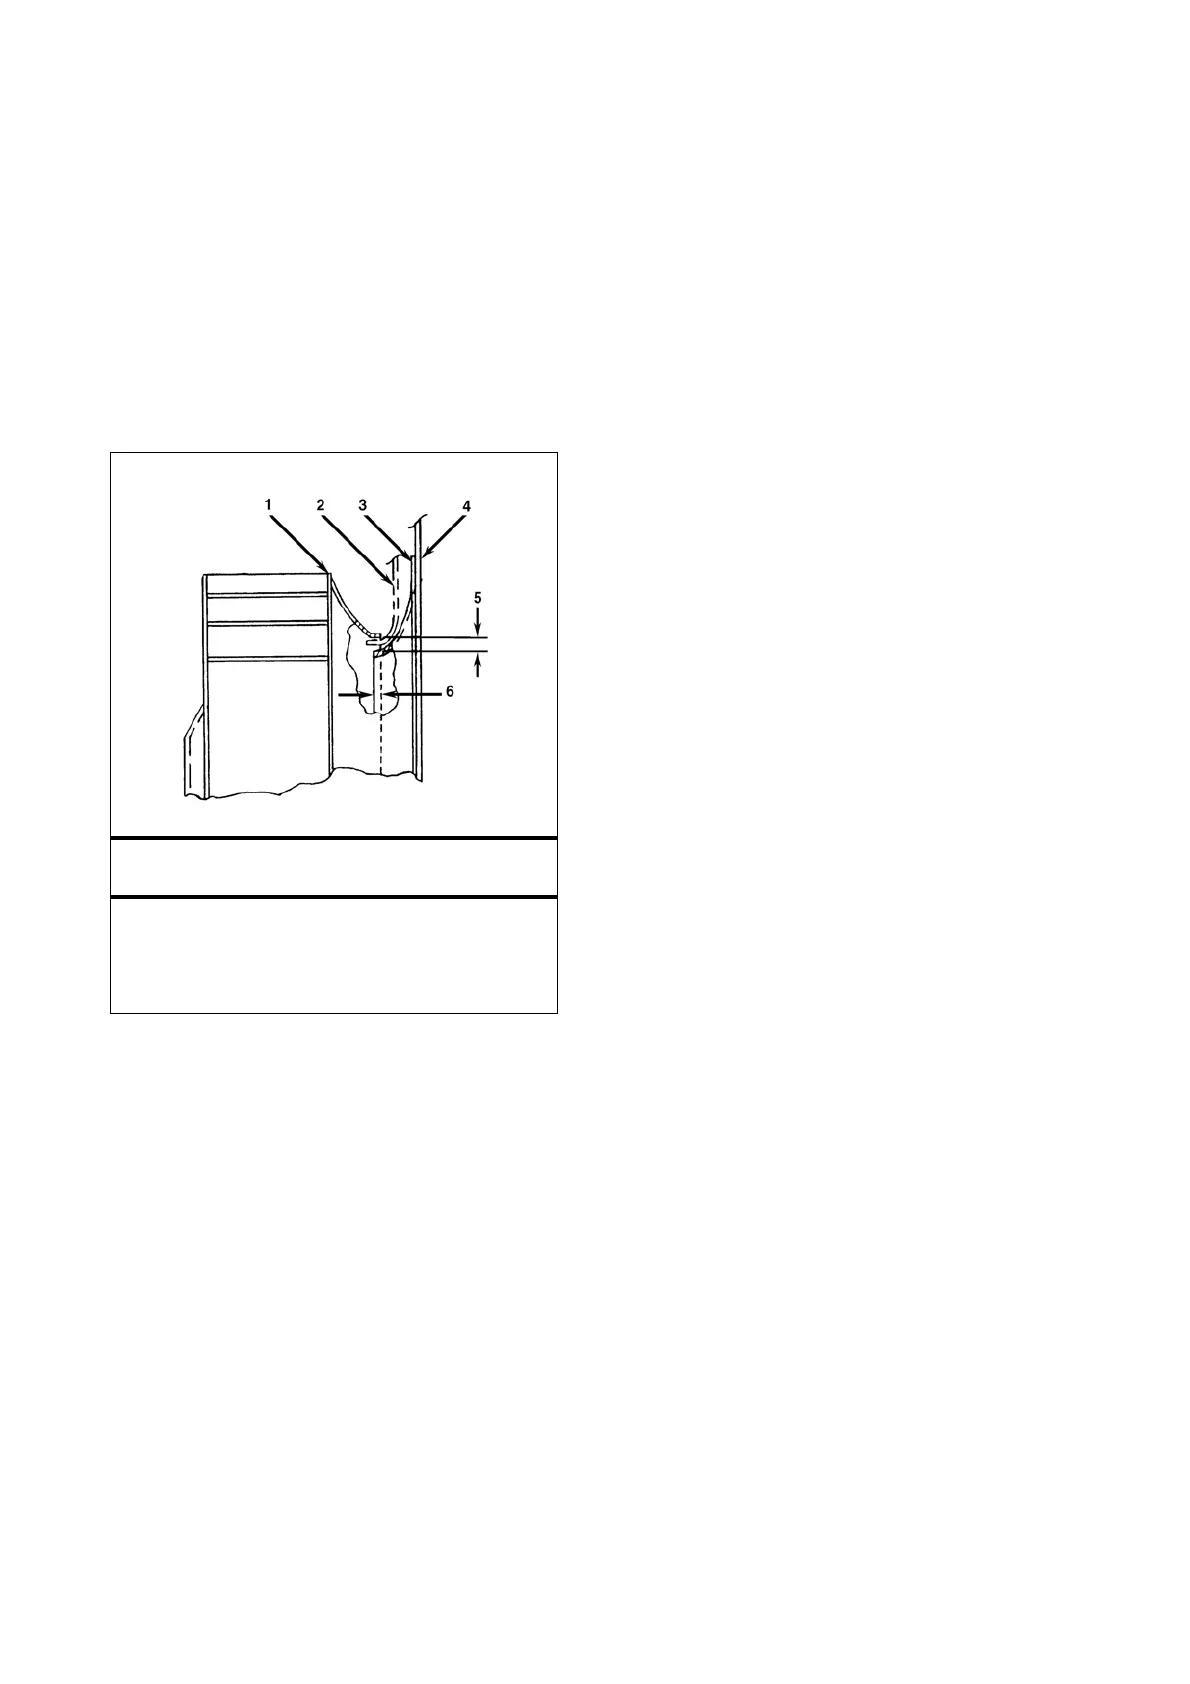
Condenser Orifice Adjustment – SLXi, SLXe, SLX,
SL and SLe
1. Condenser Blower
2. Check Clearance with Wire
3. Inlet Ring
4. Condenser Coil Bulkhead
5. Radial Clearance
6. Overlap: 2.5 to 3.8 mm
 Loading...