3-37
Chapter 3
INSTALLATION AND SETTING PROCEDURES (HARDWARE)
[RM-300X]
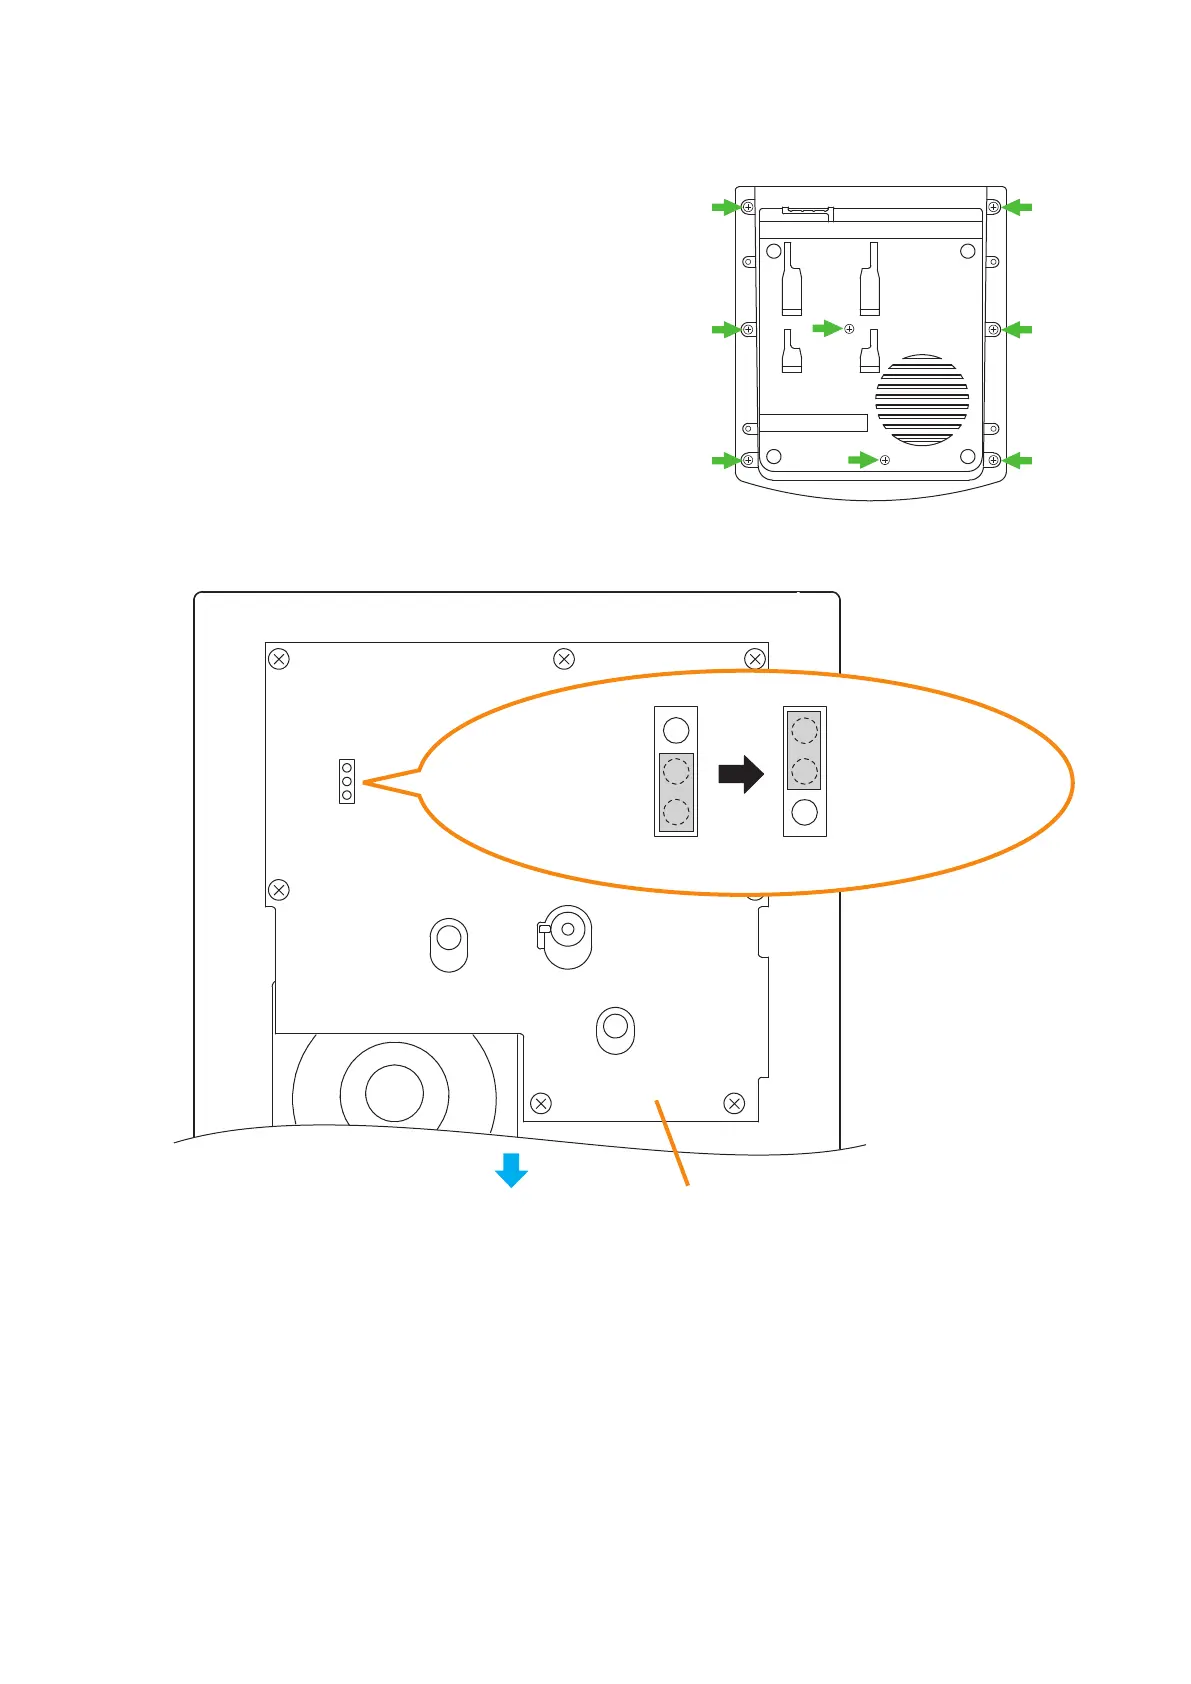
Step 1. Unscrew 8 screws indicated by arrows in the gure at
right, then detach the RM-300X's upper case.
Note
Note the types of screws.
A: 3 x 8 tapping screw (white silver) ........... 6 pieces
B: 3 x 10 tapping screw (black) .................. 2 pieces
RM-300X bottom
A
A
B
B
A
A
A
A
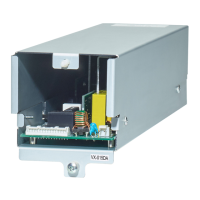
Step 2. Set the jumper's position (SW304) on the circuit board attached to the bottom plate as shown below.
Step 3. Replace the RM-300X's upper case.
Note: Note the types of screws when replacing the upper case (See Step 1.)
SW304
RM-300X inner circuit board
Front side
SW304
When the compressor
function is used.
(Factory-preset)
When the compressor
function is not used.
SW304