Rev. 000
TX 413 Service Manual
7-7
HYDRAULIC LIFT ASSEMBLY
Note: Cleanliness is a key factor in a successful
repair of any valve system. Thoroughly
clean all exposed surfaces prior to any
type of maintenance. Cleaning all parts
by using a solvent wash and air drying is
usually adequate. As with any precision
equipment, all parts must be kept free of
foreign material and chemicals. Protect all
exposed sealing areas and open cavities
from damage and foreign material.
Upon removal, all seals, O-rings, and
gaskets should be replaced. During
installation, lightly lubricate all seals, O-
rings, and gaskets with clean petroleum
jelly prior to assembly.
1. Allow the unit to cool down prior to removal.
Remove the rear cover.
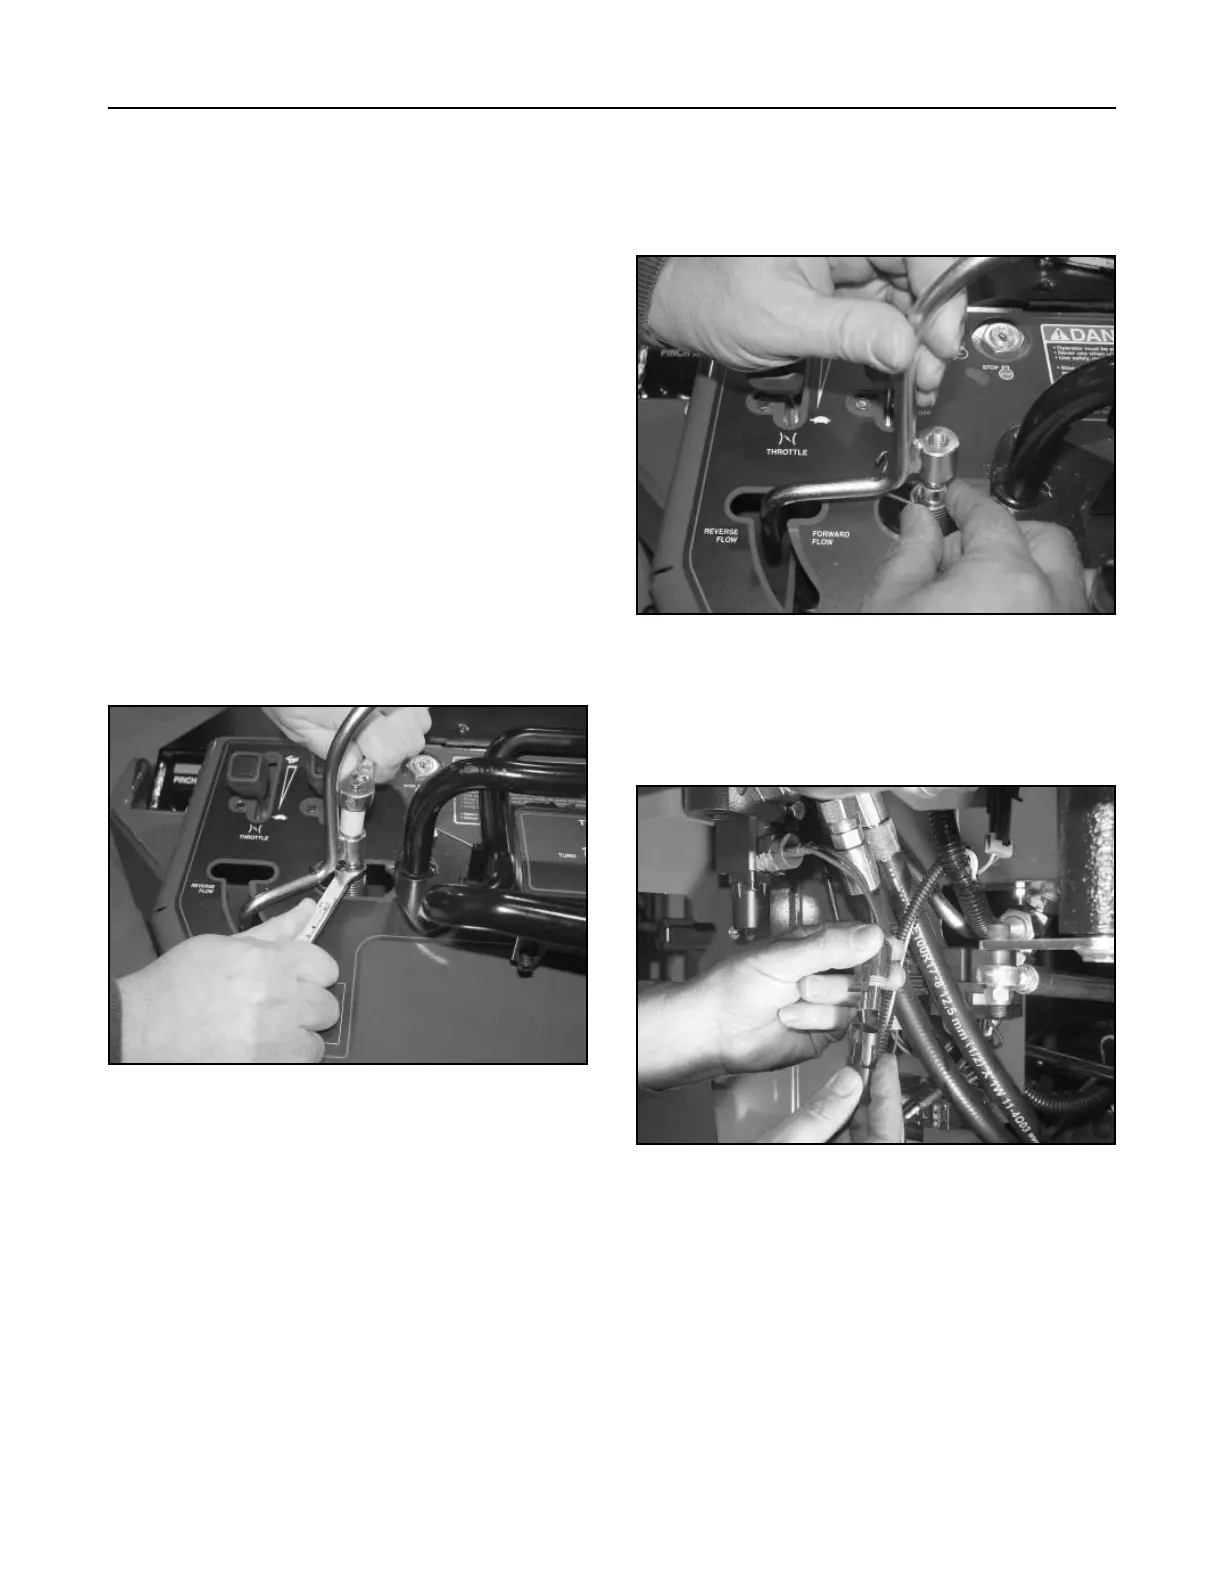
2. Remove the auxiliary lever assembly by removing
the retention nut and washer located at the top of
the lever (Fig. 205).
Figure 205 DSC-0939
3. After removing the nut and washer, apply tension
on the torsion spring and then slide the auxiliary
lever assembly up and off the auxiliary valve.
Remove the torsion spring (Fig. 206).
Figure 206 DSC-0941
4. Disconnect the neutral ball switch at the harness
connector (Fig. 207).
Figure 207 DSC-0942