g028443
Figure21
HDX-AutoModel
1.Centerconsole
3.Existingscrews
2.J-clip
4.Control-boxharness
2.InstallaJ-clipbehindthepassengerseat(Figure
22)usingabolt(1/4x1/2inch)andaanged
nut(1/4inch).
g024089
Figure22
1.J-clip
3.Securethecontrolconsoleharnesstothe
consoleandROPScoverusingtheJ-clips
(Figure22).
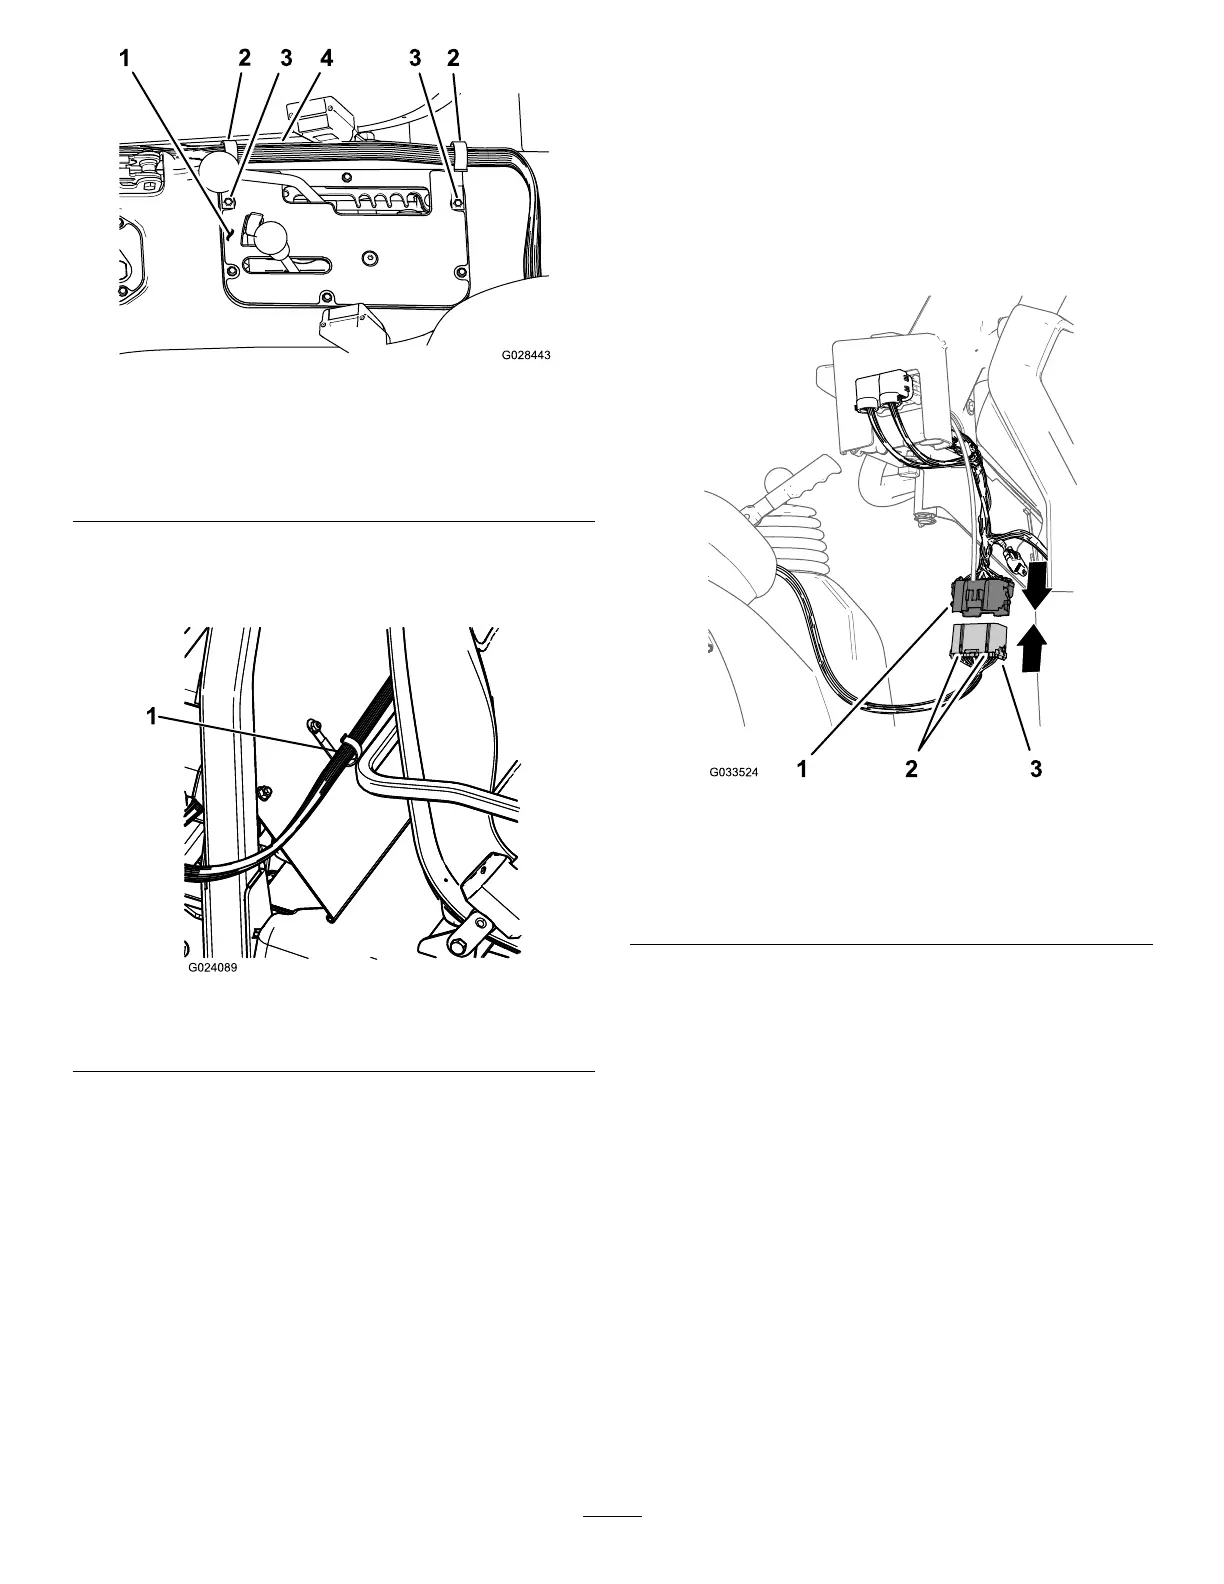
ConnectingtheRearElectrical
HarnesstotheFrontElectrical
HarnessattheControlConsole
1.Alignthe2keysofthe38-pinconnectorofthe
rearwireharnessforthesprayerwiththe2
keywaysofthe38-socketconnectorofthefront
wireharnessconnectedtothecontrolconsole
(Figure23).
g033524
Figure23
1.38-socketconnector(front
wireharness—control
console)
3.38-pinconnector(rear
wireharness—sprayer)
2.Alignmentkeys
2.Plugtherearwire-harnessconnectorintothe
frontwireharnessconnectoruntilthelatchesof
theconnectorssnaptogethersecurely(Figure
23).
25