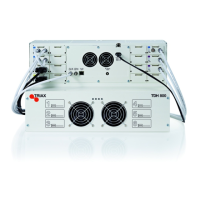
TDX Headend System Main Unit
Black Edition
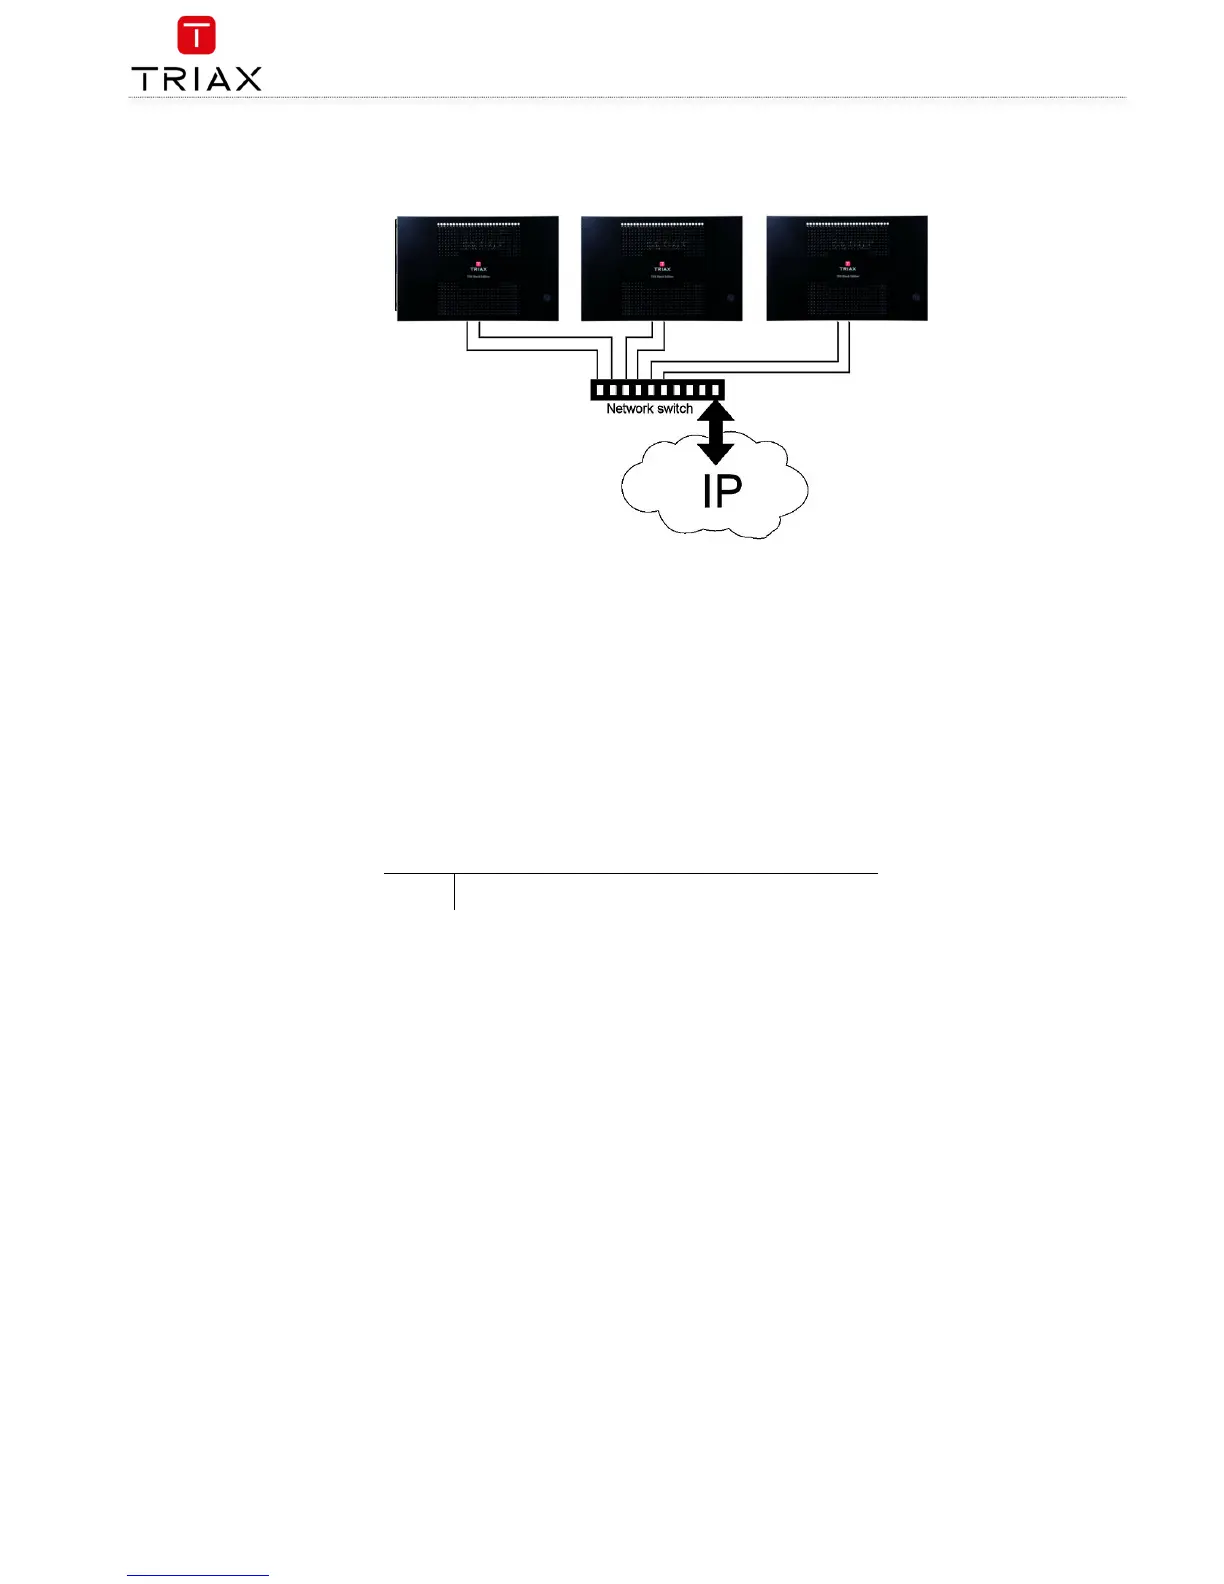
Connecting units – switch connection
Note that headend units connected using a network switch require the
Connection type
field in the service tool’s
Admin
/
IP Settings
/Setup
window to be set to
Switch
.
Triax recommends that a network switch is used for connecting the main and subunits even if IP services are not currently supported.
The network switch used must support IGMP ver. 2 and contain a sufficient number of ports to connect to the Link sockets on the main
and subunits.
1. Insert SFP copper transceivers into the “Link 1“ and “Link 2” sockets on the main headend and subunit headend(s).
2. Route a RJ45 Cat5e or better cable from the "Link 1" socket on the main unit and subunit(s) to the network switch.
3. Route a RJ45 Cat5e or better cable from the "Link 2" socket on the main unit and subunit(s) to the network switch.
4. Set the "ID switch" on the main headend and subunit headends to the following:
a. Main unit = "3"
b. Subunit 1 to "1"
c. Subunit 2 (if present) to "2"
5. Connect the network switch to the IP network.
Multi headend installation – Fiber optic
Fiber-optic cables must be used to connect the main headend unit to one or two subunits over distances greater than 100m.
The following SFP fibre-optic transceivers must be used in the Link sockets:
492087
Fiber (850nm) (LC) 1000Mbps
Resetting IP adress
The IP address of a headend unit can be returned to the factory default address by using the ID switch.
1. Turn off the power to the main unit.
2. Set the ID switch on the main unit to "7".
3. Turn on the power.
The four LEDs flash red and yellow until the process of resetting the IP address has been completed.
The LEDs show green-constant if the reset process was successful.
1. Turn off the power to the main unit.
2. Set the ID switch on the main unit back to the initial setting.
3. Turn on the power to the main unit.
The IP address has been reset to the factory default (192.168.0.100)
 Loading...