54
be sealed.
Note:
If the surface of the object is not smooth, there will be air leakage from the suction
cup which makes the object fail to be sucked up firmly.
Indicator status: When the vacuum gripper is powered on, the power supply indicator
near the vacuum gripper is constantly red. When the vacuum gripper is on, the IO
status indicator is constantly green.
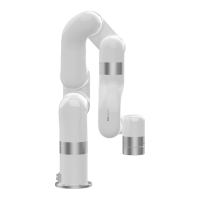
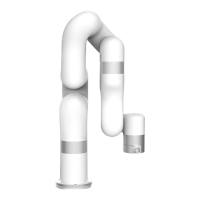
3.2.1. Vacuum Gripper Installation
Installation of vacuum gripper:
1. Move the robotic arm to a safe position. Avoid collision with the robotic arm
mounting surface or other equipment;
2. Power off the robotic arm by pressing the emergency stop button on the control box;
3. Fix the vacuum gripper on the end of the robotic arm with 2 M6 bolts;
4. Connect the robotic arm and the vacuum gripper with the vacuum gripper
connection cable.
Note:
1. When turning on the vacuum gripper connection cable, be sure to power off the
robotic arm, to set the emergency stop button in the pressed state, and to ensure that
power indicator of the robotic arm is off, as to avoid robotic arm failure caused by
hot-plugging;
2. Due to the length limitation of the vacuum gripper connection cable, the vacuum
gripper interface and the tool IO interface must be in the same direction;
3. When connecting the vacuum gripper and the robotic arm, be sure to align the
positioning holes on the two ends of the interface. The male pins of the connecting
cable are relatively thin to avoid bending the male pins during disassembly.