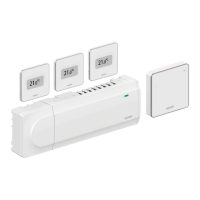
Button layout
The figure below shows buttons used to operate the digital
thermostats.
Item Description
A The and buttons are used to:
• Adjust setpoint temperature
• Modify settings menu parameters
B
C The OK button is used to:
• Toggle between current status data, and values of available
sensors connected to the thermostat
• Enter and exit the settings menu
• Confirm a setting
12.3
Start up
Analogue thermostats
The thermostat will perform a self test, for about 10 seconds, when
starting up. The system will be blocked for input and the thermostat
LED flashes during this period.
Digital thermostats
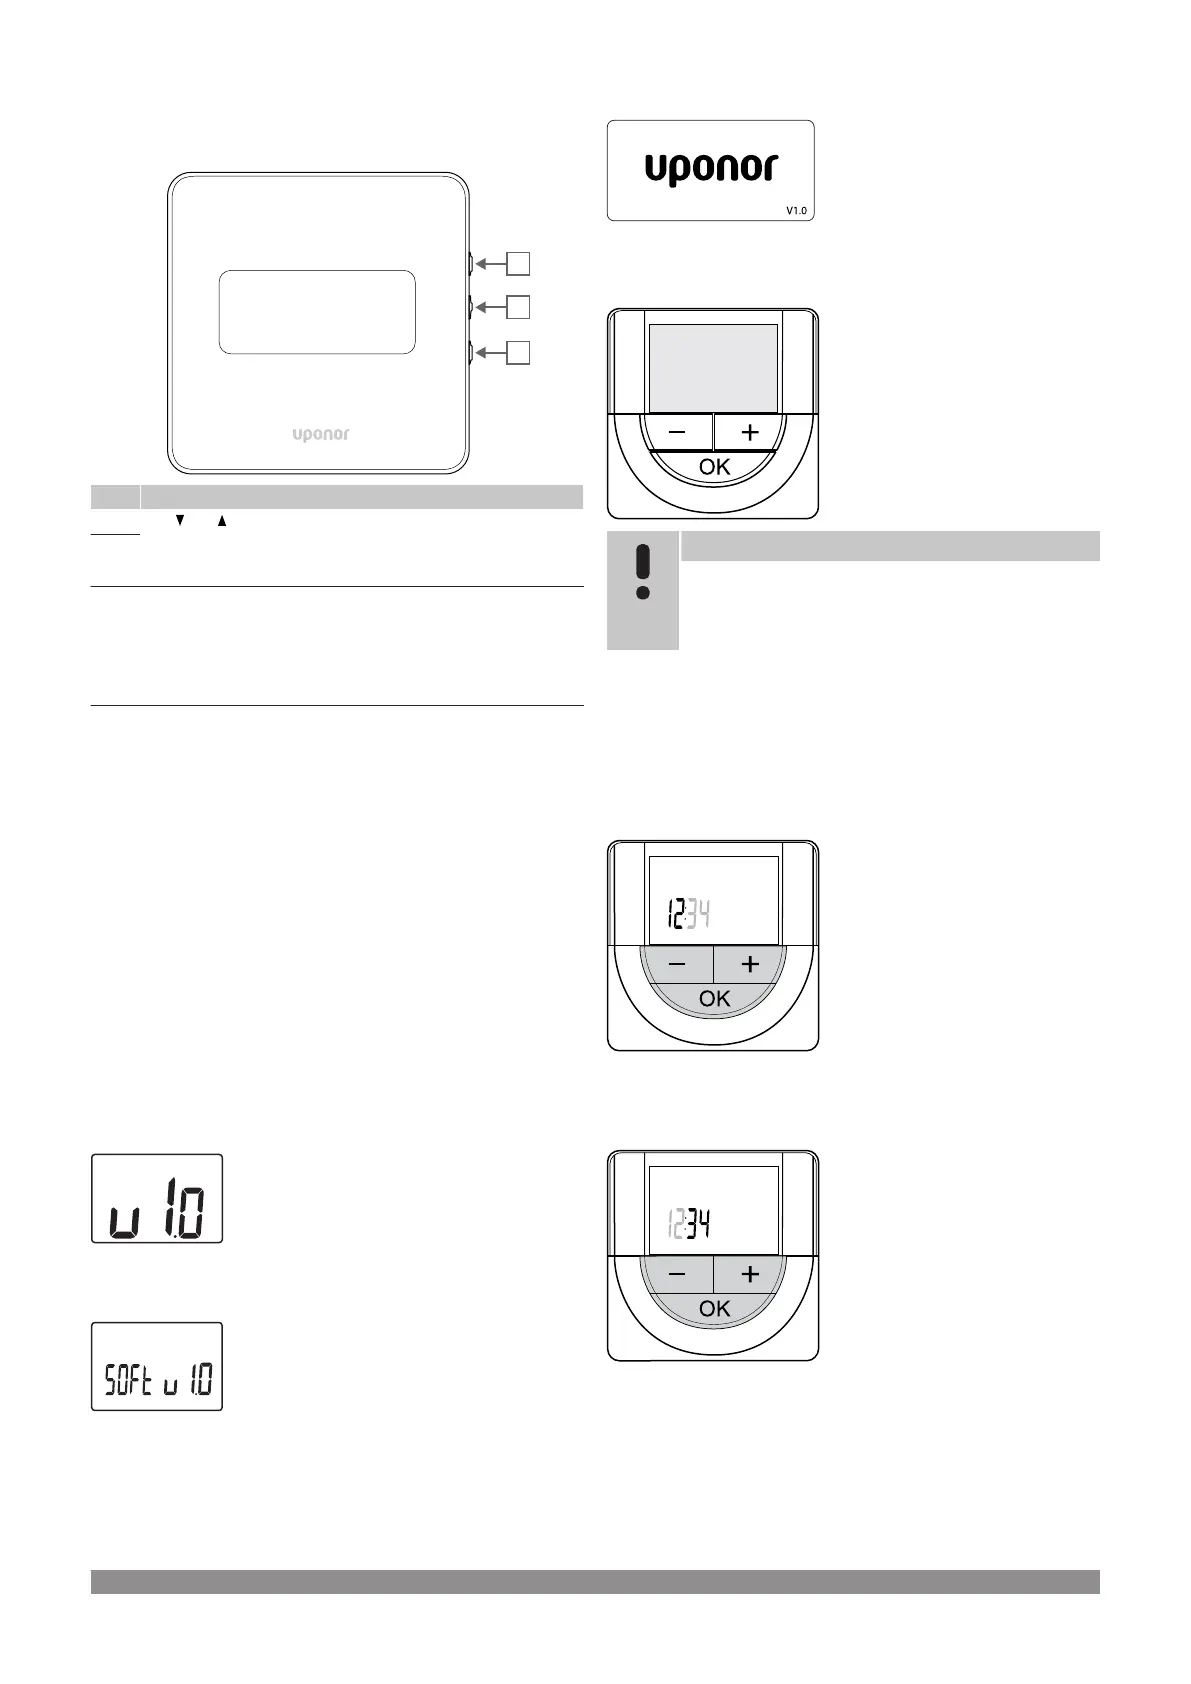
When starting up, the software version is shown in the display for
about three seconds. Then the thermostat enters run mode (except
the programmable thermostat which may require the time and date to
be set).
Software version
T-146
Current software version is displayed during power up.
T-148
Current software version is displayed during power up.
T-149
Current software version is displayed during power up.
Set time and date (T-148 only)
Note
If no button on the thermostat is pressed for about
8 seconds, while in a submenu, the current values will be
saved and the software exits to the settings menu. About
about 60 seconds later, it exits to run mode.
At first startup, after a factory reset, or after its been disconnected too
long, the software requires the time and date to be set. This setting is
required to utilise scheduling programs for this thermostat.
Use buttons - or + to change the value, press the OK button to set the
value and move to the next editable value.
Date and time can also be set later in the settings menu.
1. Set hours
Use buttons - or + to change the value, press the OK button to set the
value and move to the next editable value.
2. Set minutes
Use buttons - or + to change the value, press the OK button to set the
value and move to the next editable value.
72
|
Uponor Smatrix Base PULSE
|
Installation and operation manual