5-41
Operation on the Machine > Sending
3 Set the type of original, file format, etc., as desired.
4 Press the [Start] key.
Sending begins and the software installed on the computer is activated.
Procedure from Your Computer
1 Press [From Computer] and press [Next].
2 Use the software installed on the computer to send the images.
DSM Scan (Windows Server 2008 R2 or Windows Server 2012 Only)
A scanned document can be automatically saved in any format or sent to any destination by reading a scan process
from Active Directory.
1
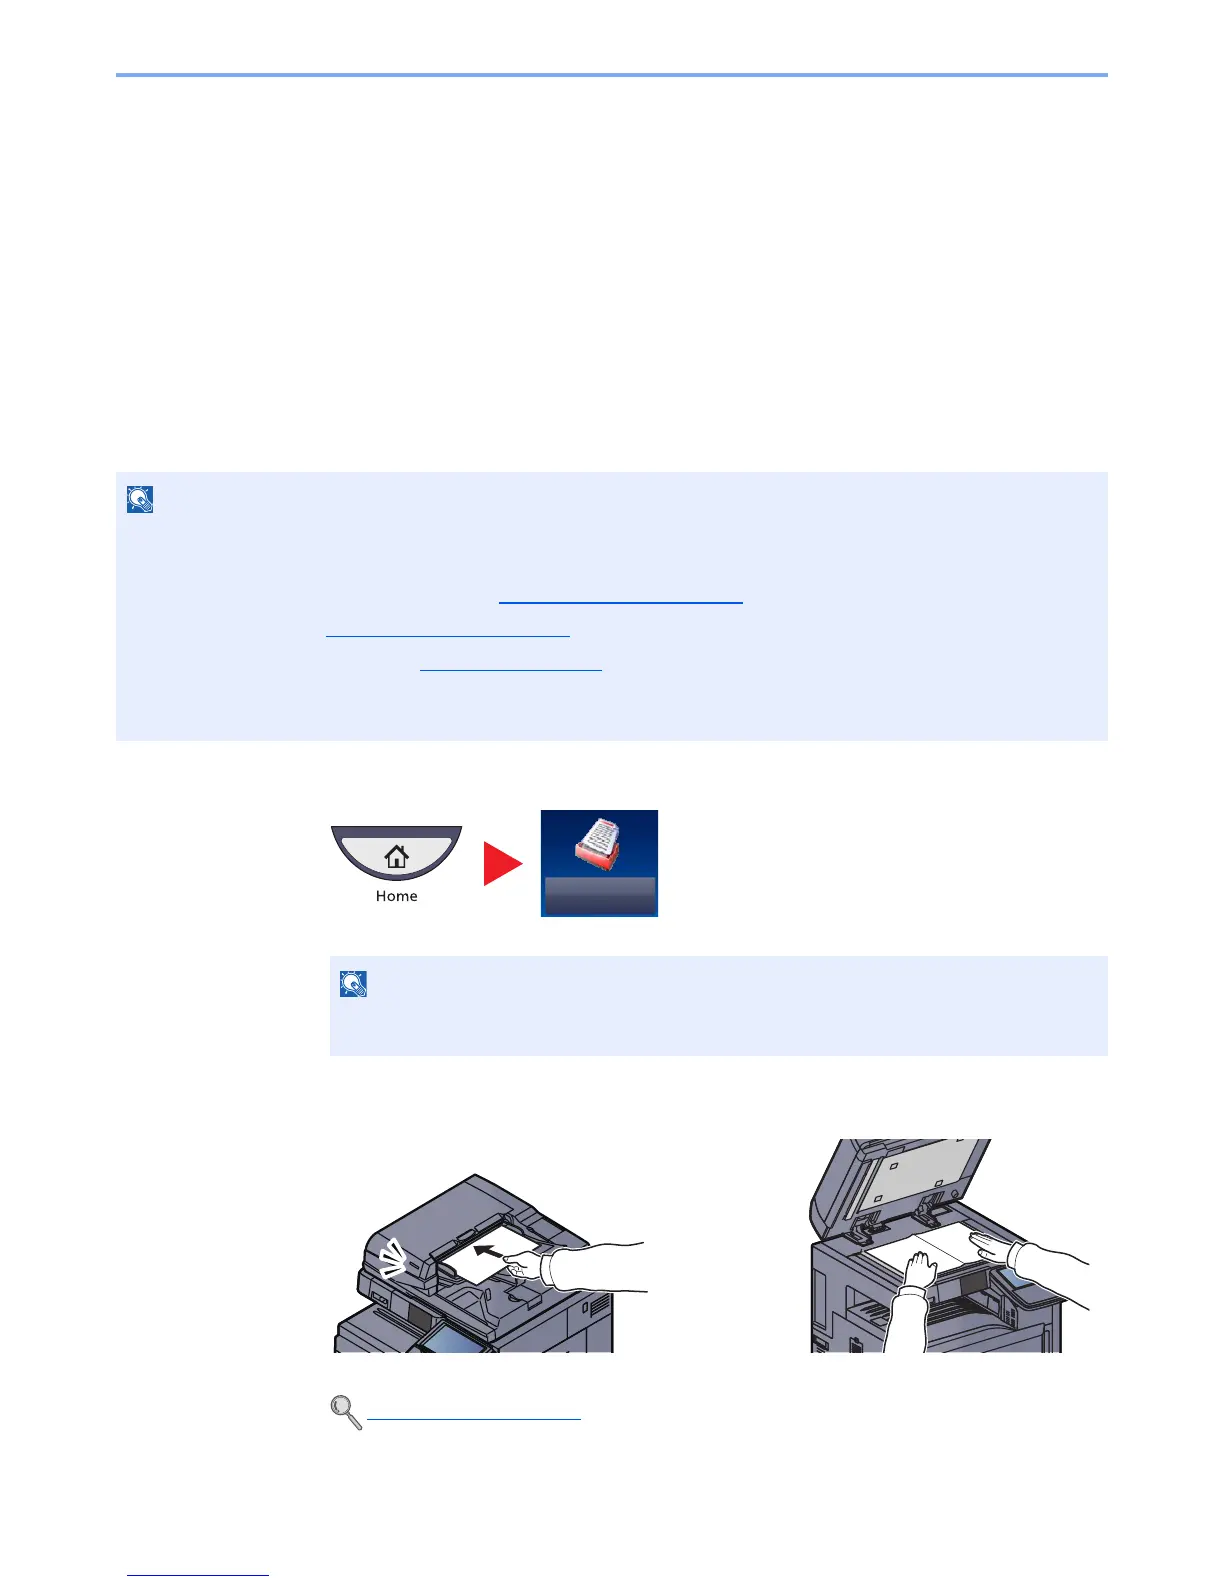
Press [Send] on the Home screen.
2
Place the originals.
If you are performing DSM scan, check the items below.
• The machine is connected to an Active Directory on the network that the scan process can reference.
• "DSM Scan" and "LDAP" are set to [On] in Protocol Settings
(page 8-45) in Network.
• "SSL" is set to [On] in Security Settings
(page 8-46) in Network.
• [Network Authentication] is set in User Login (page 9-4)
.
If the Active Directory that the scan process can reference is not on the network authentication server, DSM must be
set in Embedded Web Server RX. For details, refer to the Embedded Web Server RX User Guide.
Depending on the settings, the address book screen may appear. In this event, press
[Cancel] to display the screen for sending.
Loading Originals (page 5-2)
 Loading...