Connecting a Vaddio HDBaseT Camera
999-1105-043/143/943
This diagram is also valid for the following systems:
n RoboSHOT 12 HDBT OneLINK HDMI System, 999-9960-100/101
n RoboSHOT 30 HDBT OneLINK HDMI System, 999-9963-100/100W/101/101W
n DocCAM 20 HDBT OneLINK HDMI System, 999-9968-200/201/209
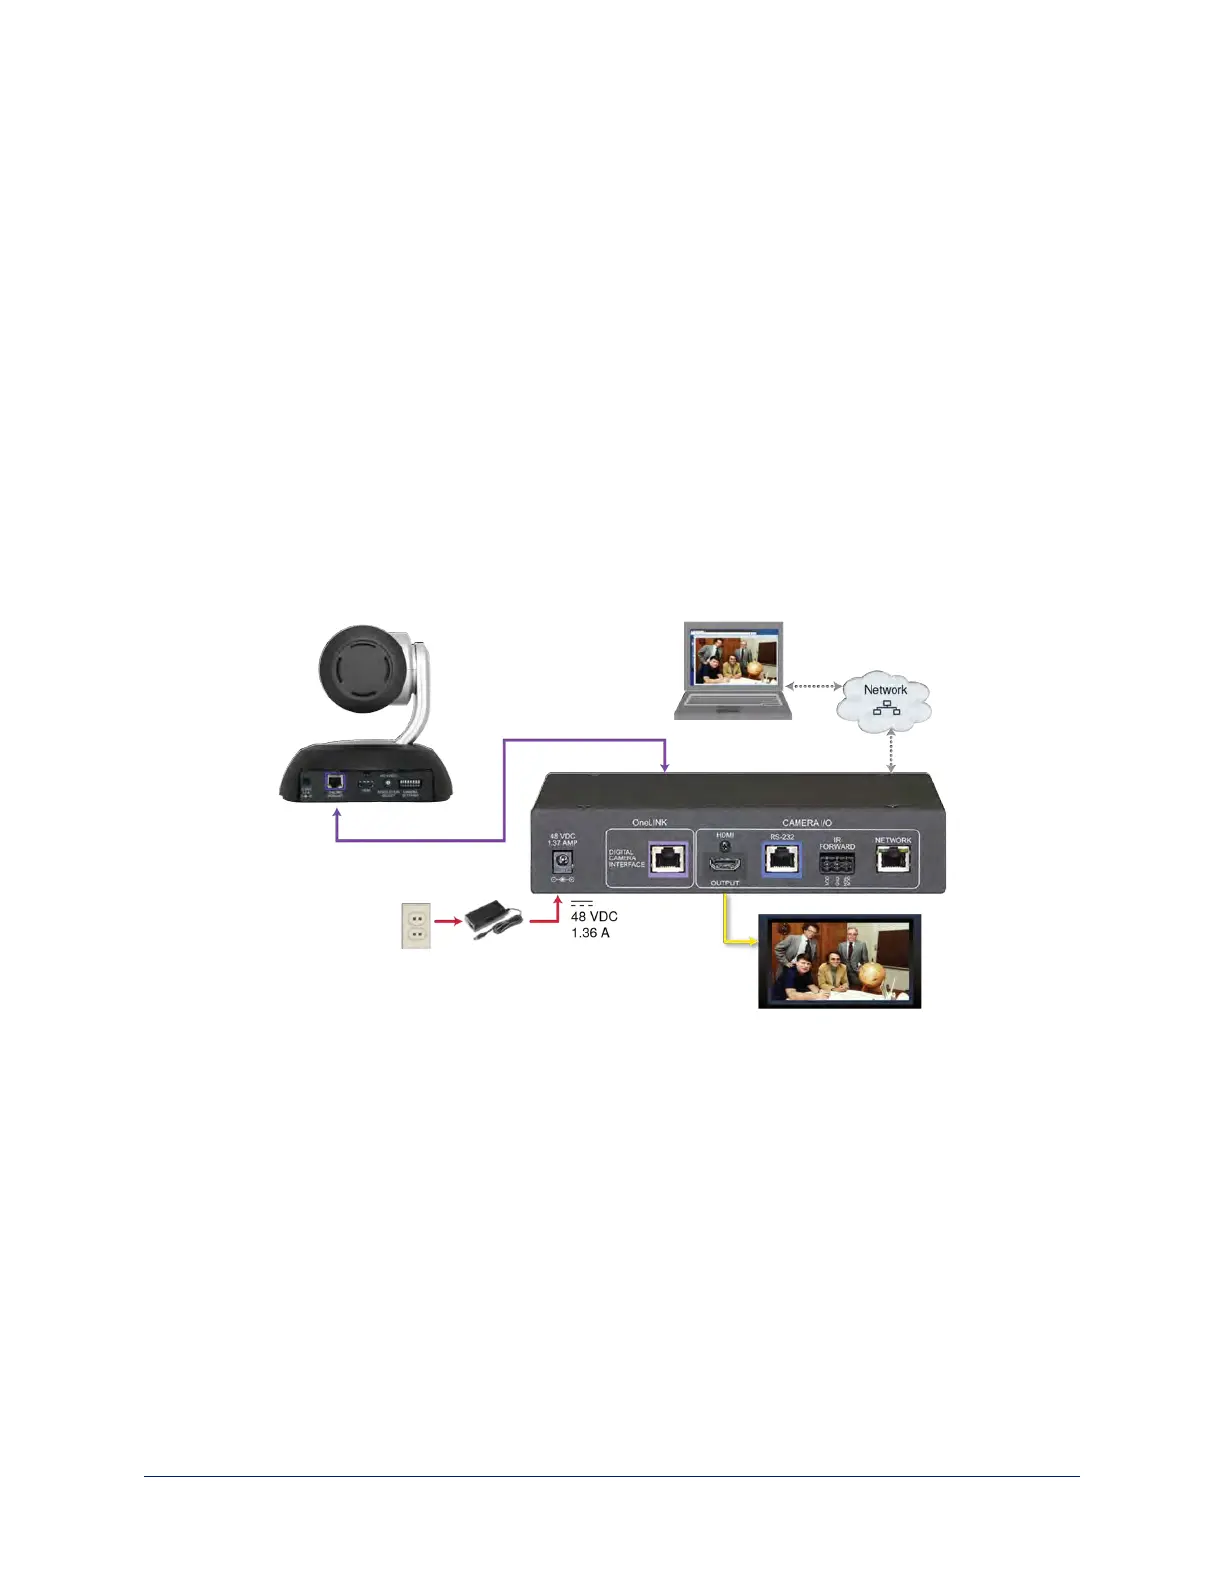
In this diagram, the OneLINK HDMI extends network connectivity, power, and control to a
RoboSHOTHDBT camera, and brings camera video to the connected HDMI display. The OneLINK HDMI
passes the camera's IP stream (if available) to the network.
Items in this diagram:
n OneLINK HDMI receiver
n RoboSHOT12 HDBT camera (not included in kit 999-1105-043/143/943)
n HDMI display and HDMI cable (not included)
n Laptop receiving the camera's IP stream (not included)
n Cat-5e cables for OneLINK and network connections (not included)
RoboSHOT HDBT Camera
Other Vaddio HDBaseT cameras connect in the same way.
Camera Configuration
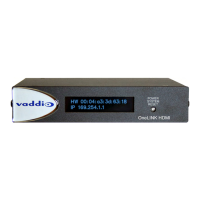
Keep in mind that the OneLINK HDMI displays its own IP address, not the camera's IP address.
You can configure the following settings on your Vaddio HDBaseT camera:
n HDMI output resolution: Depending on the camera, set this using the rotary switch on the back of the
camera or the virtual rotary switch on DIP Switches tab of the System page.
n IP streaming: Streaming page. Settings include Enable/disable, streaming quality, and streaming
resolution.
Point the remote at the camera and press the Data Screen button to see the camera's IP address on the
connected display.
No additional configuration is required.
13
Integrator's Complete Guide to the OneLINK HDMI Camera Extension