Connecting a RoboSHOT HDMI Camera
999-9590-000/001/009
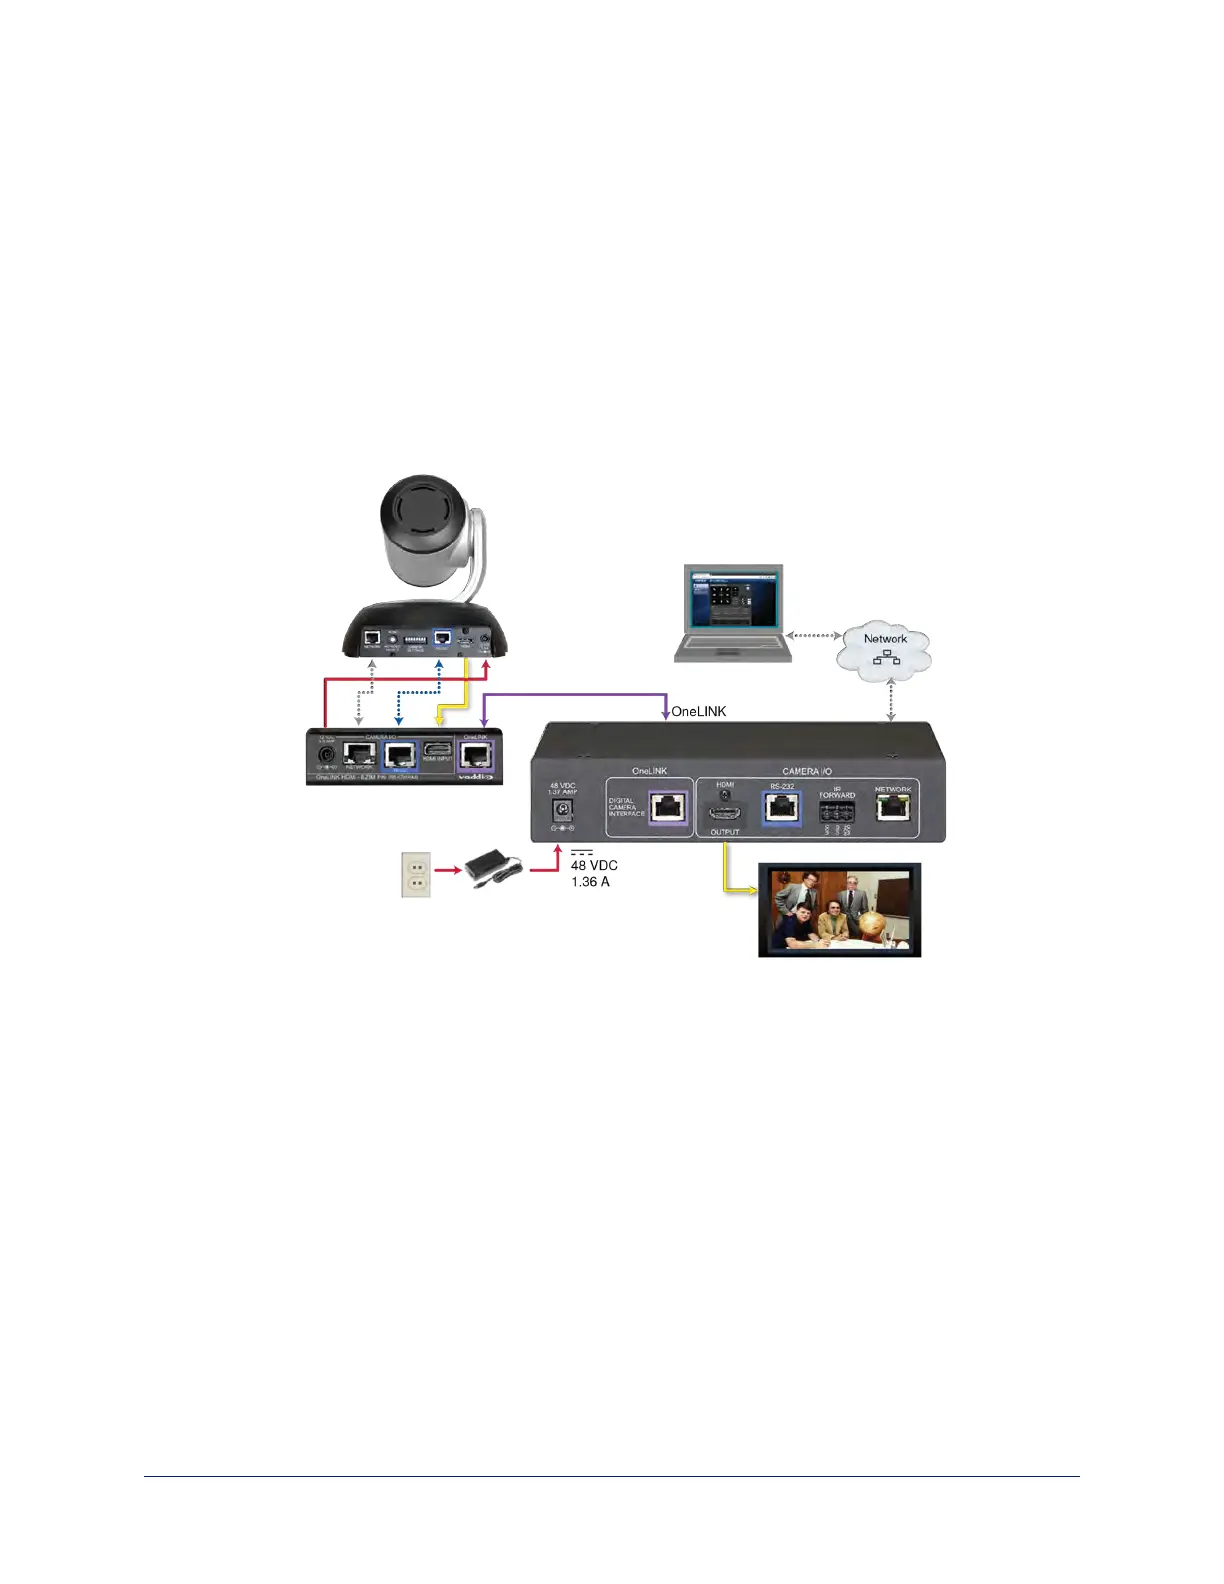
In this diagram, the OneLINK device extends network connectivity, power, and control to a RoboSHOT
HDMI camera, and brings camera video to the connected HDMI display.
Items in this diagram:
n OneLINK HDMI receiver and OneLINK EZIM
n OneLINK power supply and ACcord set
n RoboSHOT 12 HDMIcamera (not included)
n Power cable, HDMI cable, and Cat-5e cables from the OneLINK EZIM to the camera
n HDMI display and HDMI cable (not included)
n Laptop providing access to the camera's web interface (not included)
n Cat-5e cables for OneLINK and network connections (not included)
Camera Configuration
Set HDMI output resolution using the rotary switch on the back of the camera. No additional configuration
is required; if desired, additional configuration is available via the camera's web interface. Point the remote
at the camera and press the Data Screen button to see the camera's IP address on the connected HDMI
display.
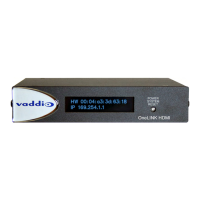
Keep in mind that the OneLINK HDMI receiver displays its own IP address, not the camera's IP address.
23
Integrator's Complete Guide to the OneLINK HDMI Camera Extension