Hardware Note: IR Forwarding
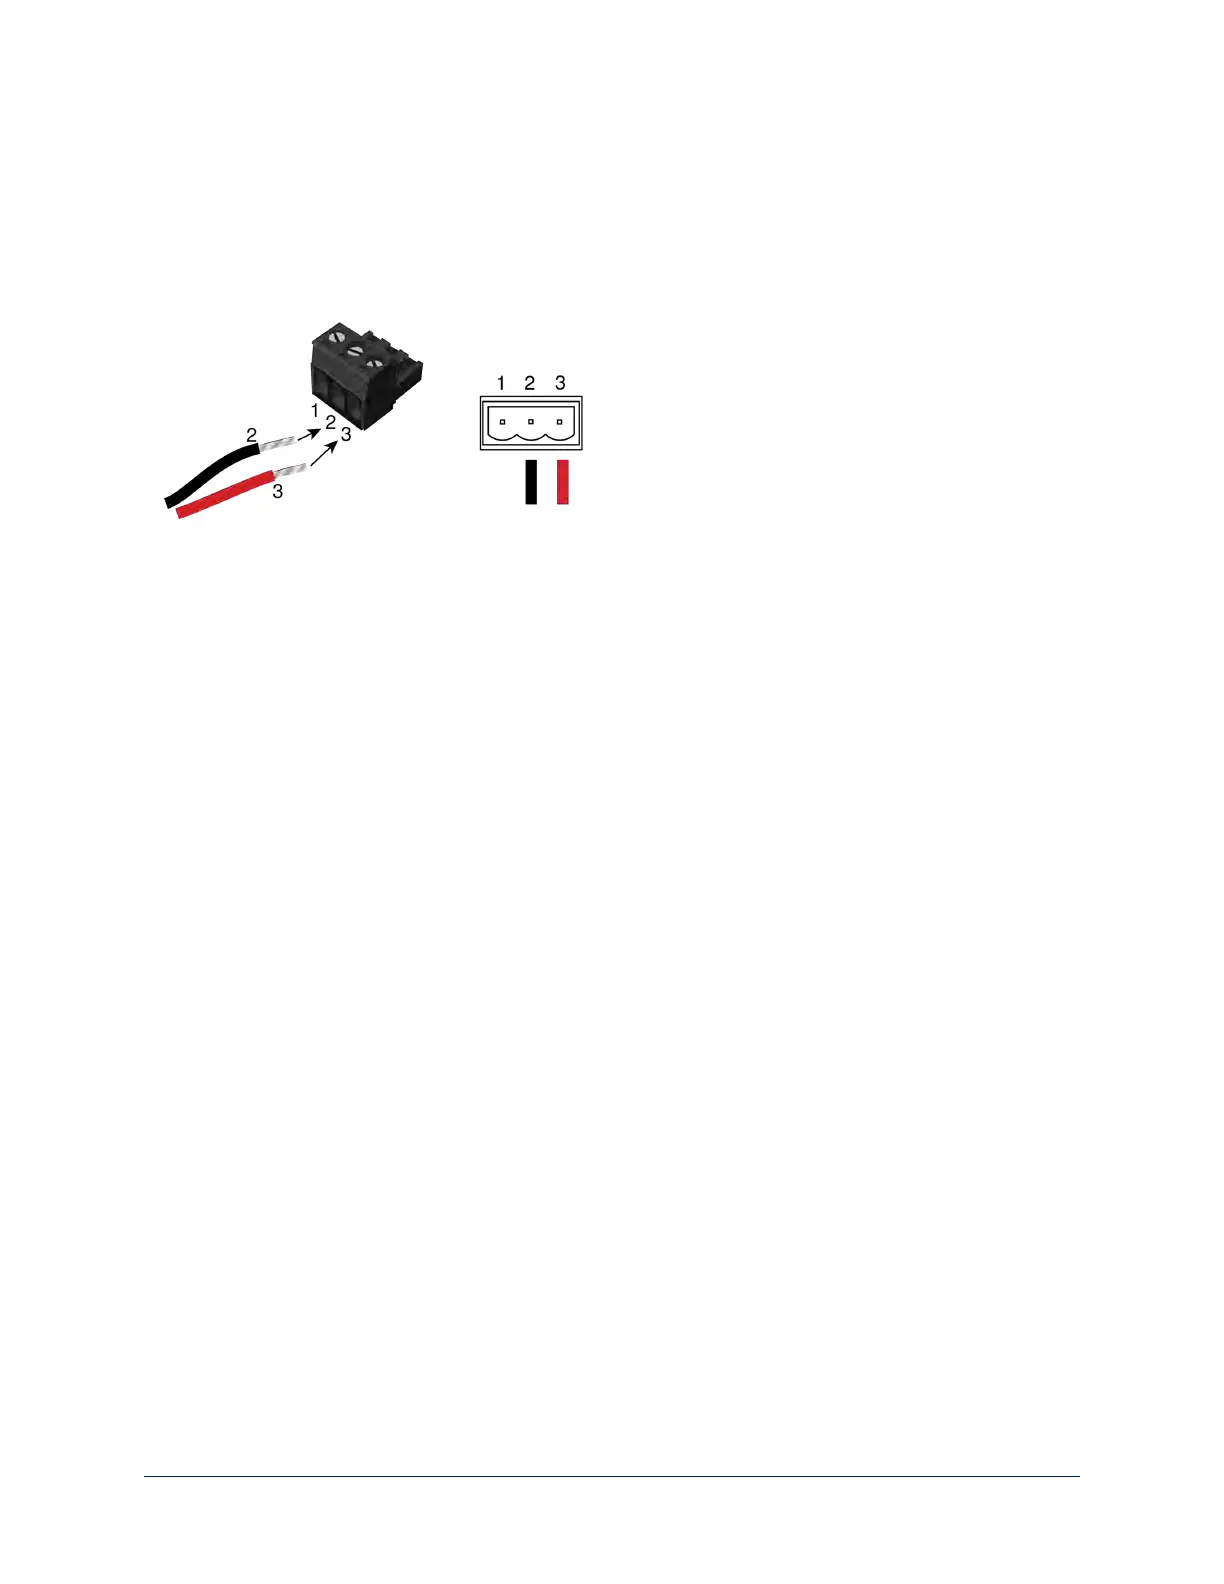
Use the supplied 3-position Euro-style connector to terminate the two unterminated wires of the codec-side
fan-out cable as follows:
n Black wire: Center position (pin 2)
n Red wire: Right position (pin 3)
Connect this part of the fan-out cable to the IR FORWARD connector on the OneLINK HDMI receiver.
Note
Some fan-out cables have a black/white wire instead of a red one. Wiring is the same – black to pin 2,
black/white to pin 3.
Some older fan-out cables have the wires reversed. This will not damage the equipment. If IR forwarding
does not work when you terminate the cable per these instructions, remove power from the OneLINK
device, disconnect the fan-out cable, and re-terminate the wires with red (or black/white) to pin 2 and black
to pin 3. Then reconnect the cable and power up the OneLINK device again.
Hardware Note: Connection and Configuration Changes
After connecting or configuring the equipment, reboot the OneLINK device, camera, and codec. Note that
rebooting the OneLINK device does not affect the camera and codec; they must be rebooted separately.
Camera Configuration
Set HDMI resolution and IR forwarding using the switches on the back of the camera:
n Set HDMI output resolution using the rotary switch.
n Set DIP switch 3 DOWN to enable IR forwarding.
Codec Control Mode and other configuration settings are available from the camera's web interface. Point
the remote at the camera and press the Data Screen button to see the camera's IP address on the
connected HDMIdisplay.
Enable Codec Control Mode on the DIP Switches tab of the System page.
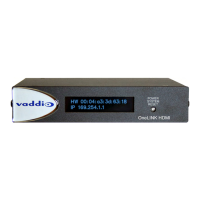
Keep in mind that the OneLINK HDMI receiver displays its own IP address, not the camera's IP address.
Note
Codec Control Mode was added to Vaddio cameras in early 2018. Your camera may require a firmware
update to add this capability.
32
Integrator's Complete Guide to the OneLINK HDMI Camera Extension