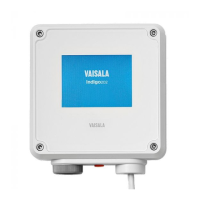
Figure 15 Connecting probes to Indigo300 transmitter
1 Probes are locked in place with the locking wheel. Never turn from the probe body.
2 Probe connection cables are connected in the same way as probes: insert the cable in the
connector and hold in place while turning the locking wheel.
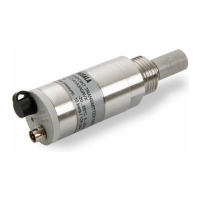
3 Probes are inserted into the probe connector with the orientation mark and/or the Vaisala
logo facing out.
1. Insert the probe into the probe connector with the orientation mark and/or the Vaisala
logo on the probe body facing out. Note the orientation of the cable connector pins when
inserting.
2. Hold the probe in the probe connector and lock it in place by turning the locking wheel
counterclockwise.
3. When the transmitter recognizes the connected probe, it shows a notification message on
the display (for example, Probe Connected: GMP251).
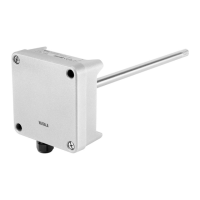
3.6
Example of installation in tight spaces
To optimize the usage of space around the transmitter, you can connect the probe to the
transmitter using a cable and mount the probe body to a suitable spot using a probe holder
(Vaisala item code ASM213582). The probe holder is compatible with Ø 25 mm (0.98 in) probe
bodies.
Figure 16 (page 29) shows an example installation with a short open-ended cable, which is
wired to the transmitter through a cable gland.
Indigo300 User Guide M212849EN-A
28