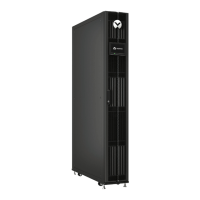
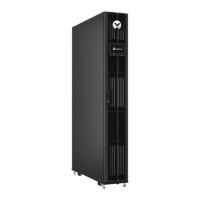
Liebert Lee-Temp-controlled Materials Supplied
• Built-in, pre-wired condenser control box
• Air-cooled condenser
• Piping access cover
• Bolts—4per leg (3/8in. x 5/8in.)
• Terminal block for 2-wire, 24-V interlock connection between unit and condenser
• Terminal blocks for shielded, CANbus-cable connection between unit and condenser
• Condenser legs—4with 1-fan units and 5on 2-fan units
• Bolts—6per receiver (3/8in. x 1in.)
• Liebert Lee-Temp system:
• Insulated storage receiver with (2) liquid-level sight glasses—1
• Head-pressure control-valve piping assembly with (2) integral check valves—1
• Service valve—1
• Pressure-relief valve—1
NOTE: The Lee-Temp heater pad requires a separate, continuous electrical source. See nameplate on
unit for proper voltage.
Evacuation and Leak-testing Air-cooled Systems withLiebertLee-Temp Receiver
For proper leak-check and evacuation, you must open all system valves and account for all check valves.
NOTE: The system includes a factory-installed check valve and an additional downstream Schrader
valve with core in the compressor discharge line. Proper evacuation of the condenser side of the
compressor can be accomplished only using the downstream Schrader valve. See the appropriate
piping schematic for your system in the submittal-drawings appendix.
1. If unit power is available, open the unit liquid-line solenoid valve or electronic-expansion valve
(EEV) using the evacuation function in the diagnostic section of the Liebert iCOM® control.
– or –
If unit power is not available, connect a field-supplied 24-VAC/75-VA power source directly to
the unit solenoid valve.
2. Connect a jumper hose from the service-valve fitting on the outlet of the receiver and the
Schrader fitting on the discharge header of the condenser. Seat the service valve
approximately two(2) turns from the fully back-seated position.
3. At the compressor, connect refrigerant gauges to the suction rotalock valves and discharge-
line Schrader valves.
4. Open the service valves and place a 150 PSIG (1034kPa) of dry nitrogen with a tracer of
refrigerant. Check system for leaks with a suitable leak detector.
5. After completion of leak testing, release the test pressure, (observe local code) and pull an
initial deep vacuum of 500 microns on the system with a suitable pump.
6. After 4hours, check the pressure readings and, if they have not changed, break vacuum with
dry nitrogen. Pull a second and third vacuum to 500 microns or less. Re-check the pressure
after 2hours.
When the 3 checks are complete, remove the jumper hose from the service valve fitting and
the condenser, and proceed to Charging Air-cooled Systems withLiebertLee-Temp Receiver
on the facing page.
Vertiv | Liebert CRV Installer/User Guide | 48