10.4 Adjust Baffles to Direct Air Properly
WARNING! Risk of electric shock. Can cause equipment damage, injury or death. Open all local
and remote electric power supply disconnect switches and verify with a voltmeter that power is
off before working within any electric connection enclosures. Service and maintenance work
must be performed only by properly trained and qualified personnel and in accordance with
applicable regulations and manufacturers’ specifications. Opening or removing the covers to
any equipment may expose personnel to lethal voltages within the unit even when it is
apparently not operating and the input wiring is disconnected from the electrical source.
WARNING! Risk of contact with high-speed, rotating fan impeller blades. Can cause injury or
death. Open all local and remote electrical-supply disconnect switches, verify with a voltmeter
that power is off, and verify that all fan impellers have stopped rotating before working in the
unit.
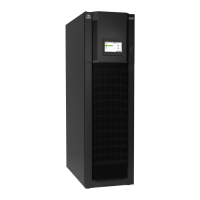
The Liebert CRV is equipped with an adjustable, modular, supply-air baffle system. Adjust the baffles prior
to start up to direct air toward the racks that the cooling unit is intended to condition. Ideally, these
should be the same racks from which the cooling unit is pulling hot air. The baffles can be readjusted at
any time as cooling needs change.
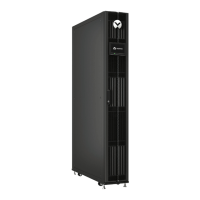
The unit ships with the baffles in an alternating pattern to direct cold air left and right. This configuration
should be used when the cooling unit is located between racks. If cooling unit is installed at the end of a
row, adjust all the baffles to blow air down the cold-aisle, toward the racks. The baffle segments at the top
of the panel will direct more air than the segments at the bottom. The supply air will travel the furthest
when all baffle segments are pointed in the same direction, left or right.
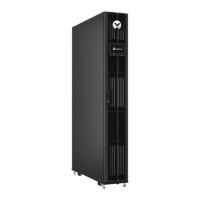
10.4.1 Adjusting Baffles—600-mm (24-in.)
To adjust the baffles on 600-mm (24-in.) models:
1. Open the door containing the Liebert iCOM display.
2. Remove the two bolts holding a baffle panel segment in place.
3. Slide out the baffle segment.
4. There is one screw on each side of the baffle, as shown in Figure 10.4 on the facing page.
Remove the screws and rotate the baffle segment around its horizontal axis to change the
airflow direction.
5. Reinsert the baffle segment and reinstall the screws.
Vertiv | Liebert CRV Installer/User Guide | 116