NOTE: The Liebert iCOM control monitors the condition of the air discharging from the unit to protect
neighboring electronic equipment. The Liebert iCOM will prevent the humidifier from activating if the
discharge air is near its saturation point. This protects against discharging fog from the unit or
condensation forming on the unit’s supply air baffles. This protection mode is activated when the
supply air leaving the unit is below 64°F (17.8°C) or above 55% relative humidity. The Liebert iCOM
screen will display “Humidifier Suspended.” The screen will display “Humidifier Resumed” when the
protection mode resets at 67°F (19.4°C).
8.2 Connecting Water Supply to the Humidifier
A copper compression olive type coupling for 1/4" O.D. soft copper tubing is provided with the unit and
requires no soldering for the water connection to the unit.
An isolating valve should ALWAYS be placed in the feed water line to allow service of the fill valve.
Each unit is fitted with a fill solenoid valve located on the base drain pan.
Flow openings are designed for water pressure from 30 to 80 psi and are protected by the built-in strainer.
For inlet water pressure outside this range, the factory should be contacted.
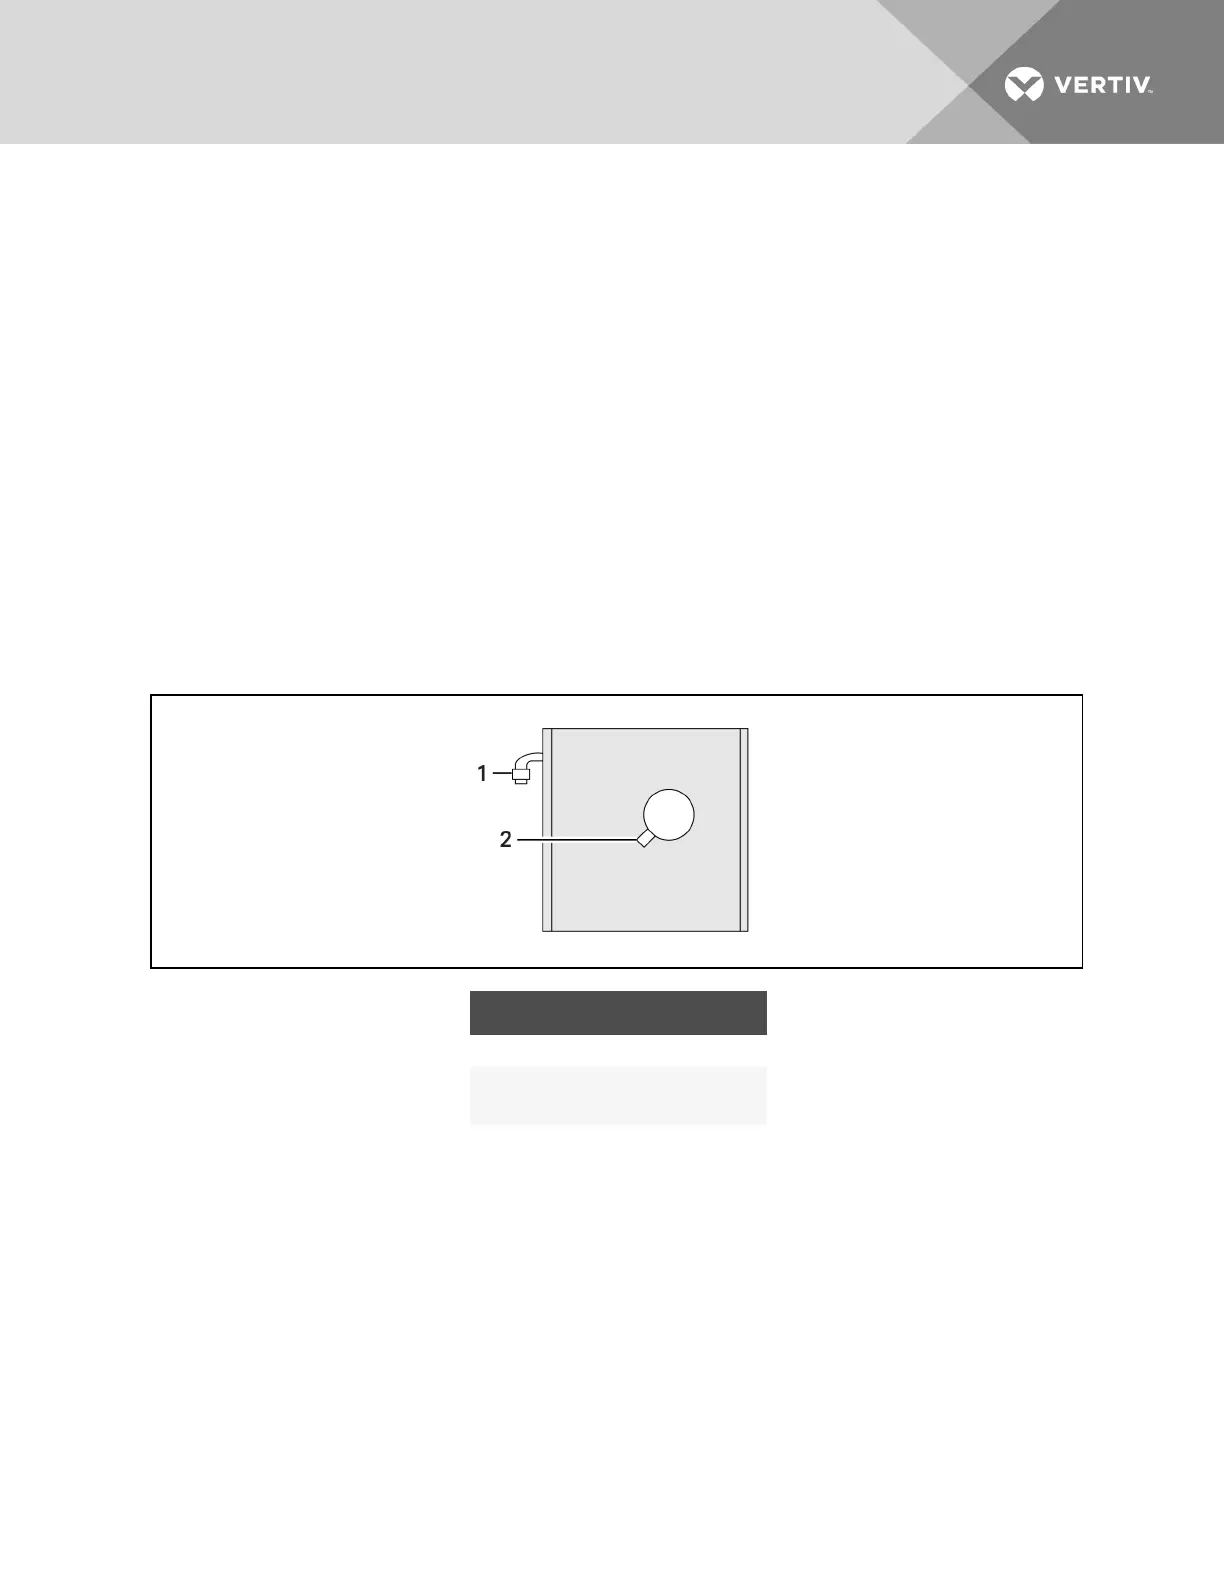
Figure 8.2 Water connection to humidifier
ITEM DESCRIPTION
1 3/8-in. Cold-water olive connection
2
7/8-in. Drain connection
Use factory-supplied 7/8-in IDhose.
8.3 Humidifier Start-up and Operation
• Ambient temperature location for humidifier: 41 - 104°F (5 - 40°C).
• Relative humidity location for humidifiers: 5 - 80% RH.
Check to see that the unit is securely mounted on a level surface with the proper drain and water supply.
Check for correct voltage with appropriately sized service. Check that the steam distributor, steam supply
hose and condensate line are correctly installed and routed back to the unit.
Check all electrical connections for wires that may have become loose in shipping. Components damaged
because of loose connections are NOT under warranty.
Vertiv | Liebert CRV Installer/User Guide | 82