Notice: To avoid damaging the QDa or other instruments and devices, you must
first de-stack the system. Take the steps necessary to disable each instrument
and device in the system before de-stacking it.
3. If the tubing guide is fitted to your instrument, remove it to allow the diverter valve to fit to
your instrument.
See also: Removing the tubing guide
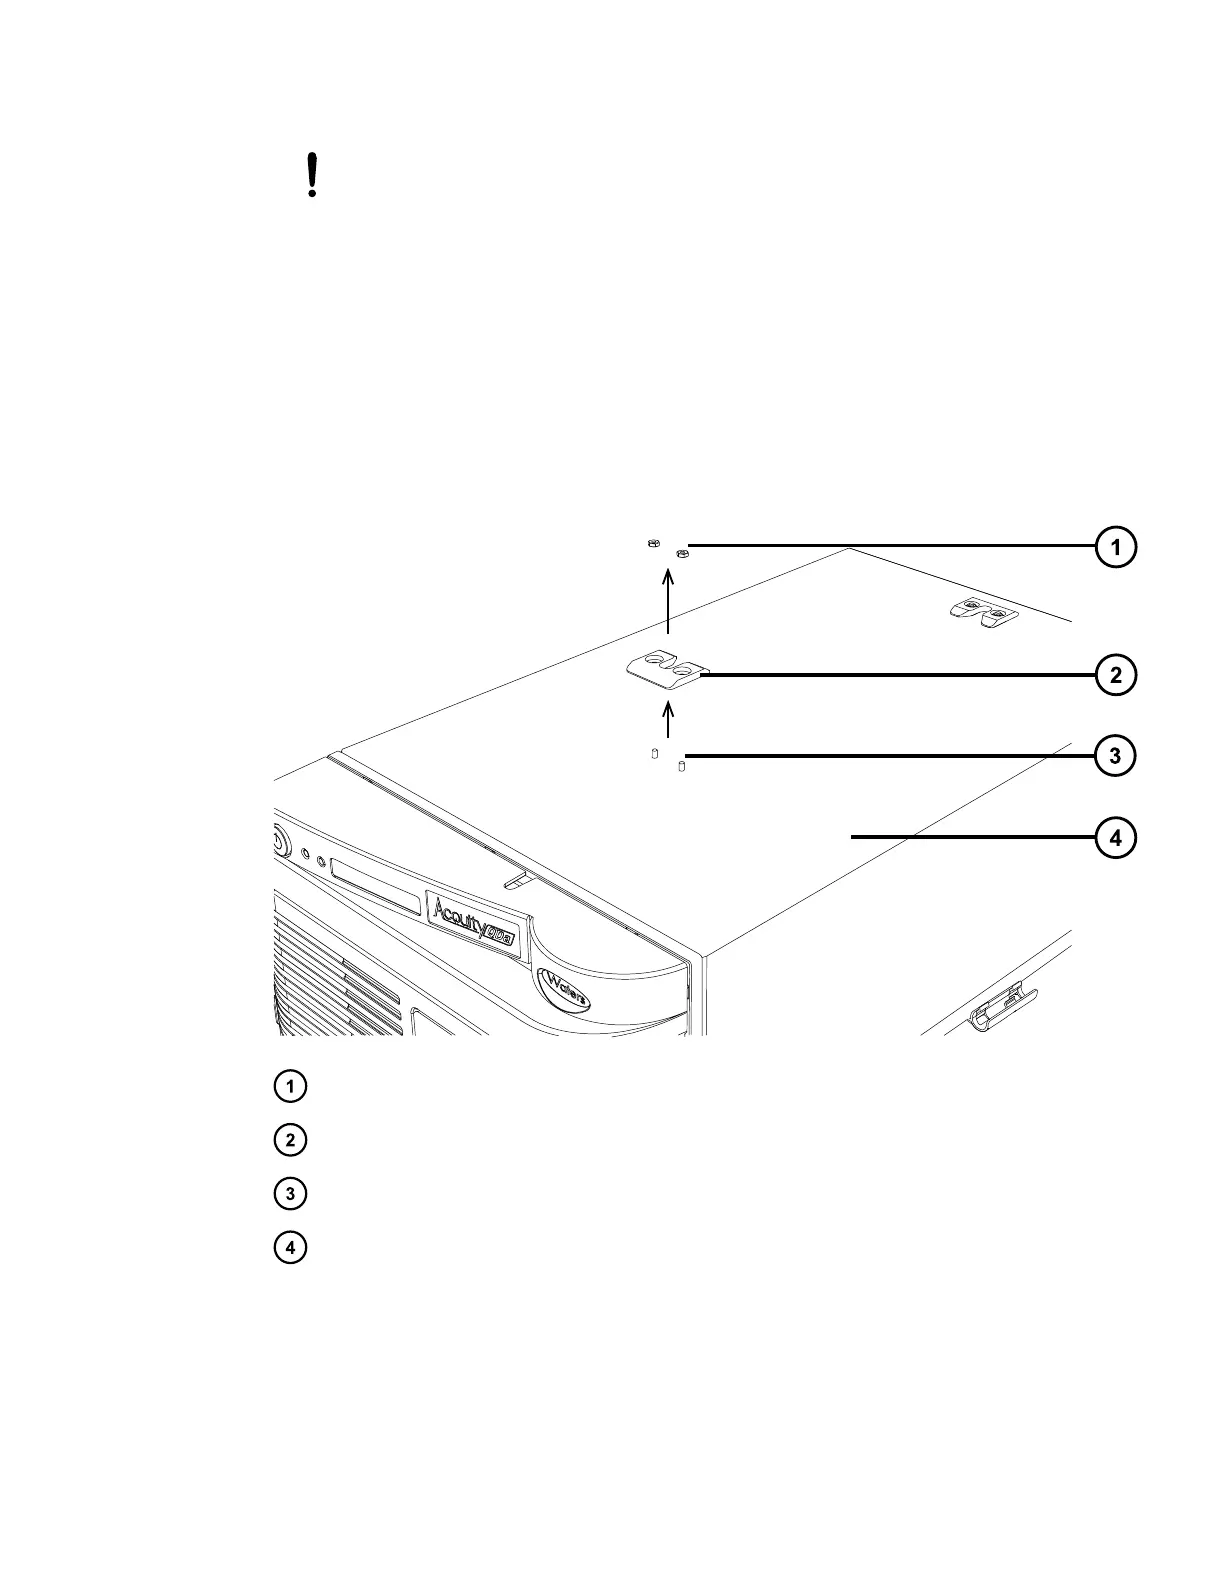
4. Use the 1/4-inch hex nut socket wrench to unscrew the 1/4-inch hex nuts in the recessed
holes of the QDa guide bracket that is located on top of the QDa at the front end of the
instrument, and remove it.
Figure E–1: Removing the QDa guide bracket
Two 1/4-inch hex nuts
QDa front guide bracket
Retaining studs
Instrument case
5. While facing the front of the QDa detector, hold the diverter valve mounting bracket with
the drip tray shelf positioned to your right, and lower the bracket onto the top of the QDa
detector instrument case.
Note: Align the two retaining stud holes in the mounting bracket with the studs on the top
of the instrument case.
June 15, 2017, 715003956 Rev. F
Page 116