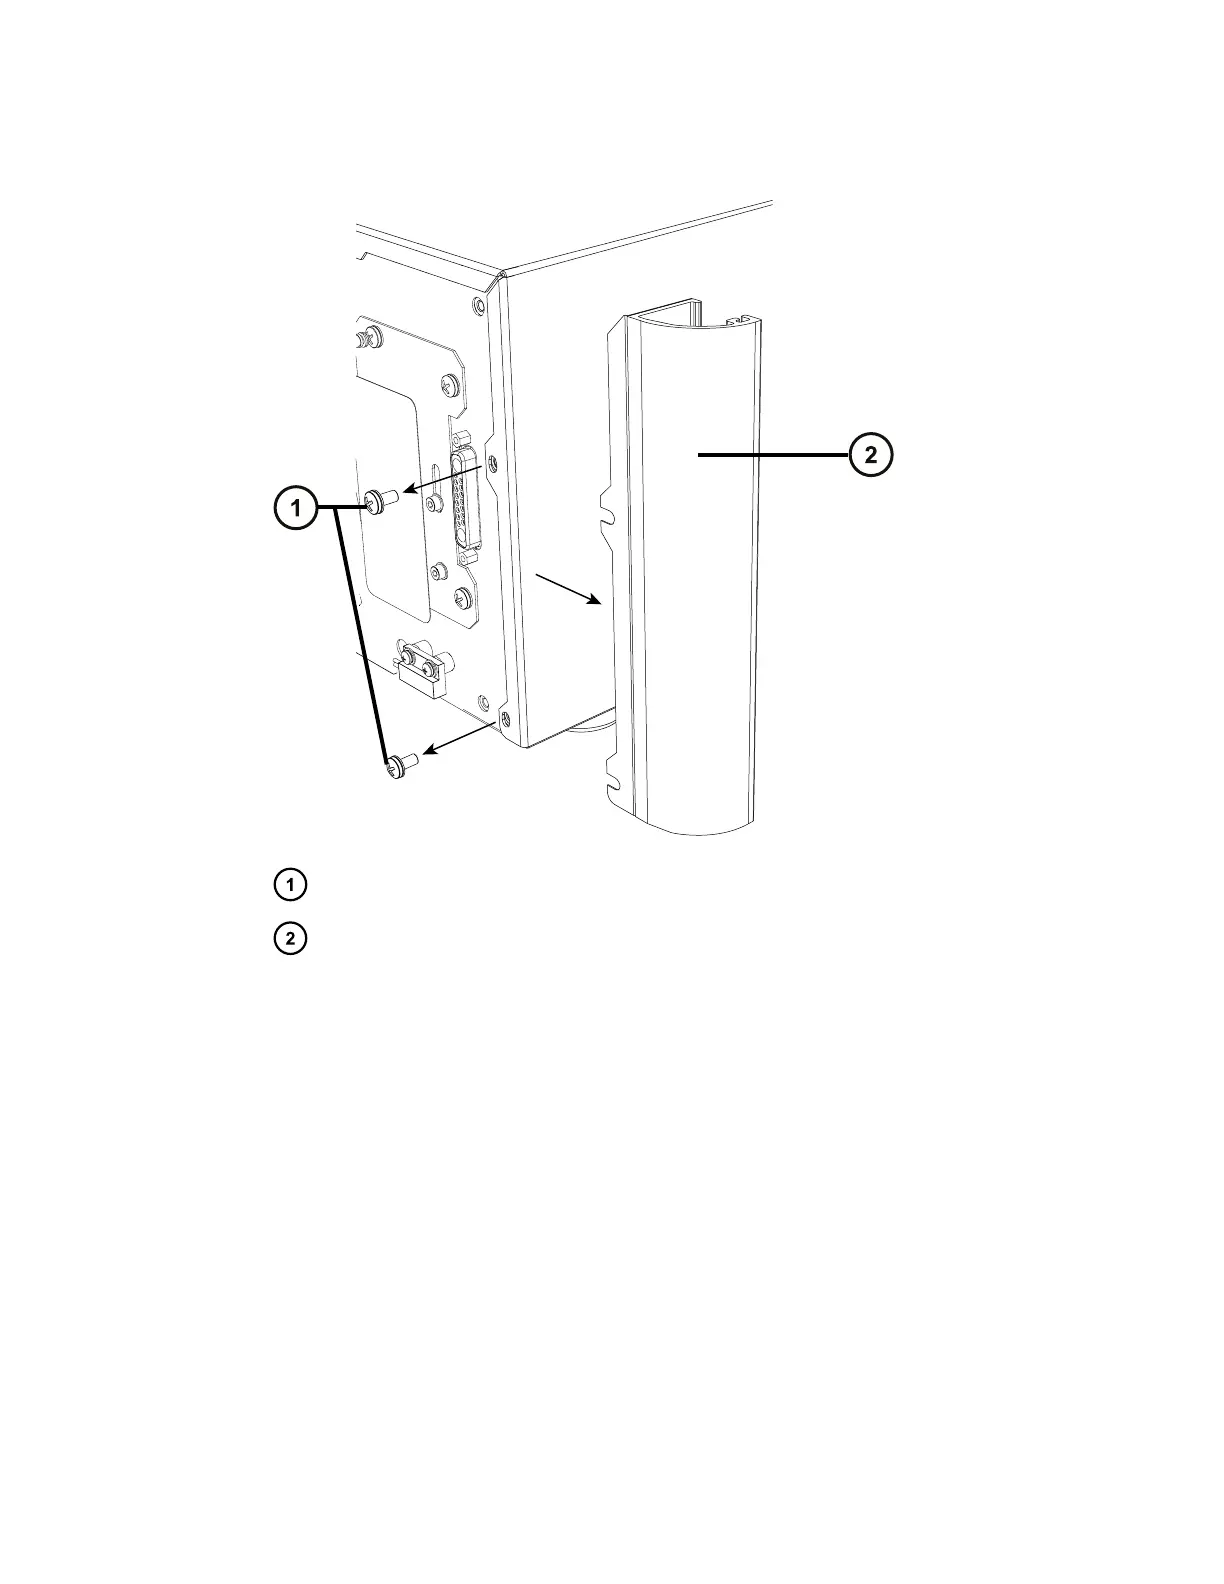
Figure E–5: Removing the tubing guide
Two #4 POZIDRIV screws
Tubing guide
5. Ensure that the QDa switch cover and the air filter are correctly in place on the front panel
and use the 4-mm hex wrench to screw the six 4-mm hex-cap retaining bolts to secure the
front panel to the instrument.
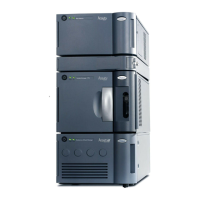
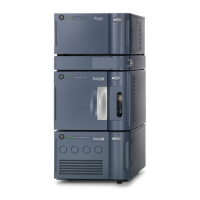
6. Fit the source enclosure to the instrument (see Fitting the source enclosure to the
instrument).
E.2.2
Diverter valve wiring
When making connections to the ACQUITY diverter valve's rear panel, refer to the figure "Rear
panel connections" in this topic.
June 15, 2017, 715003956 Rev. F
Page 120